Updated January 14, 2026 11:03AM
6 Twisting Yoga Poses That Stretch and Strengthen Without Straining
Because twists don't need to be intense for you to reap all the benefits.
(Photo: Ketut Subiyanto | Pexels)
Ever find yourself in a twisting pose such as Revolved Triangle, barely able to breathe let alone feel the stretch? Perhaps everyone else in class is twisting while you’re skipping it, avoiding eye contact with the teacher, and thinking, “My rib cage does not move that way.” You’re not alone.
Twisting poses, by definition, rotate the spine, which can make it feel like your midsection is being squeezed waaay too tight. That makes it trickier to take a deep breath because of the pressure twisting places on the abdomen. The result? A not-so-calming stretch you’d rather avoid than attempt.
But if you skip twists altogether, you’re missing out. Twisting strengthens the core and back muscles and helps keep the rib cage and shoulders mobile. It’s even thought that twisting even provides digestive benefits, according to yoga tradition, perhaps because of the “belly-wringing” motion.
Even if you don’t love twists while you’re in them, you might appreciate the feeling afterward—once you return to a more neutral position, you probably feel a sense of lightness, as if it just got easier to stand tall and breathe deeply.
ADVERTISEMENT
The following less-intense twist variations help with exactly that. These twisting stretches that are based on yoga poses yet feel “roomier” than most twists. For example, instead of rotating the spine and folding forward, as in Revolved Triangle and Revolved Side Angle, the poses below are solely focused on twisting. That means your spine can lengthen without the added compression and more easily focus on breathing not just into your belly, but expanding into all areas of your rib cage—front, back, and sides.
Think of it as twisting without the mental spiral.
6 Yoga-Based Twists to Stretch and Strengthen
Some of the following twists might feel less intense, which can be helpful if you experience lower back issues or simply if you don’t enjoy more common twists. As always, only twist as far as is comfortable. If you can’t breathe comfortably, lessen the intensity of the twist or skip it altogether.
You’ll need a strap (or belt) and a wall.
ADVERTISEMENT
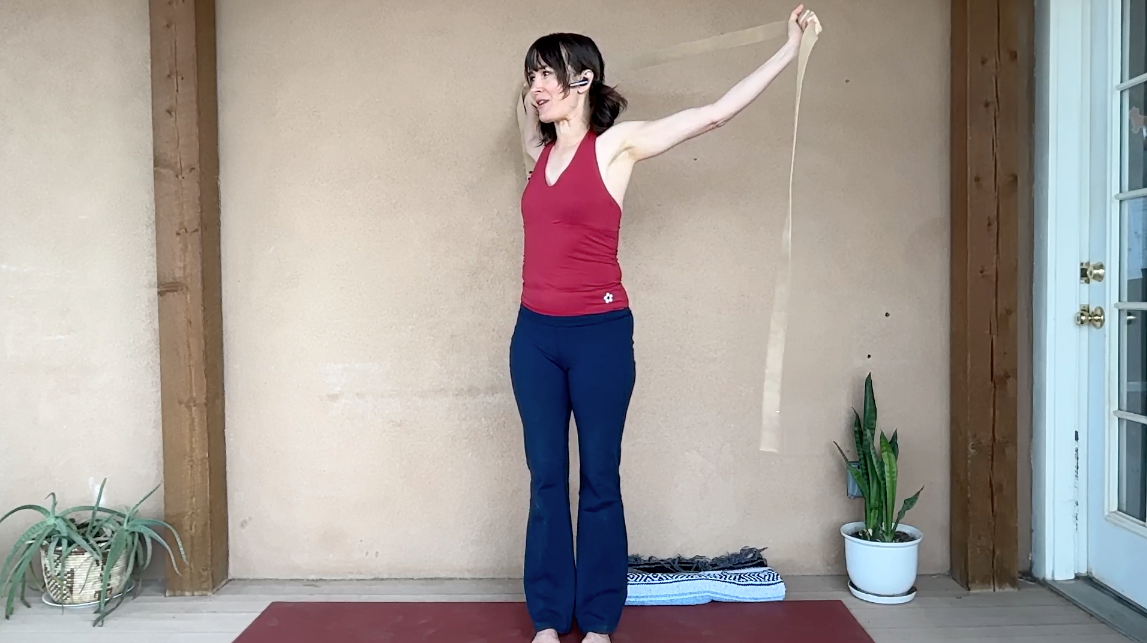
1. Mountain Pose Twist
Hold a yoga strap, belt, or bathrobe tie in front of your chest with your hands a few feet apart and your palms facing down. Inhale as you press your feet into the mat and reach the crown of your head toward the ceiling. Keep your wrists flat and your arms straight as you draw your navel toward your spine.
As you exhale, draw the strap overhead and behind your head as far as feels good.
ADVERTISEMENT
Inhale and draw the strap in front of your chest again. Take a moment to adjust your hands. If your elbows are bending a lot and/or the shoulder stretch is too intense, take your hands wider apart. If you don’t feel enough of a stretch, position your hands closer together.
Reach your arms forward and back a few more times.
Pause with the strap behind your head. Moving from your hips, gently twist so your shoulders move toward the right and then the left. Do this a few times, pausing on one side for a few breaths, then try the other side. Lower the strap in front of you and release it.
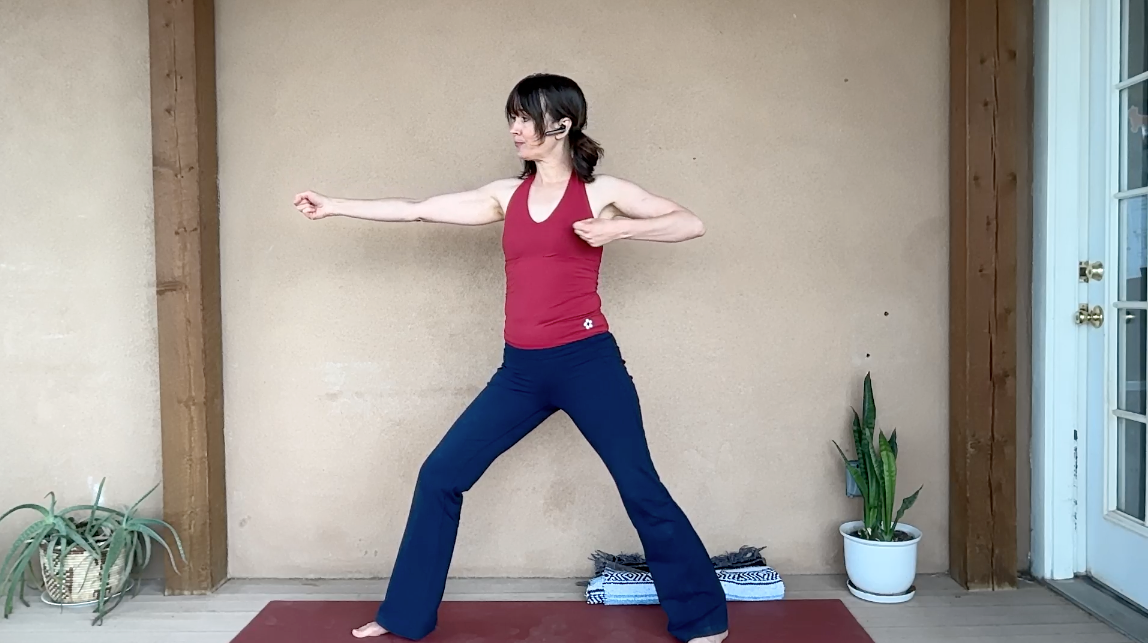
2. Warrior 2 With Bow and Arrow Arms
Come into Warrior 2 with your right foot forward and open your arms in a T position. Reach both arms in front of your chest
Reach both arms in front of your chest with your palms facing each other and make gentle fists. Inhale as you reach the crown of your head toward the ceiling.
ADVERTISEMENT
Exhale as you straighten your right leg and, as if you are drawing an arrow, pull your left arm back and turn your chest toward the long side of the mat. Inhale as you bend your right knee, turn your chest toward your right knee and reach your left arm to meet your right with your hands in fists. Repeat several times.
The next time your front leg is bent in Warrior 2, take several breaths. Then switch sides.
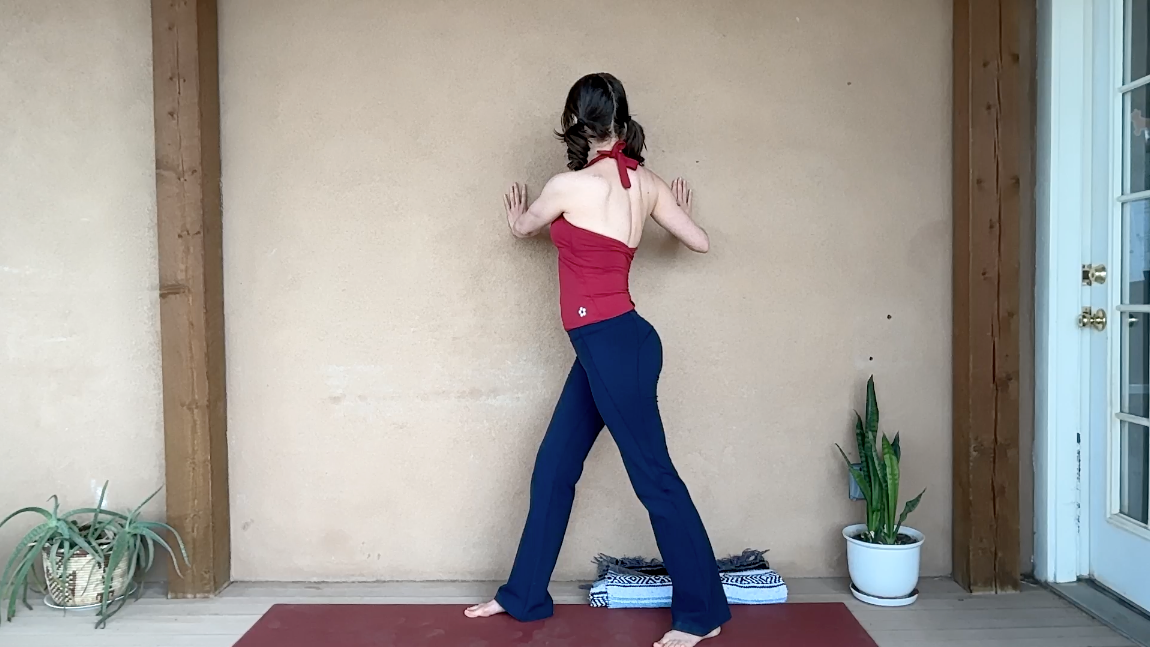
3. Twisting Warrior 2
Step your feet together and stand with the right side of your body a few inches from a wall. Step your right foot forward a couple feet and turn your left foot out slightly. Bend your right leg slightly as you turn your chest toward the wall. Bend your elbows and place your hands on the wall at chest height as if you’re doing a push-up. Press your hands into the wall and imagine sliding it to the left as you gently twist toward the right. Gaze at the wall or look over your right shoulder.
Take several breaths here, then release. Step your feet together and switch sides.

ADVERTISEMENT
4. Twisting Tabletop
Come to the floor on your hands and knees. If you prefer cushioning for your knees, place a blanket beneath or knees or fold the mat underneath you. Straighten your right leg and plant the ball of your foot on the mat behind you. Place your left hand behind your head, being careful not to press your head down.
Inhale as you lengthen from your back foot to the crown of your head. Exhale and draw your belly toward your spine as you twist to the left. (Visualize your rib cage leading this action and your left elbow following.) Move in and out of the twist with the breath a few times, then pause in your twist for a few breaths with your arm bent or, if it’s comfortable, straighten it to the side.
ADVERTISEMENT
Then return to your hands and knees. Continue to the next pose before practicing both on the opposite side.
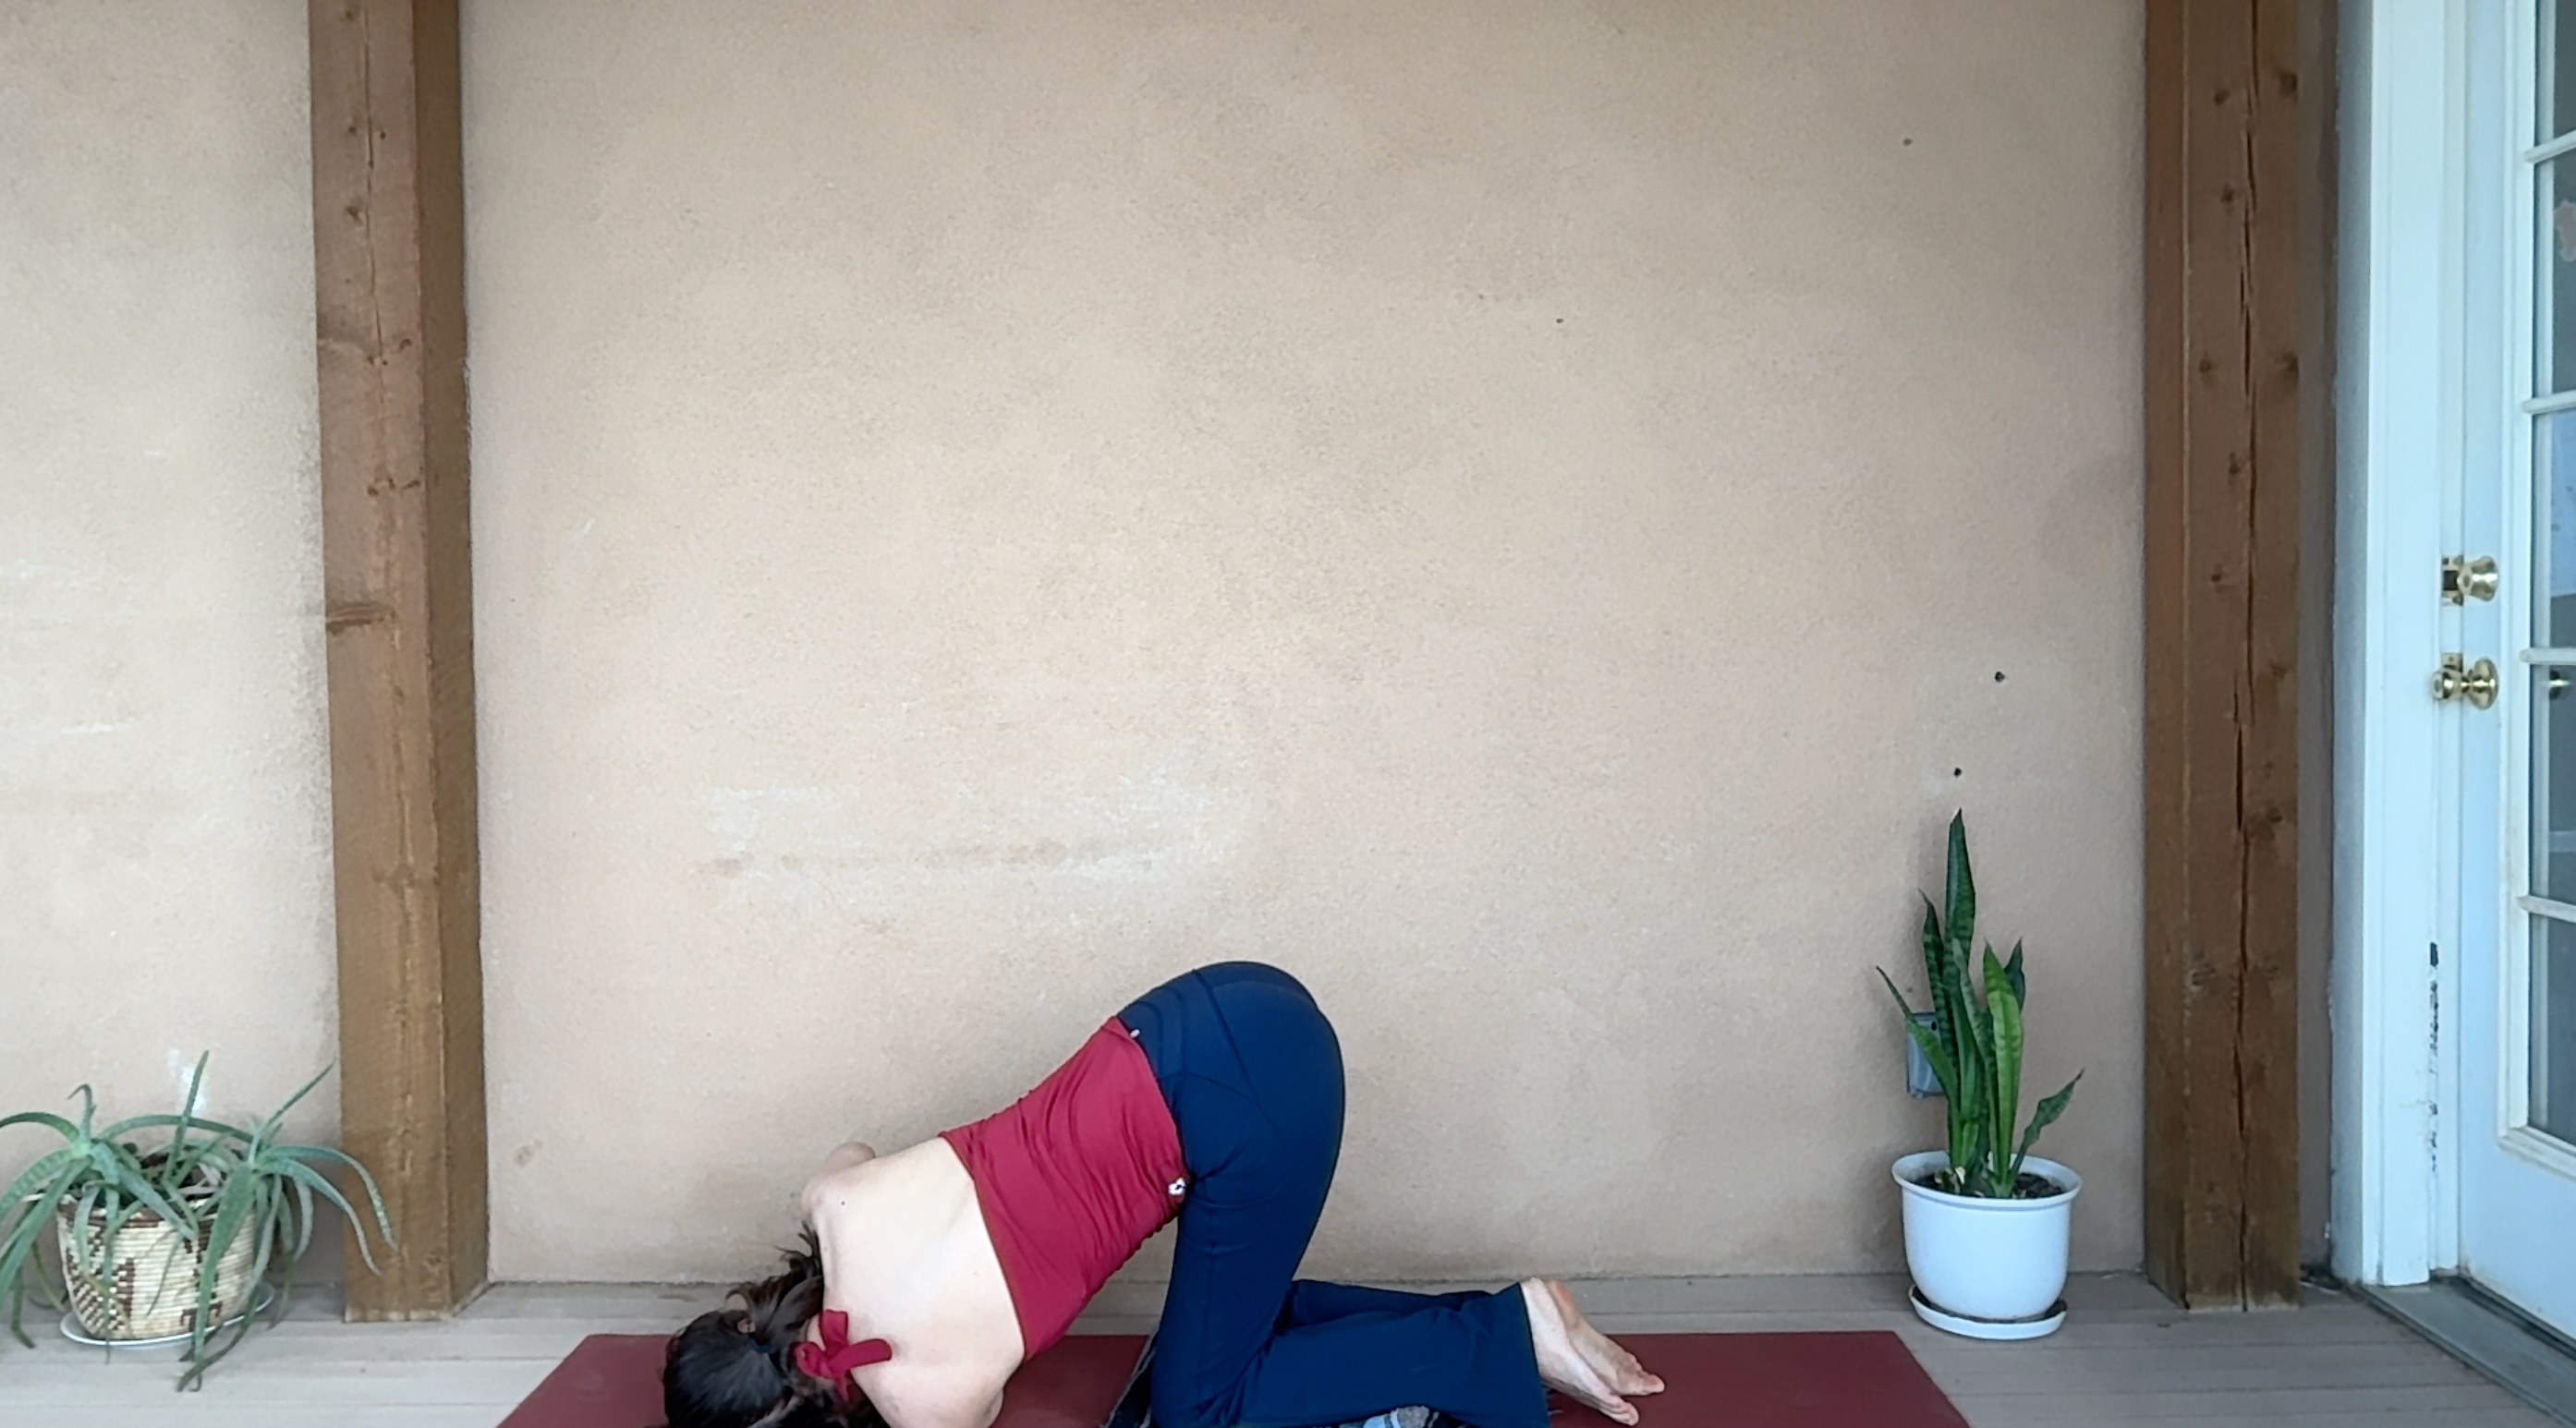
5. Thread the Needle
From your hands and knees, slide your left arm behind your right wrist as you lower your left shoulder and ear to the mat. Bend your right elbow and press your right hand into the mat. For more of a stretch, walk your right hand forward on the mat, reach it toward the ceiling, or tuck your right hand behind your back in a half bind.
Take a few breaths, then press your right hand into the mat to return to your hands and knees.
Repeat Twisting Tabletop and Thread the Needle on the opposite side.
ADVERTISEMENT
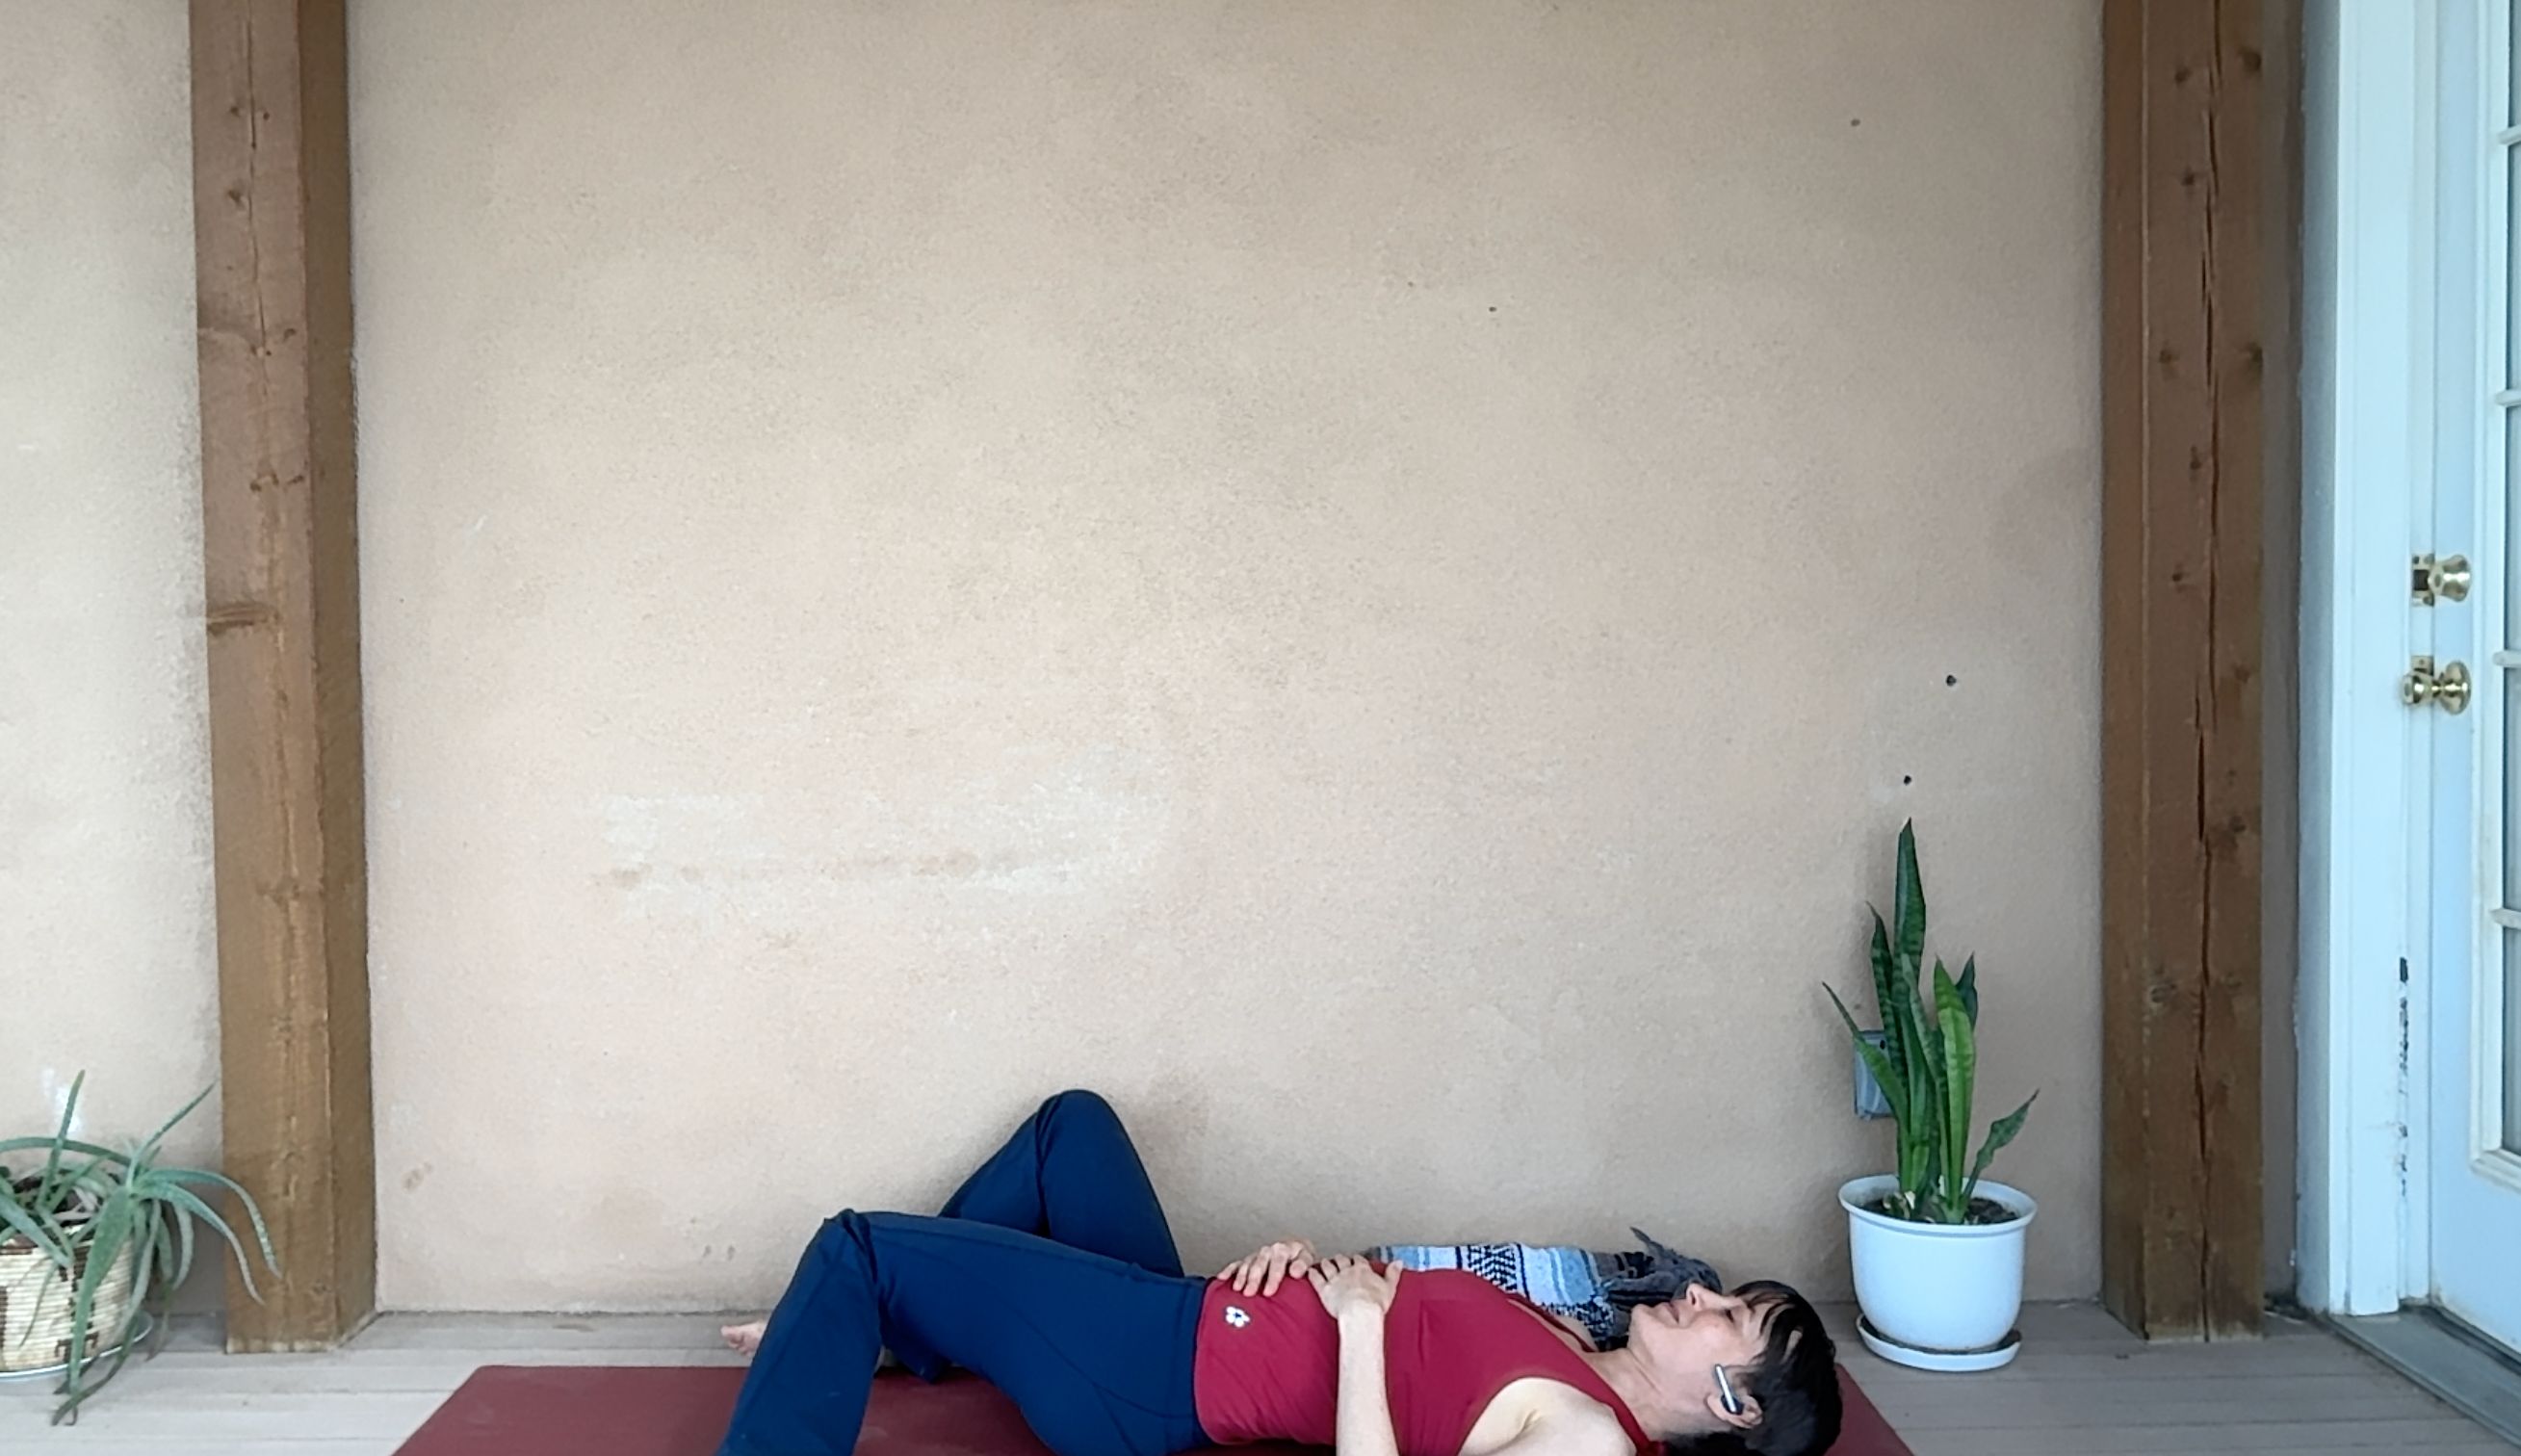
6. Windshield Wipers
Lie on your back with your knees bent and your feet on the floor about mat-width apart. Draw your knees toward the right, then the left, letting your hips and lower back gently twist. Do this a few times. Pause for several breaths with your legs toward one side, then the other.