Updated June 7, 2024 11:37AM
How to (Comfortably) Come Into Pigeon Pose
…and get the maximum benefit from this hip opener.
(Photo: Thomas Barwick | Getty)
Stiff hips are one of the most common complaints of yoga students. Whether you spend a lot of time at your desk or steering wheel, a seated position essentially shortens the hip flexors and can cause discomfort and even pain over time.
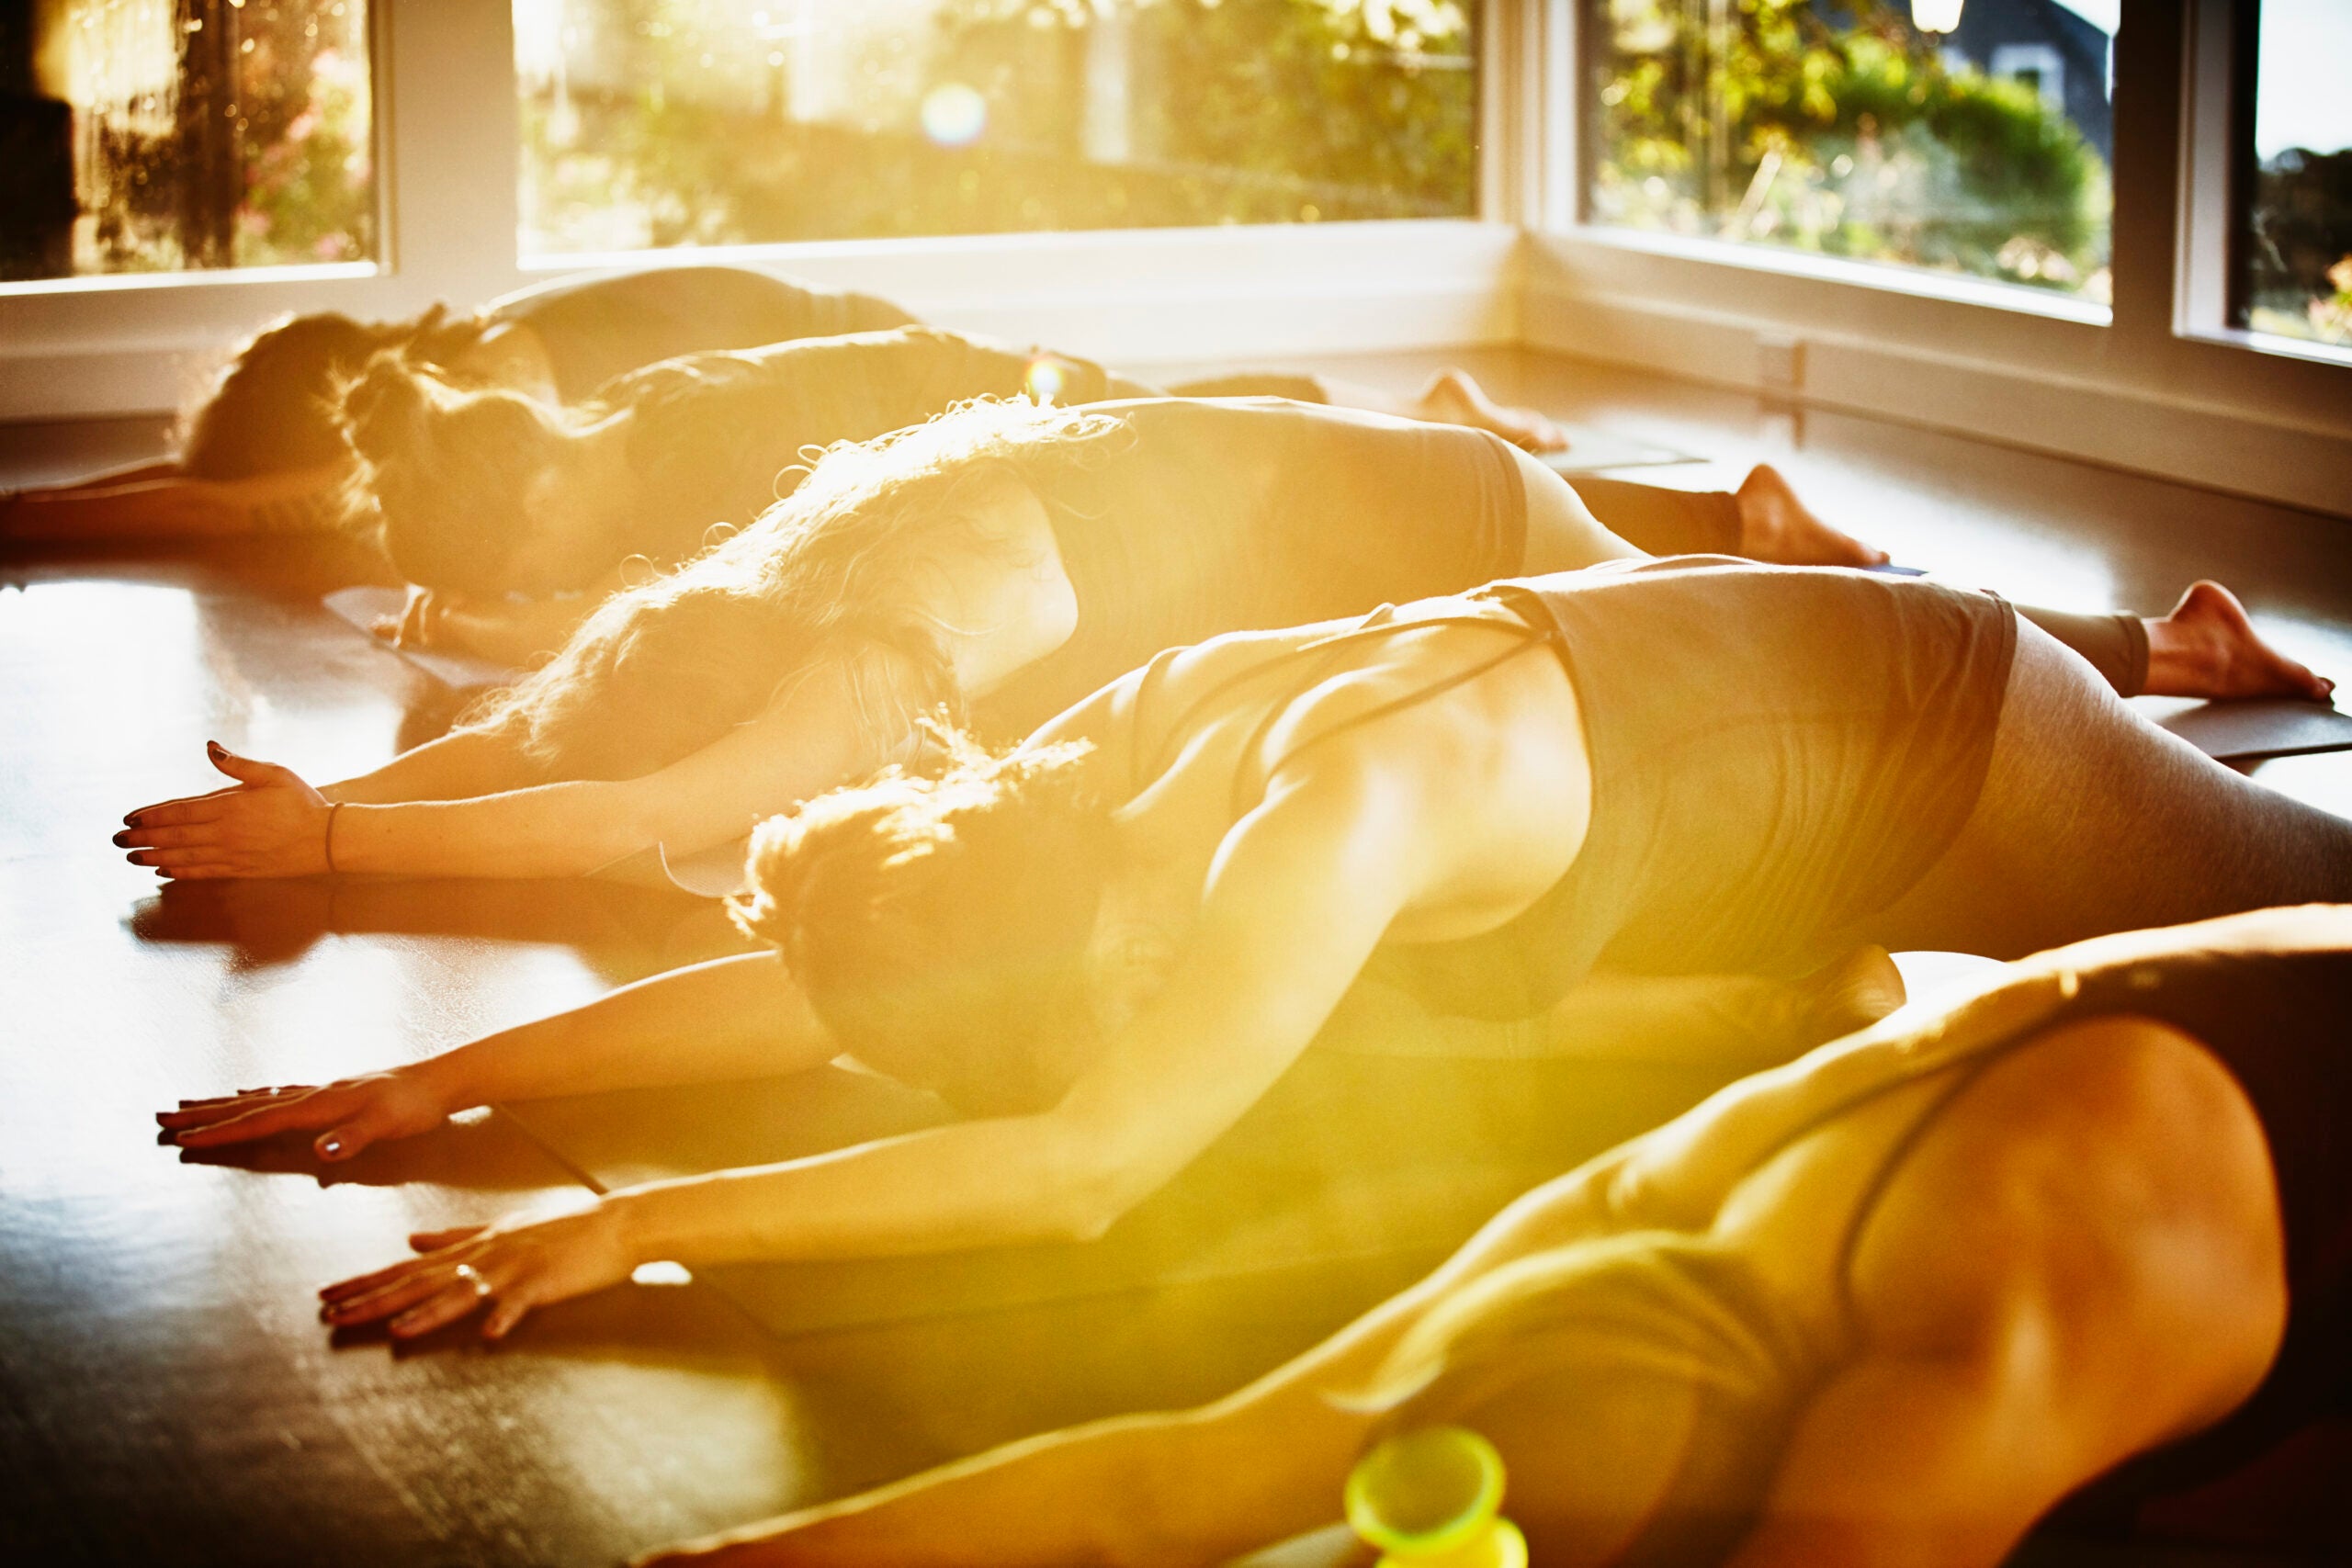
Yoga offers a family of poses known as hip openers to stretch tight hip muscles. One of the most commonly taught is the somewhat controversial Pigeon Pose. Although it can offer relief to hip muscles, it can also feel quite uncomfortable for some of us. (Maybe most of us.)
When a teacher takes you into Pigeon during class, you’ll have practiced several stretches to prepare the body. You want to do the same thing at home—and that starts with a basic understanding of the alignment the pose requires and knowing some adjustments that will suit your body.
Anatomy of Pigeon Pose
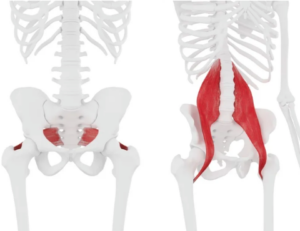
Some hip openers increase the external, or outward, rotation of the femur bone in the hip socket by stretching the surrounding muscles, such as the gluteus maximus and piriformis. Others lengthen the psoas muscle, a primary hip flexor connecting the torso and legs that is chronically shortened in our chair-bound society. Pigeon Pose is an extremely effective hip opener that addresses both areas, with the front leg working in external rotation and the back leg in position to stretch the psoas.
The common version of Pigeon Pose that we practice is actually a variation of One-Legged King Pigeon Pose (Eka Pada Rajakapotasana). The two poses share similar alignment in the hips and, more importantly, an imperative to be approached thoughtfully and consciously. Folding forward into Pigeon Pose without safe alignment can put a lot of stress on the knee and sacrum.
ADVERTISEMENT
How to Comfortably Come Into Pigeon
The yogic sage Patanjali defines the practice as “effort toward steadiness.” In these extended, quieter holds, you get to explore this idea, tethering your sometimes scattered attention by following the breath as it moves in and out, finding stillness even during challenge.
But you want it to be a realistic level of challenge. Before you approach Pigeon, first practice some versions of the pose that open your hips gradually and safely. When you practice these stretches consistently, you’ll notice more ease as you sit, walk, and stand, regardless of whether you actually come into Pigeon Pose. If you have knee or sacroiliac discomfort, it’s best to avoid Pigeon Pose.

1. Try a Reclined Figure-Four Stretch
One of the best ways to prepare for Pigeon Pose is with a supine modification called Figure Four Pose (sometimes called Dead Pigeon or Eye of the Needle).
How to: Come onto your back with your knees bent and your feet on the mat, hip-distance apart. Cross your left ankle over your right thigh. Flex your left foot.
Pull your right knee toward your chest and clasp your hands around the back of your right leg. If you can clasp around the front of your right shin without lifting your shoulders off the floor or rounding your upper back, do so; otherwise, keep your hands clasped around your hamstring or use a strap. The goal is to avoid creating tension in your neck and shoulders as you open your hips, so choose a position that keeps your upper body relaxed.
ADVERTISEMENT
As you draw your right leg toward you (making sure to aim it toward your right shoulder and not the center of your chest), simultaneously press your left knee away from you. This combination of actions should provide ample sensation, but if you don’t feel much, try releasing your pubic bone away from your navel toward the floor. This will bring a bit more curve into your lumbar spine and should deepen the hip stretch. Repeat on the other side.
2. Practice Supported Pigeon Pose
This variation creates a shape similar to Pigeon Pose with the support of folded blankets to help maintain safe alignment.
Your left leg will be in external rotation and your right leg will be neutral—each position giving access to a different type of hip opening. Your right leg will stretch your psoas and other hip flexors, and the left side will get into the group of rotators in your buttocks and outer hip.
How to: Come onto all fours with your hands shoulder-distance apart and slightly in front of your shoulders. Bring your left knee forward and place it on the floor just behind and slightly to the left of your left wrist, with your shin on a diagonal and your left heel near your right hip bone.
Now bring your attention to your back leg. Your right quadriceps should face the floor as much as is comfortable so your leg is in a “neutral” position. (You want to avoid the common pitfall of externally rotating your back leg in which your outer ankle rolls away from you and your foot splays out at an angle.) Establish this neutral leg by tucking your right toes under, straightening your right leg, and pushing through your right heel so your thigh and knee come off the mat slightly. Lift your right inner thigh and shift your right hip bone slightly forward so it’s in line with your left hip bone. Both hip bones should face the front of the mat.
ADVERTISEMENT
Draw your left outer hip back and toward the midline of your body to counteract its natural tendency to swing forward and out away from you.
When your hip bones are close to parallel in Pigeon, the sacrum is less likely to be torqued, and you’ll be in a position to practice the pose without straining your low back. Shimmy your right toes back slightly and then point them so that your right thigh releases to the mat. Move your left foot and shin toward the front of the mat, aiming for your shin to be parallel to the front edge. Flex your foot the way you did in Figure Four to protect your knee.
Now observe your left outer hip. If, after you square your hips, the area where your thigh and buttock meet doesn’t rest on the floor, you need to add a blanket or two underneath. This is crucial to practicing the pose safely. If your outer hip doesn’t have support, your body will fall to the left, making your hips uneven and distorting your sacrum. Or, if your hips stay square but your left hip is floating, you’ll put too much weight and pressure on your front knee. Neither scenario is good!
ADVERTISEMENT
Instead, use your arms for support as you organize your lower body. Adjust so that your hip bones are parallel to the wall you’re facing and your sacrum is even (meaning one side hasn’t dipped closer to the floor than the other). Place however many blankets are necessary to maintain this alignment beneath your left outer hip. Repeat on the other side.
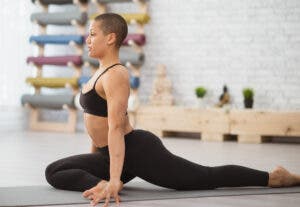
3. Come Into Pigeon Pose
It’s common to experience intense sensations in your left hip as your femur rotates outward in your hip socket. (Many people feel this in the fleshy part of the buttock; for others, it’s along their inner thigh. Some feel a stretch along the front of their right hip as their psoas lengthens.) You do not, however, want to feel any sensations in your left knee. If you do, this variation is not for you! Return to Figure-Four Pose, where you can safely open your hips without placing strain on your knee strain.
How to: From the previous variation, place your hands in front of your left shin and use your arms to keep your torso upright. For the final version of Pigeon, keep moving your left foot forward, working to make your left shin parallel to the front edge of your mat. Make sure that in doing so you maintain the alignment in your hips and sacrum, continuing to use blankets if necessary under your left hip.
If your knee is sensation-free, start to lean forward across your left shin, walking your arms in front of you and releasing your forehead toward the floor. Fold forward only after you’ve spent time checking your alignment and paying attention to your body.
ADVERTISEMENT
Your left knee will be to the left of your torso (with your left thigh on a bit of a diagonal), and your flexed left foot will be just alongside the right side of your rib cage. As you fold forward, turn your attention inward. We tend to hold this version of Pigeon longer than more active postures, so part of your practice in this pose may be to stay mentally focused once you have settled in. Repeat on the other side.
This article has been updated. Originally published July 16, 2008.