Published November 18, 2014 07:25PM
7 Restorative Yoga Poses to Stay Grounded During the Holidays
If you have some pillows and blankets, you have everything you need to settle into these sigh-inducing, stress-reducing postures.
(Photo: Tim Samuel | Pexels)
Restorative yoga is a receptive practice, meaning it asks you to release the need to control or make things happen and instead allow yourself to simply be. You may notice a lingering feeling of ease and openness afterward that may enable you to interact with yourself and others in a kinder, more understanding way.
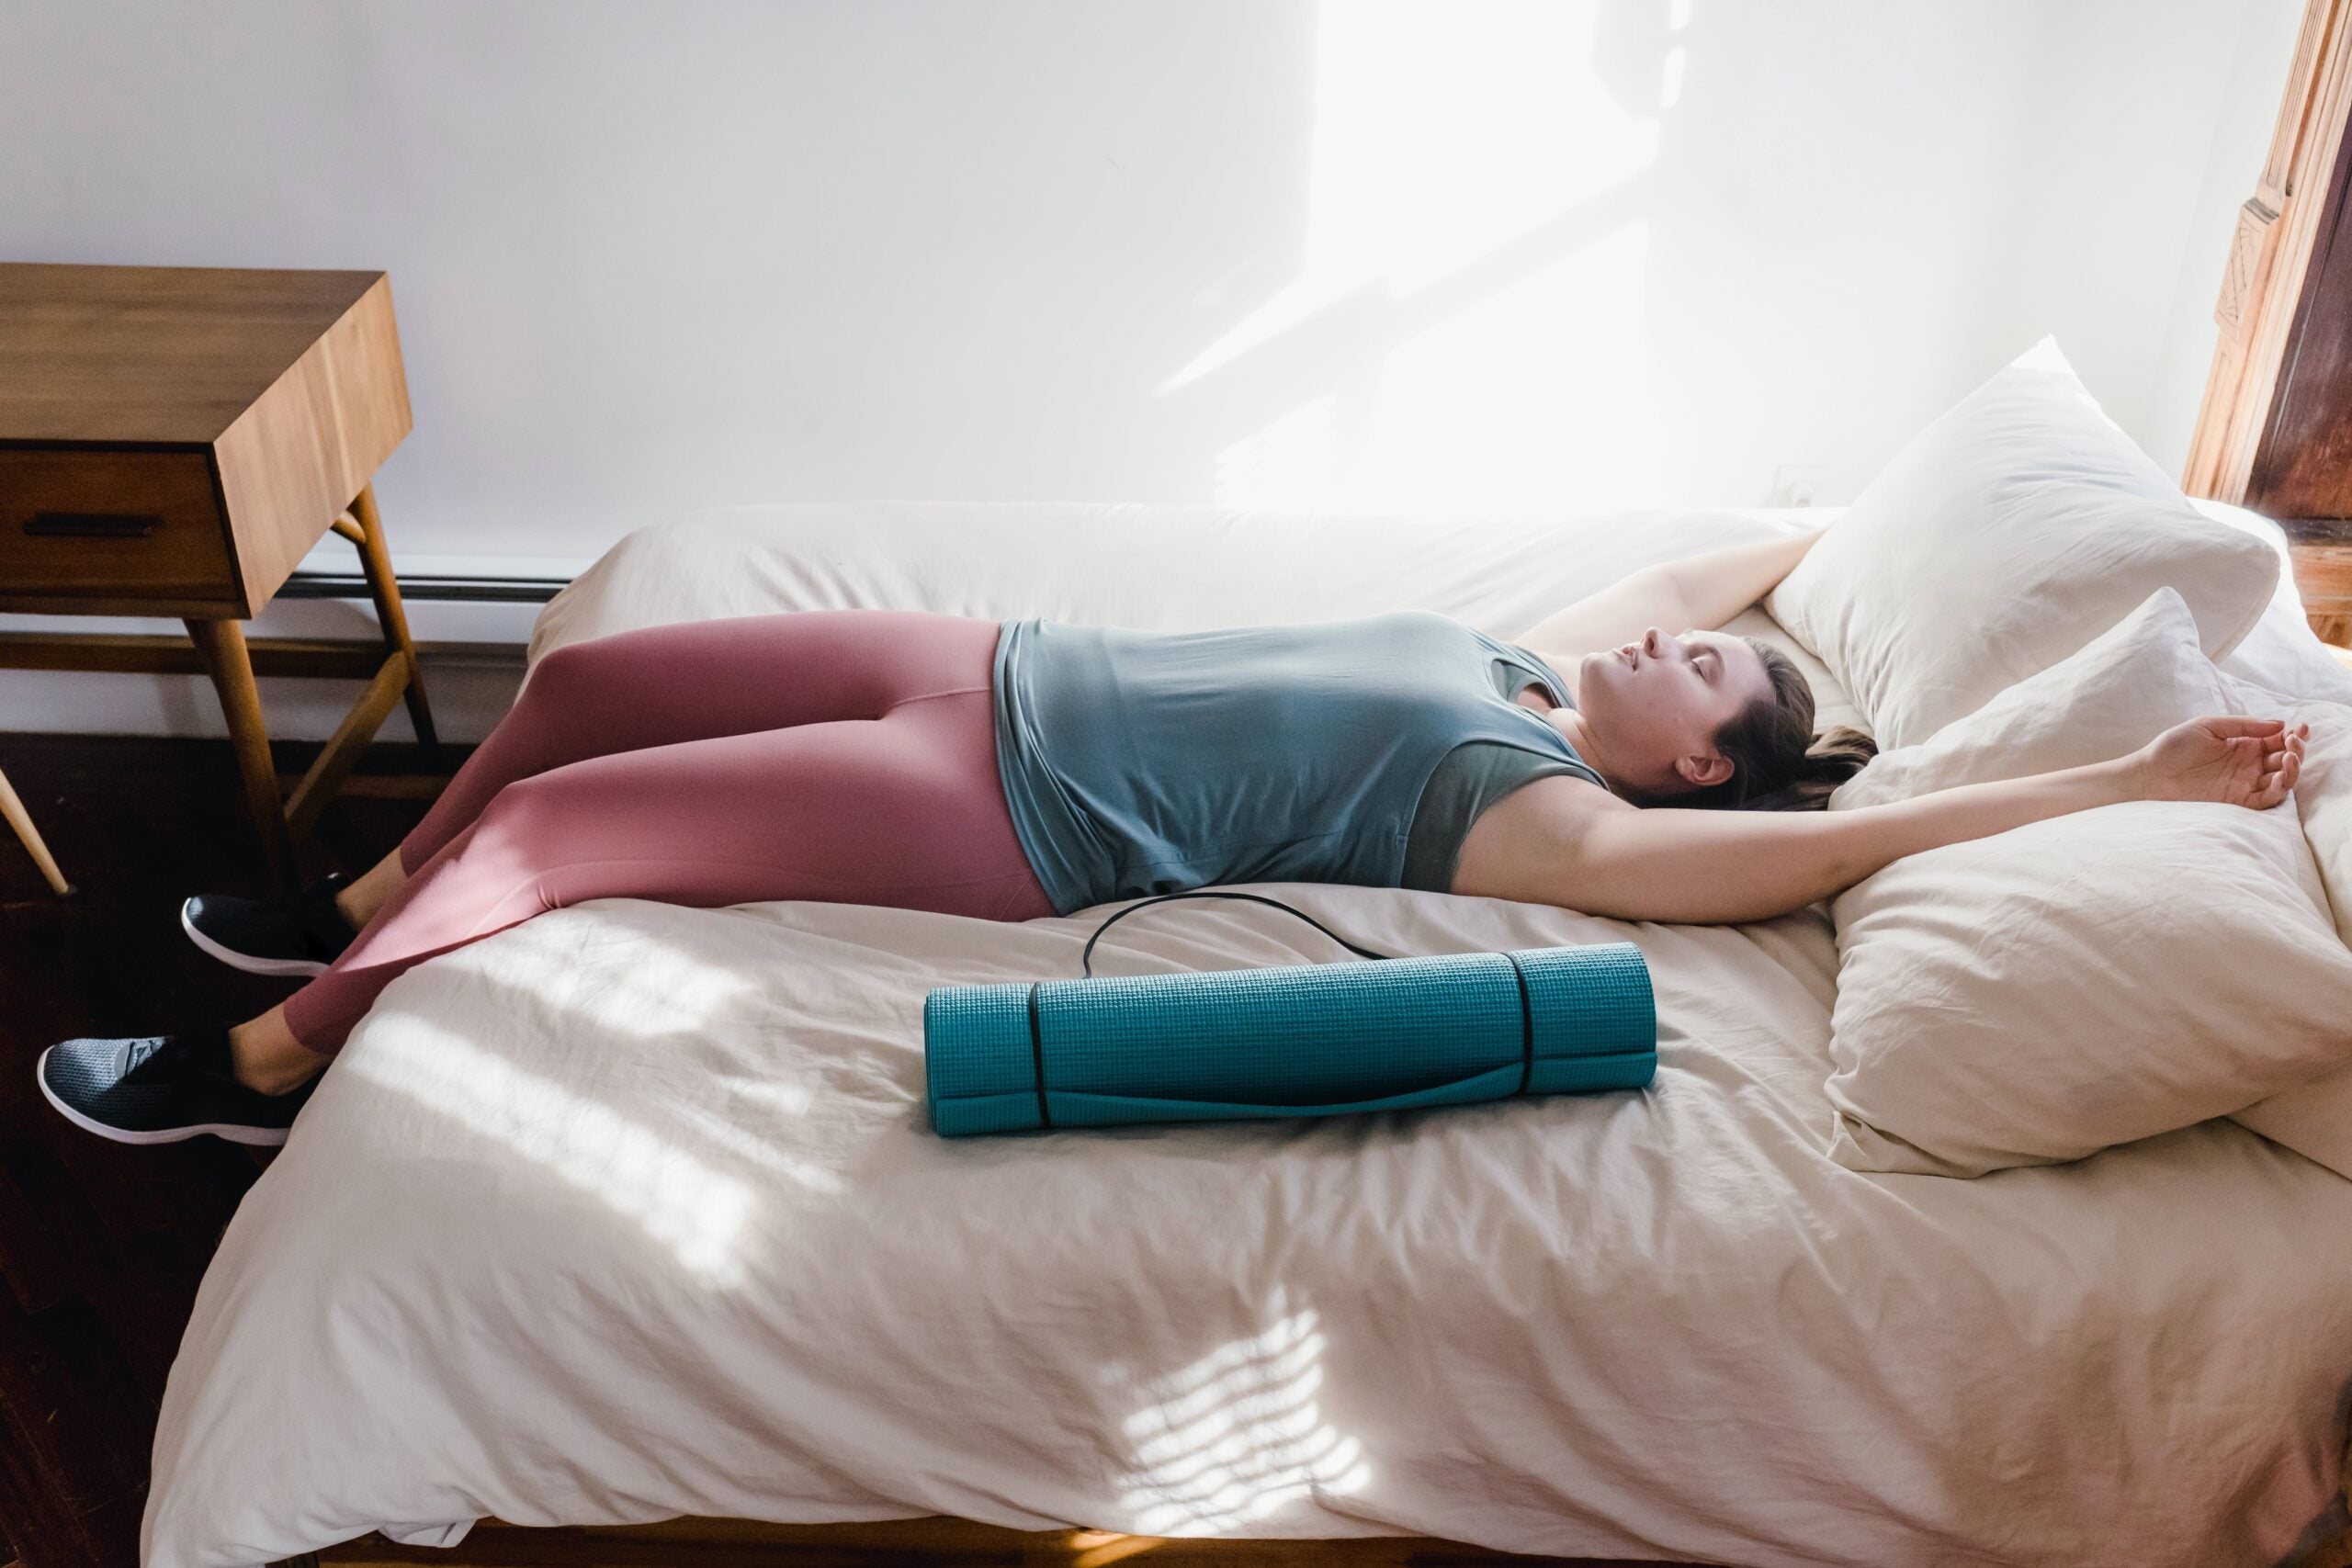
Practice this 60-minute restorative sequence as often as you can this busy holiday season (or anytime life feels harried). Find a quiet, dark space, set up your props (if you don’t have traditional blocks and bolsters, try using books and pillows or couch cushions), and settle into restorative poses that will help you rest and recharge.

1. Adept’s Pose (Siddhasana)
Sit in a comfortable cross-legged position. If your knees are higher than your hips, prop yourself on a folded blanket or two. Rest your palms on your knees, and on an inhalation, lengthen the spine, reaching up through the crown of your head. Close your eyes and draw your attention inward, practicing breath awareness (apa japa).
Try not to change the way you are breathing. Instead, let it follow a natural rhythm. Focus on the length of your inhalations and exhalations. Notice the breath coming in through the nostrils and into your lungs. Feel the expansion and contraction of your ribs as you breathe in and out. This will help you feel present in your body and life, and grounded and connected to your center during this chaotic time of year. Sit here and breathe for at least 2 minutes.

ADVERTISEMENT
2. Supported Child’s Pose (Salamba Balasana)
To find some ease and relaxation in a Supported Child’s Pose, try the following steps:
- Position a bolster or stack of pillos on an incline supported by a block in the middle on its lowest level and a block at the far end on its middle level.
- Sit facing the bolster with your knees on either side of the low end. Rest your bottom toward your heels. If you have tight ankles, you may want to slide a rolled blanket under the tops of your feet for support.
- Lean forward and rest your entire belly on the bolster so you can fully relax. Rest your arms on the mat or on folded blankets. Turn your head to one side, and then after a few minutes, turn your head to the other side. Try staying in the posture for 5 minutes, or however long feels comfortable.
- When you are finished, slowly sit up, move the bolster to the side, and bring your legs out to stretch.

3. Supported Belly Down Twist
This twist helps to relieve stress and tension in the muscles along the sides and midsection of your torso.
- From a seated position, place the bolster or a stack of pillows along the middle of the mat. You may choose to place he bolster on a gentle incline using blocks beneath the middle and far end as in Child’s Pose.
- Bring your right hip next to the bolster, sitting with your knees bent.
- Turn to bring your belly to face the bolster and bring one hand on either side of it.
- Lower yourself onto the bolster. Turn your head either toward your knees, or for a deeper twist, away from them. Let the bolster support you. Relax your arms and try not to hold yourself up. If you need to, place blankets under your forearms for support, and a blanket or block between your knees to take any strain off your back. Try holding this position for 3 minutes.
- Come out of the pose by pressing yourself away from the bolster and sitting up.
- Repeat on your other side.

4. Supported Reclining Bound Angle Pose (Salamba Supta Baddha Konasana)
There are many variations of Reclining Bound Angle Pose, but this supported version helps cultivate a sense of calm by releasing tension in your back, pelvic area, and hips.
- Set up another reclining bolster or stack of pillows, but make it at a steeper incline than the one you used for Supported Child’s Pose.
- Sit on the floor and bring your lower back to the low edge of the bolster. Take another bolster and place it horizontally under your knees.
- Place your hands on the bolster behind you and then lie back on the bolster.
- Bring the soles of your feet together and let your knees drop out to the sides.
- Drape a blanket over yourself so that your arms and torso are swaddled. Stay in this pose for 10 or more minutes.
- To come out, free your arms from the blanket first, then use your hands on the outer knees to gently bring your legs together. Roll to one side and come up to a seated position.

ADVERTISEMENT
5. Legs Up the Wall Pose (Viparita Karani)
Legs Up the Wall Pose is great for reinvigorating tired legs and feet. Like many inversions, it’s great for taking a break while traveling because it gets you off your feet, helping circulate blood throughout the body.
- Place a bolster or a stack of pillows several inches from a wall so that its long edge is parallel with the wall.
- Sit on the floor with one hip against one short edge of the bolster.
- Gently lower your shoulders and head to the mat so you’re lying on your side.
- Then roll onto your back and up onto the bolster. Adjust your position by scooting your tailbone toward the wall until it drops over the edge of the bolster.
- Stretch your legs up the wall.
- Find a comfortable position for your arms, making sure they aren’t touching anything but the floor. Settle into the pose and breathe. Try holding this pose for 10 minutes.
- To come out, bend your knees, push yourself off the bolster, and roll to your right side before pushing back up to seated.

6. Legs on a Chair Pose
Like Legs Up the Wall, this pose also provides the benefits of an inversion—including a calmed nervous system, restored legs and feet, and a relaxed lower back.
- Place a chair on the mat, with a folded blanket on the seat.
- Set up two bolsters or stacks of pillows in a T shape, positioning the one closest to the chair horizontally.
- Sit on the bolster closest to the chair and lie to one side before rolling onto your back and resting your spine on the vertical bolster.
- Support your head with a blanket, if that feels good.
- Lift your calves onto the seat of the chair and place your arms alongside you, making sure they’re not touching anything but the floor. Settle in and connect to your breath. Try holding this position for at least 10 minutes.
- To come out, hug your knees to your chest and roll to your right side.

7. Side-Lying Corpse Pose (Side-Lying Savasana)
Side-Lying Corpse Pose can offer you the support you need to find relief from fatigue.
- Lie down on your right side with a folded blanket under your head. You want to keep your head and neck in line with your spine rather than tilted up or down at an angle.
- Bring your bottom right arm straight out in front of you and position it however is comfortable.
- Place one bolster or some pillows between your legs to support your mid-thighs, knees, and ankles. Place another bolster or stack of pillows in front of you so your top left arm can drape comfortably on top of it.
- Allow your body to release onto the support rather than trying to actively hold the shape. Try resting in this pose for 10 to 20 minutes.
About Our Contributor
Gail Grossman is the founder and former director of Om Sweet Om Yoga in Port Washington, New York. She has been teaching yoga since 2000.