Updated June 11, 2024 01:46PM
9 Essential Stretches for Tech Neck That Offer Much-Needed Relief
Texting messes with your neck. Yoga can help.
(Photo: Warren Wong)
“Tech neck” is becoming more and more common as we find our bodies in an almost constant state of leaning forward—scrolling on our phones, reading on our tablets, and typing on our laptops. But this posture can literally be a pain in the neck.
When I was working a corporate job and sitting at a computer for hours on end, my neck and shoulder pain was so severe that I underwent repeated rounds of dry needling, osteopathy, and physical therapy in an attempt to find relief. Nothing helped.
And then I started practicing stretches for tech neck. Certain yoga poses specifically target the neck and the surrounding muscles, making them incredibly effective for easing and even preventing tech neck pain.
What Is Tech Neck?
When you sit upright, your head exerts somewhere between 10 and 12 pounds of pressure on your spine. But when you strain your neck forward and slouch your shoulders to lean closer to a screen, the pressure can amount to more than 50 pounds of force pulling on your neck.
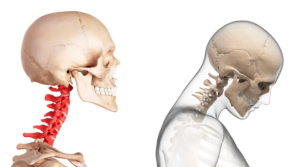
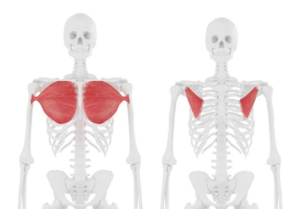
Subjecting your body to that kind of intensity for several hours every day can cause an almost continual forward head tilt, rounded or hunched shoulders, even tightness in the chest muscles.
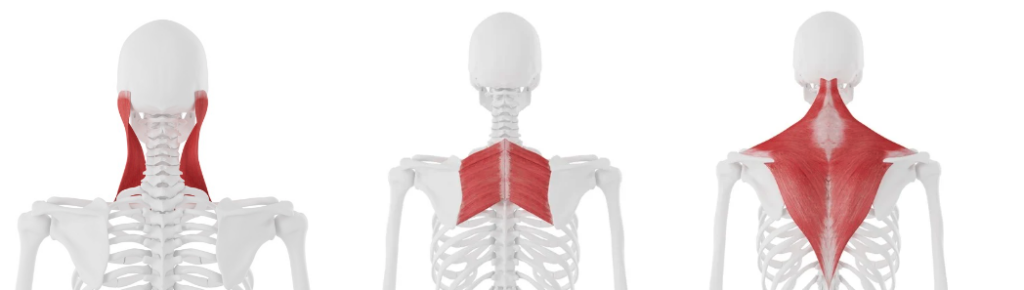
The habitual strain of tilting and shifting our head and neck forward can also cause us to experience increased muscle tension and pain in our neck and shoulders as well as pressure on the spine.
Neck strain has also been linked to adverse effects on a variety of less obviously related bodily functions, including respiratory and digestive.
If you experience a stiff neck, frequent headaches, or a ton of muscle tension in your neck and shoulders, the way you use technology may be a contributing factor.
ADVERTISEMENT
Change Your Habits to Get Rid of Tech Neck
One of the most reliable ways to get rid of tech neck is by changing the habits that cause your pain. The following tips can help make sure you’re mindful about how you interact with your devices:
1. Keep your computer or laptop screen at eye level by using a laptop stand or stacking some books or boxes underneath your screen.
2. Switch your hands every so often if you’re holding a phone or tablet.
3. Take frequent breaks.
4. Limit your screen time.
Stretches for Tech Neck: 9 Yoga Poses for Pain Relief
Several studies have shown that yoga can significantly alleviate pain from tech neck. Getting the blood flowing in these sore areas a few times a week can help with neck and shoulder tension. As with any type of movement, if it aggravates your pain, skip it!
The approach to the following yoga stretches for tech neck is twofold: strengthen weakened muscles and stretch tight muscles. The following poses do exactly that.
ADVERTISEMENT
You should always consult with a physician or a physical therapist if you’re experiencing neck pain or other severe symptoms.
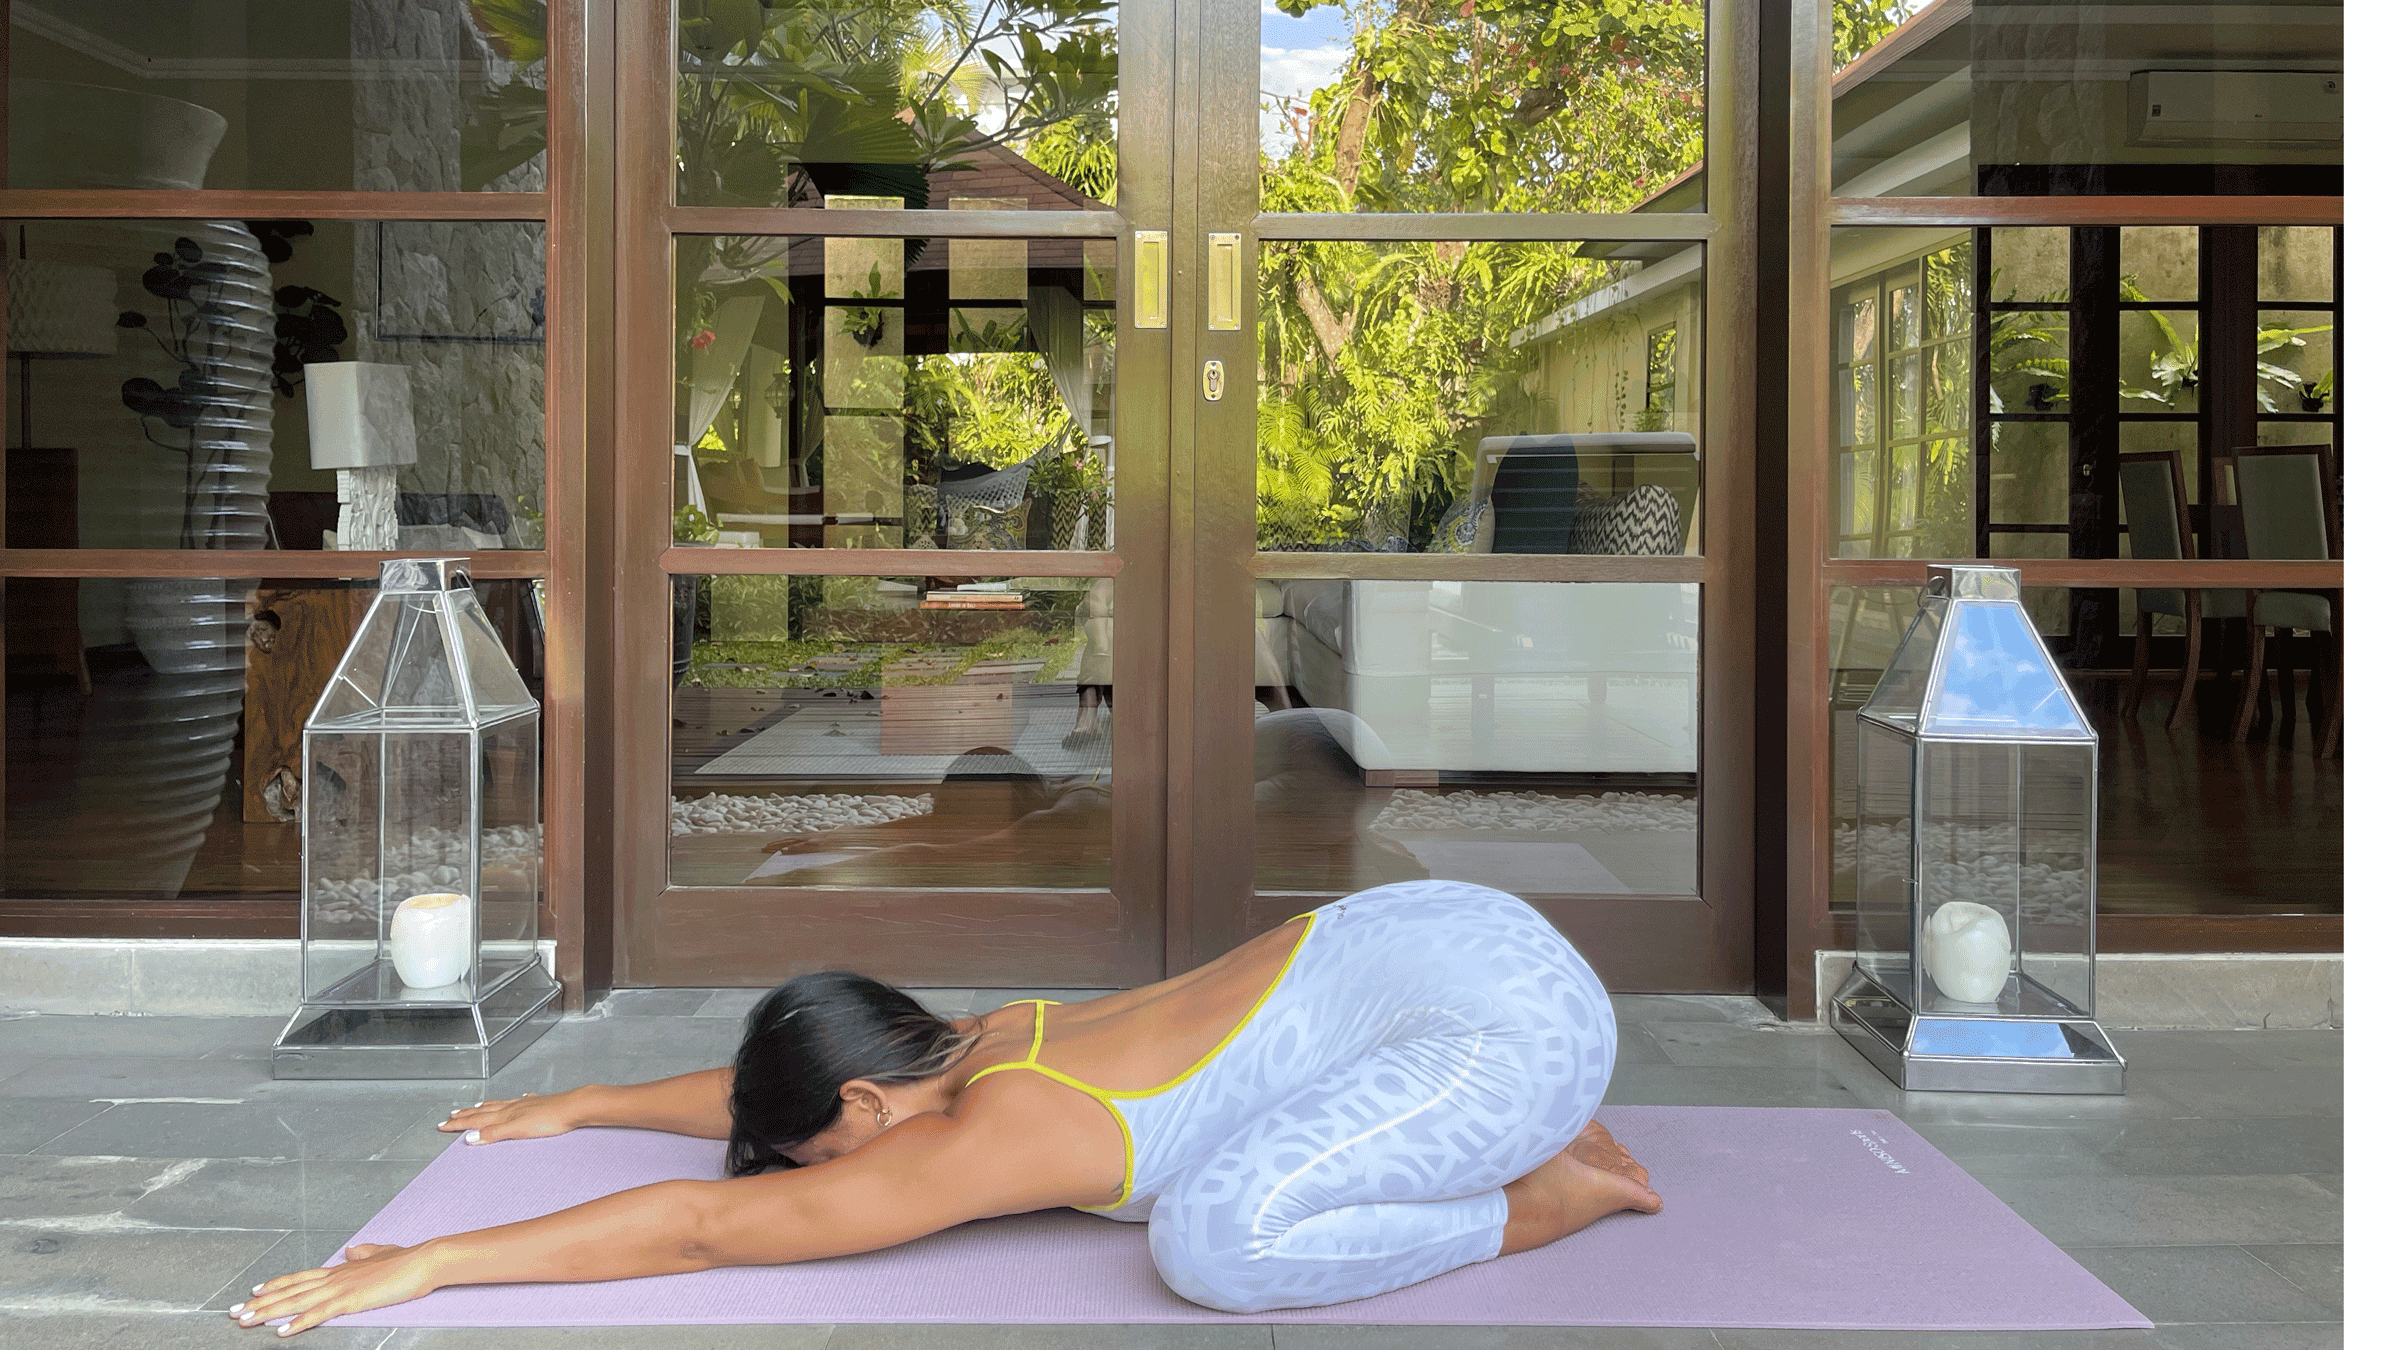
1. Child’s Pose (Balasana)
Come to your mat on your hands and knees. Separate your knees about as wide as the mat. Sink your hips down toward your heels. Feel your tailbone lower toward the mat as you reach your arms forward. Release your chest and forehead to the mat in Child’s Pose. Take as many breaths as you like here.
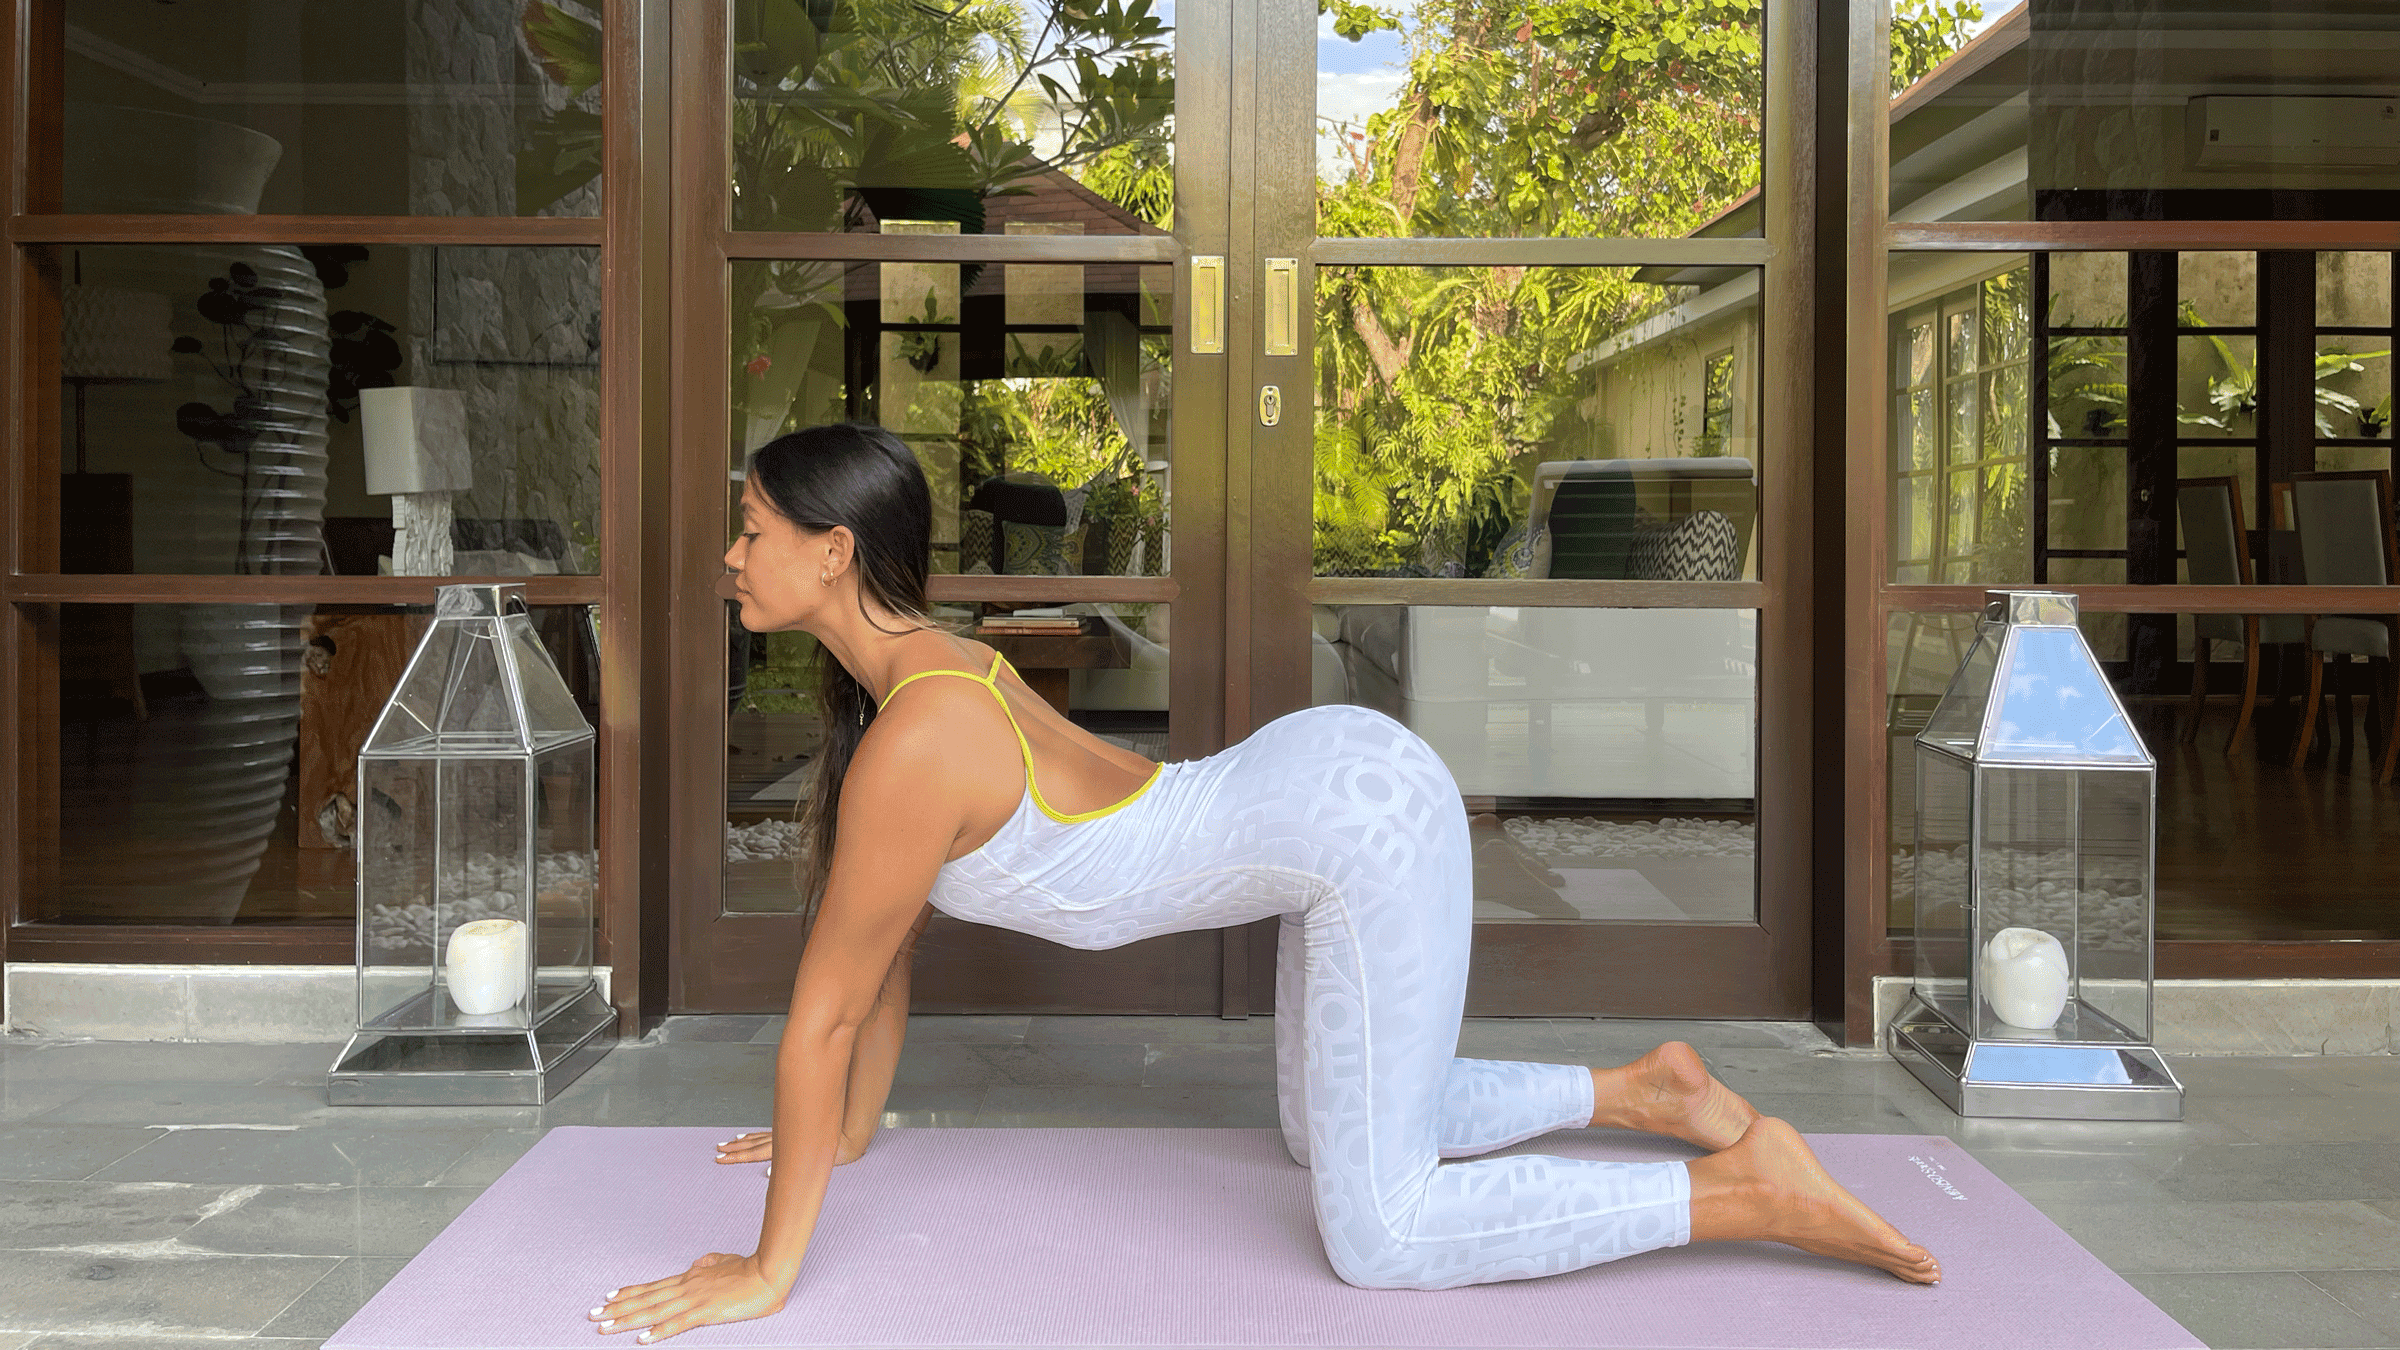
2. Cat-Cow (Marjaryasana-Bitilasana)
When you’re ready, shift forward from Child’s Pose into Tabletop, coming onto all fours and stacking your wrists under your shoulders and your knees under your hips. Feel free to circle your head and roll out your neck before you move into some slow, steady Cat and Cows. Inhale as your belly sinks down toward the mat and your head lifts.
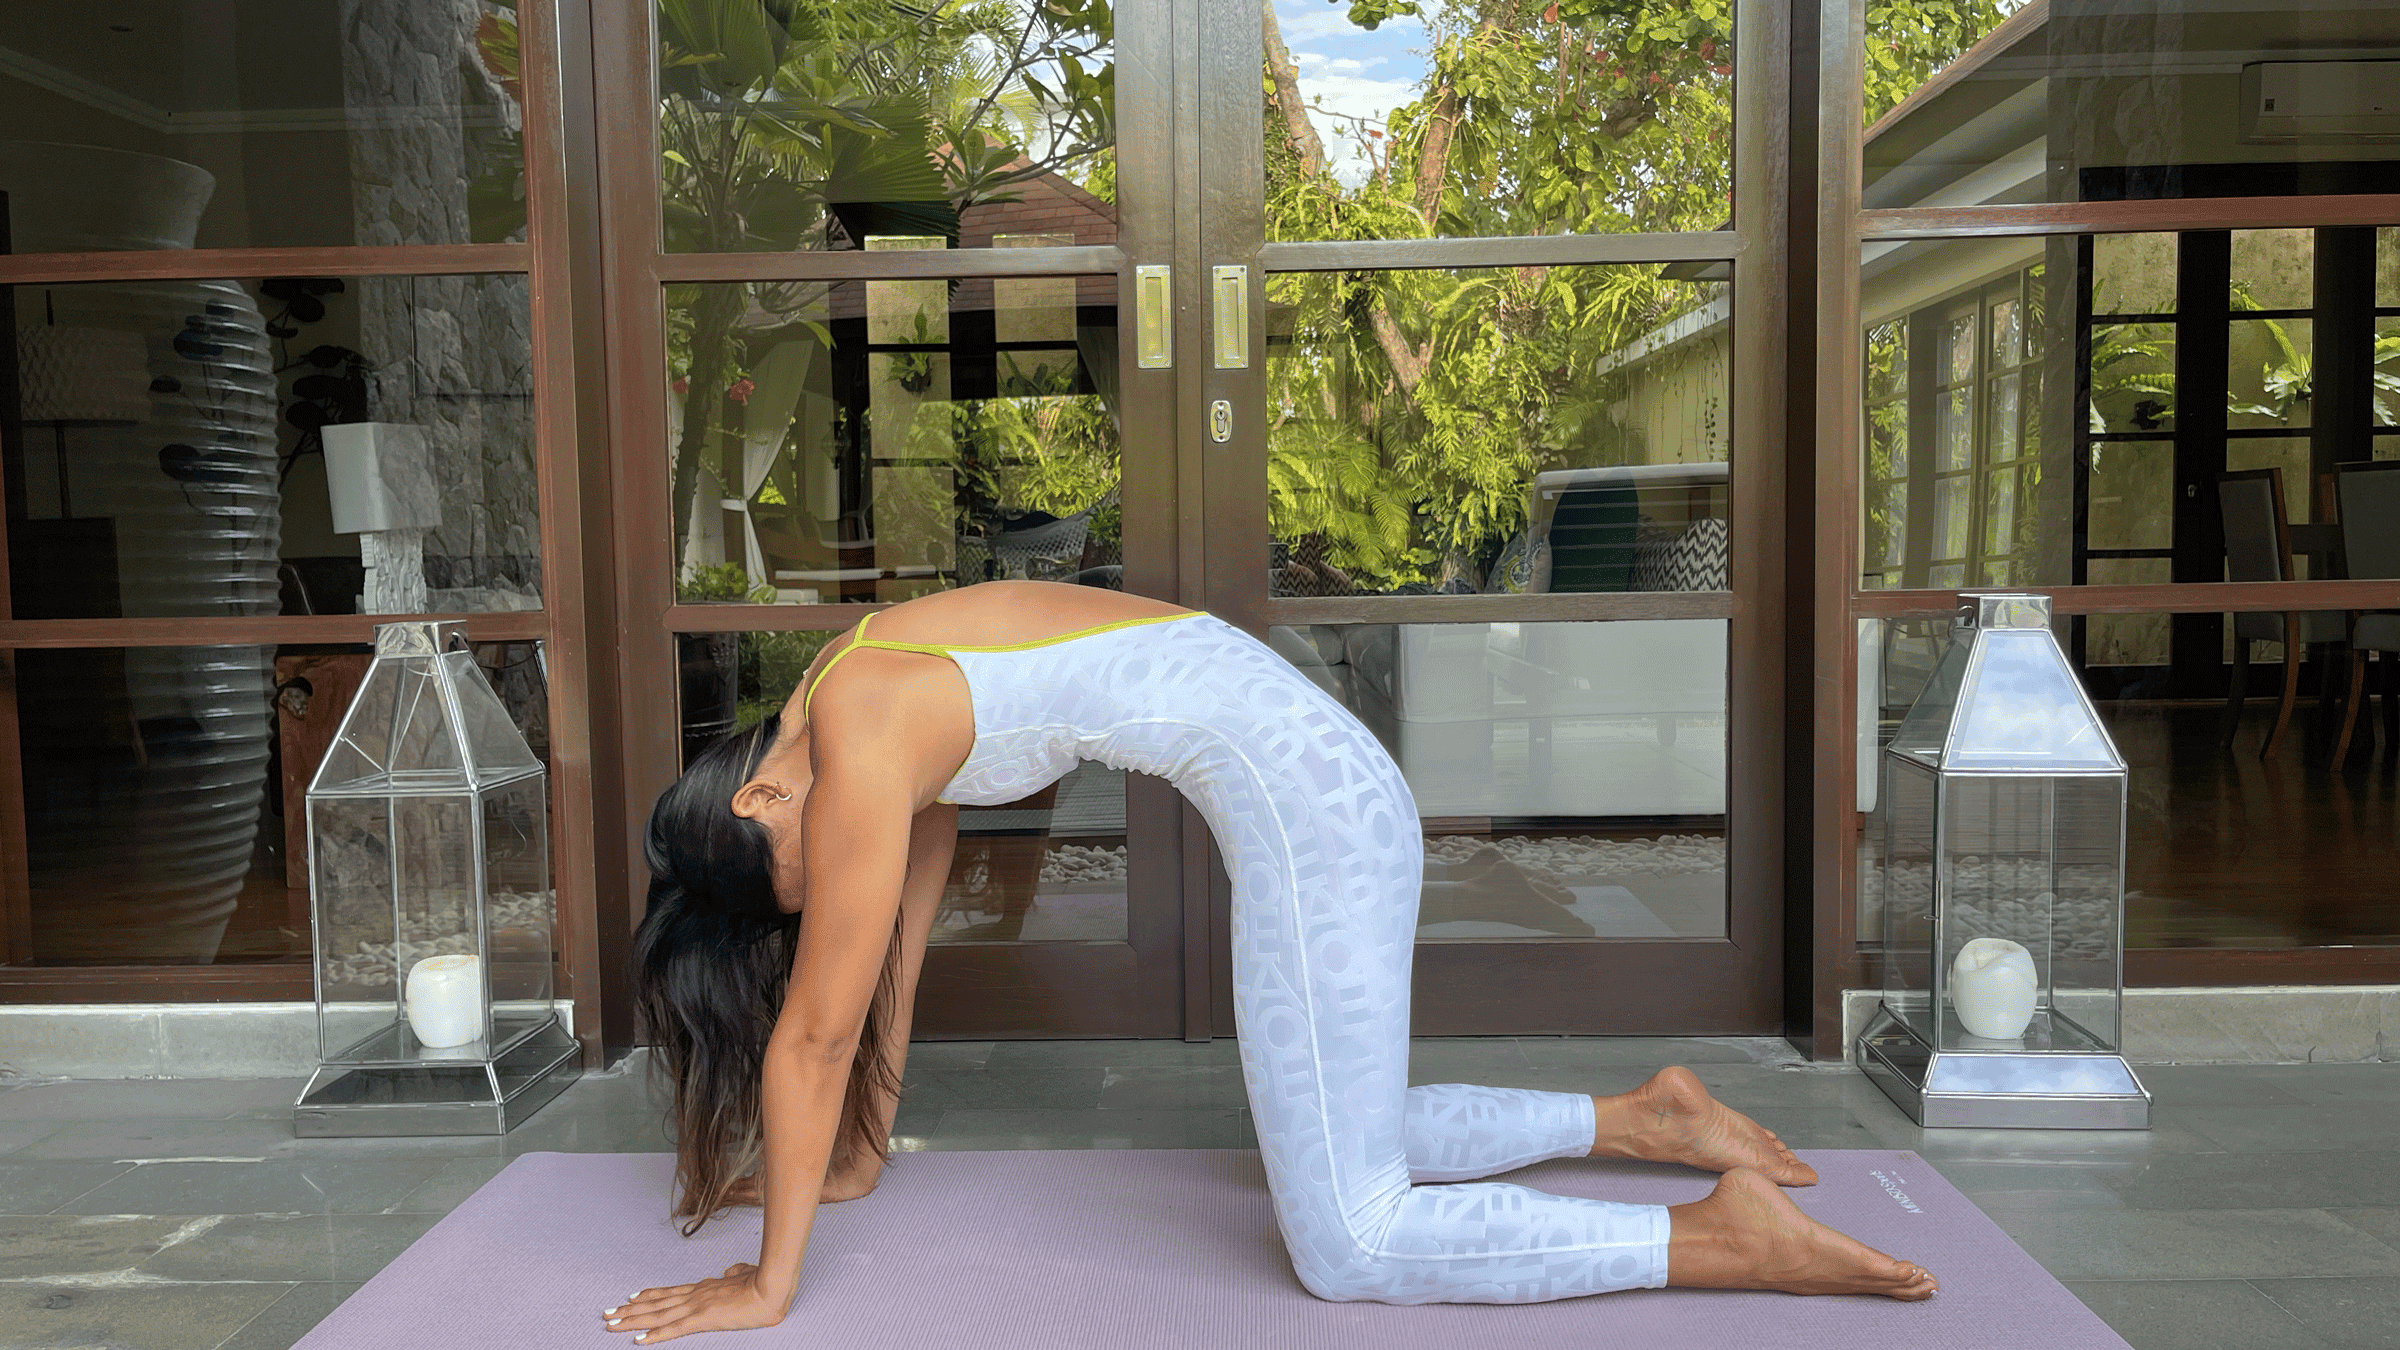
Then exhale as you tuck your tailbone, push the mat away, and round through your back. You really want to mobilize the entire spine. Go for as many rounds as feels good.
ADVERTISEMENT
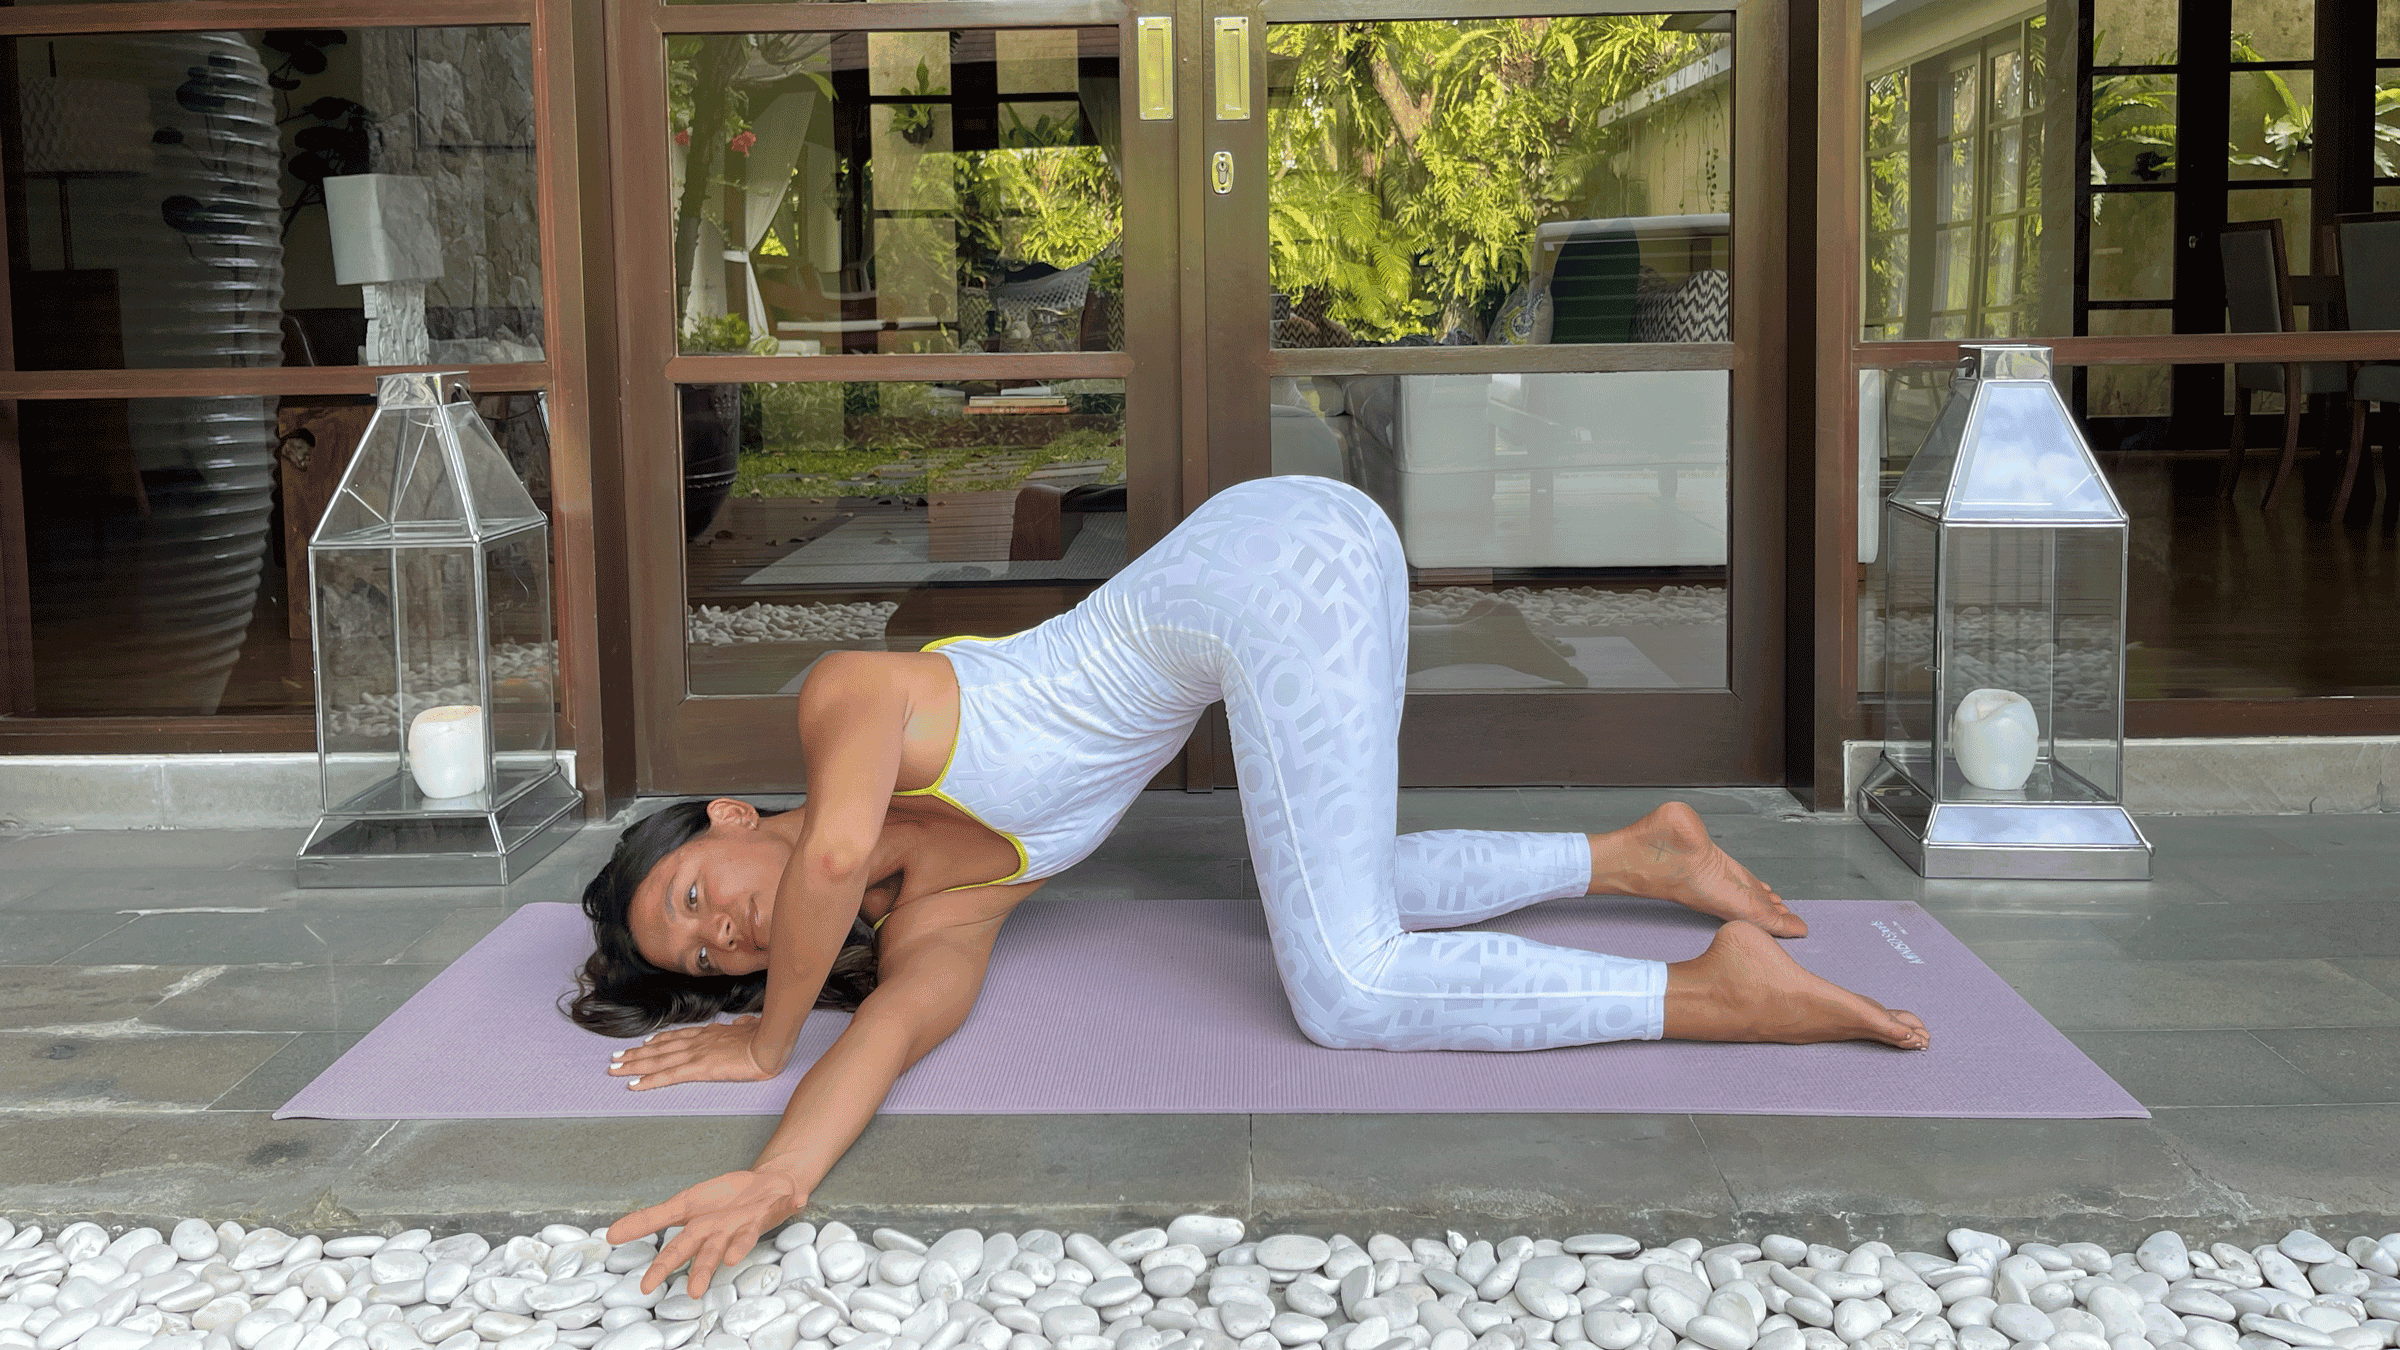
3. Thread the Needle
From Tabletop, inhale and reach your right hand out to the side and up toward the ceiling. As you exhale, bring your right arm down under your chest and reach over to the left side of the mat. Keep your hips stacked over your knees so the twisting motion comes from your thoracic spine. You can remain still for a few moments with your cheek and right shoulder grounded on the mat or repeat that thread-the-needle motion as many times as feels right. Make sure to hit that left side, too.
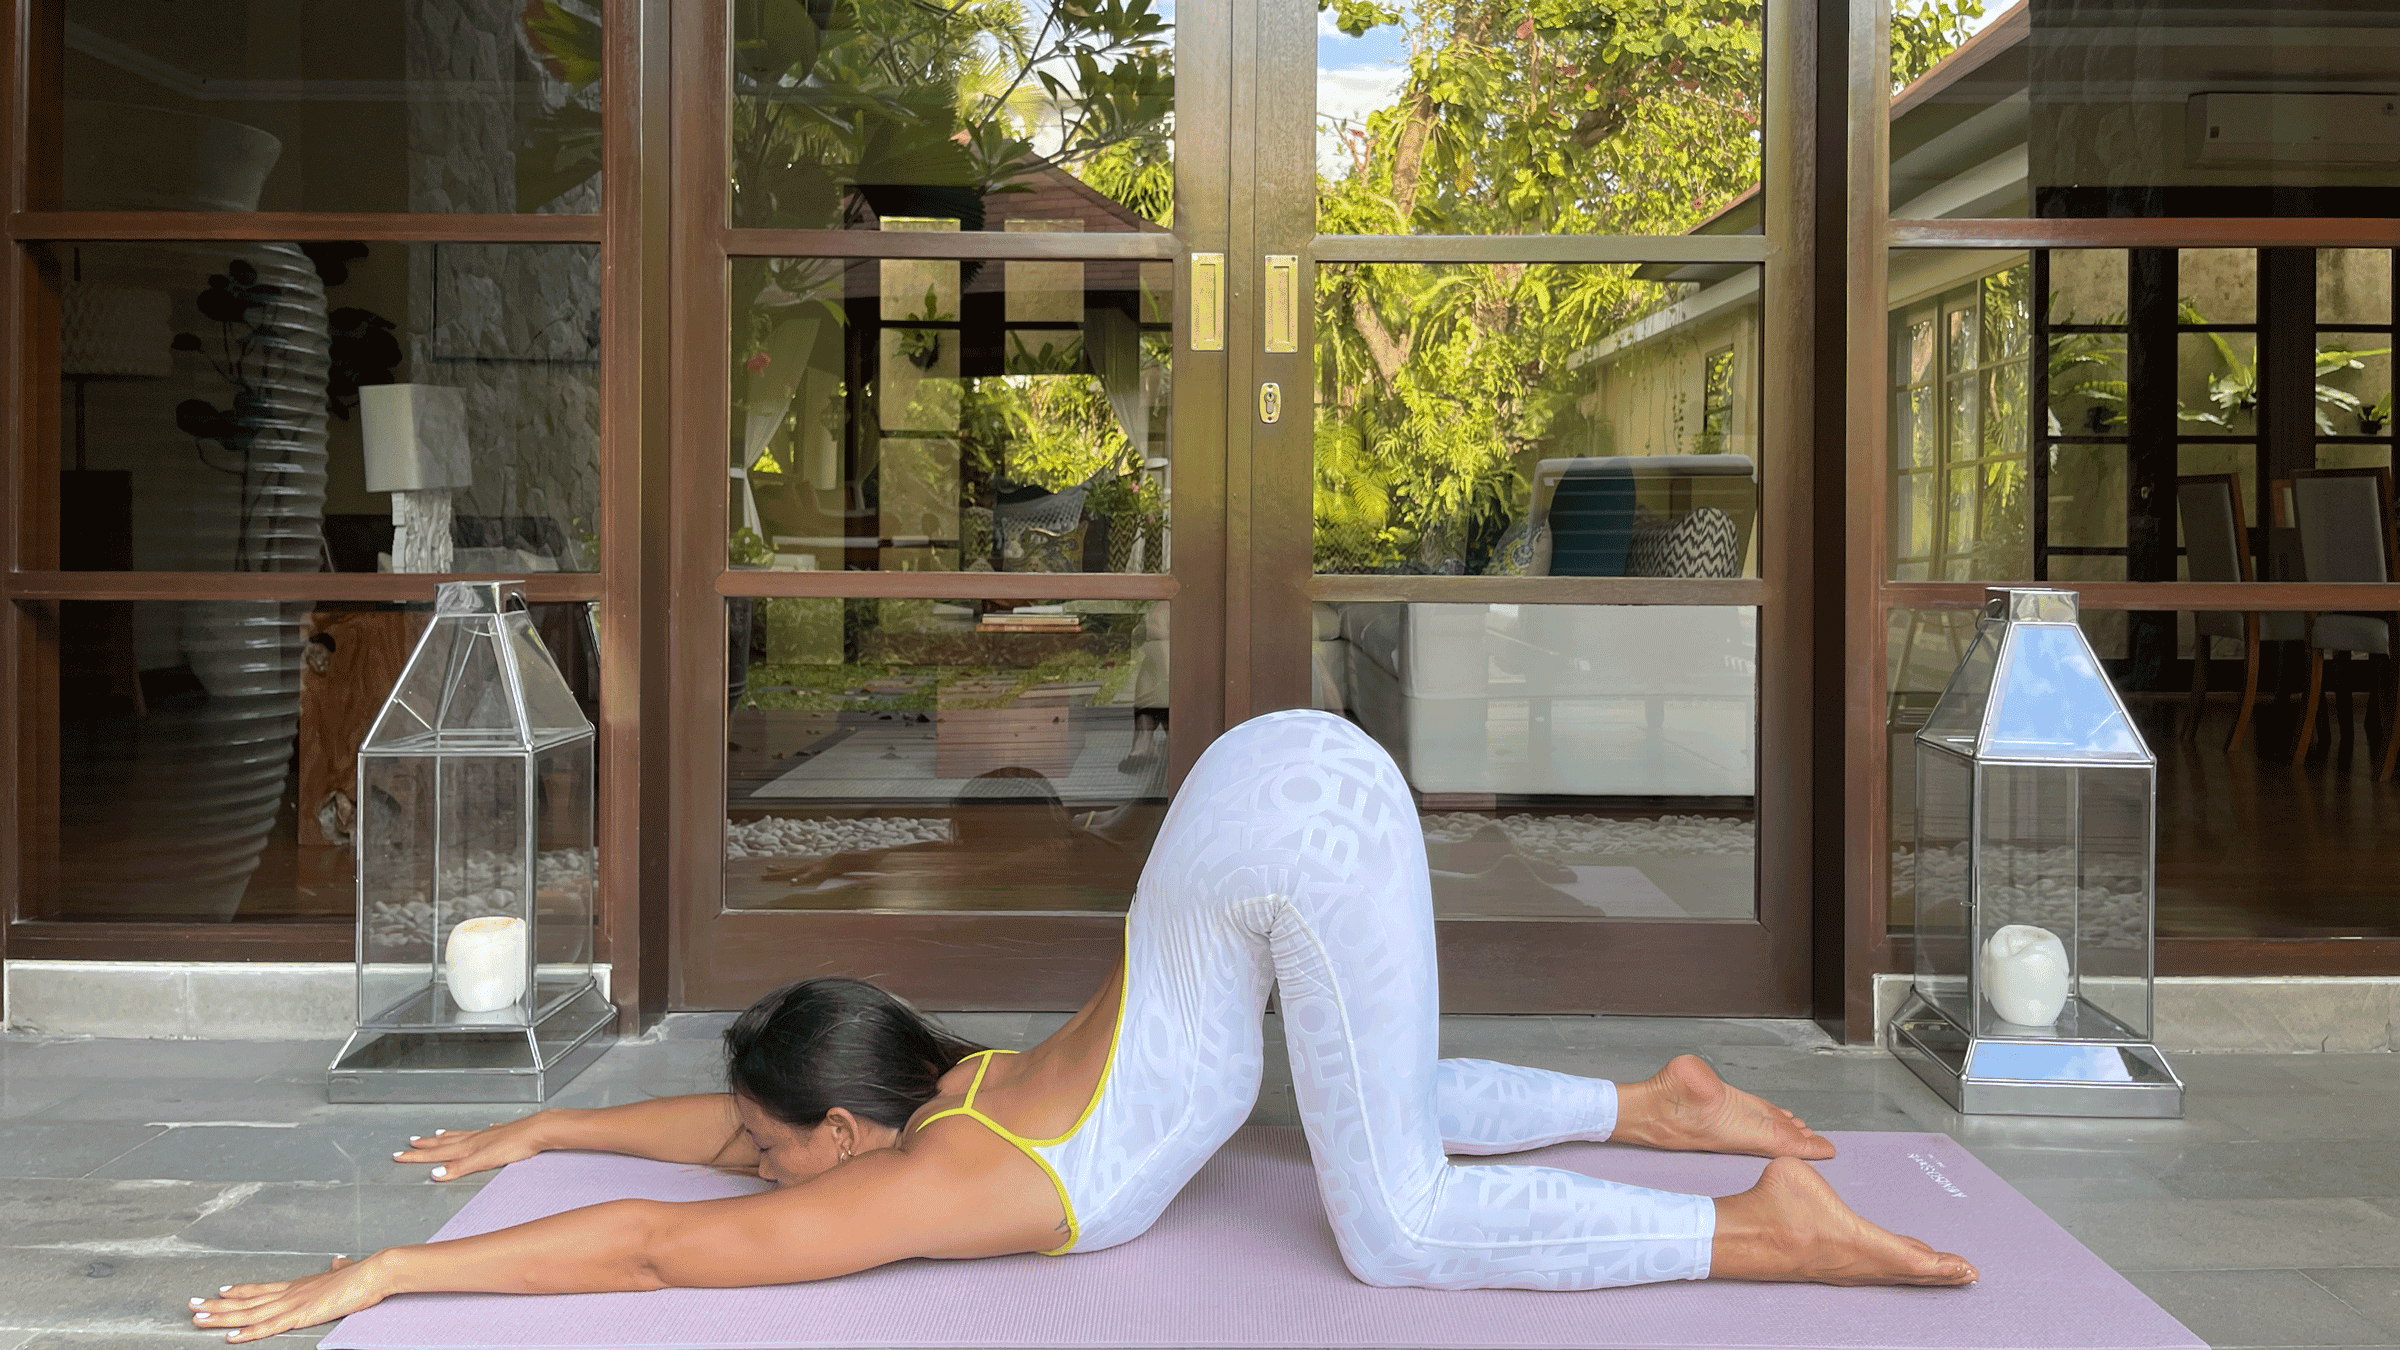
4. Puppy Pose (Uttana Shishosana)
From Tabletop, crawl your fingertips toward the top of the mat, extend your arms, and release your chest and forehead toward the mat in Puppy Pose. You can take a block under your forehead or each forearm for extra support. Be sure to keep those hips stacking over your knees. Remain here, taking deep breaths into your ribs and exhaling fully, for as long as you like.
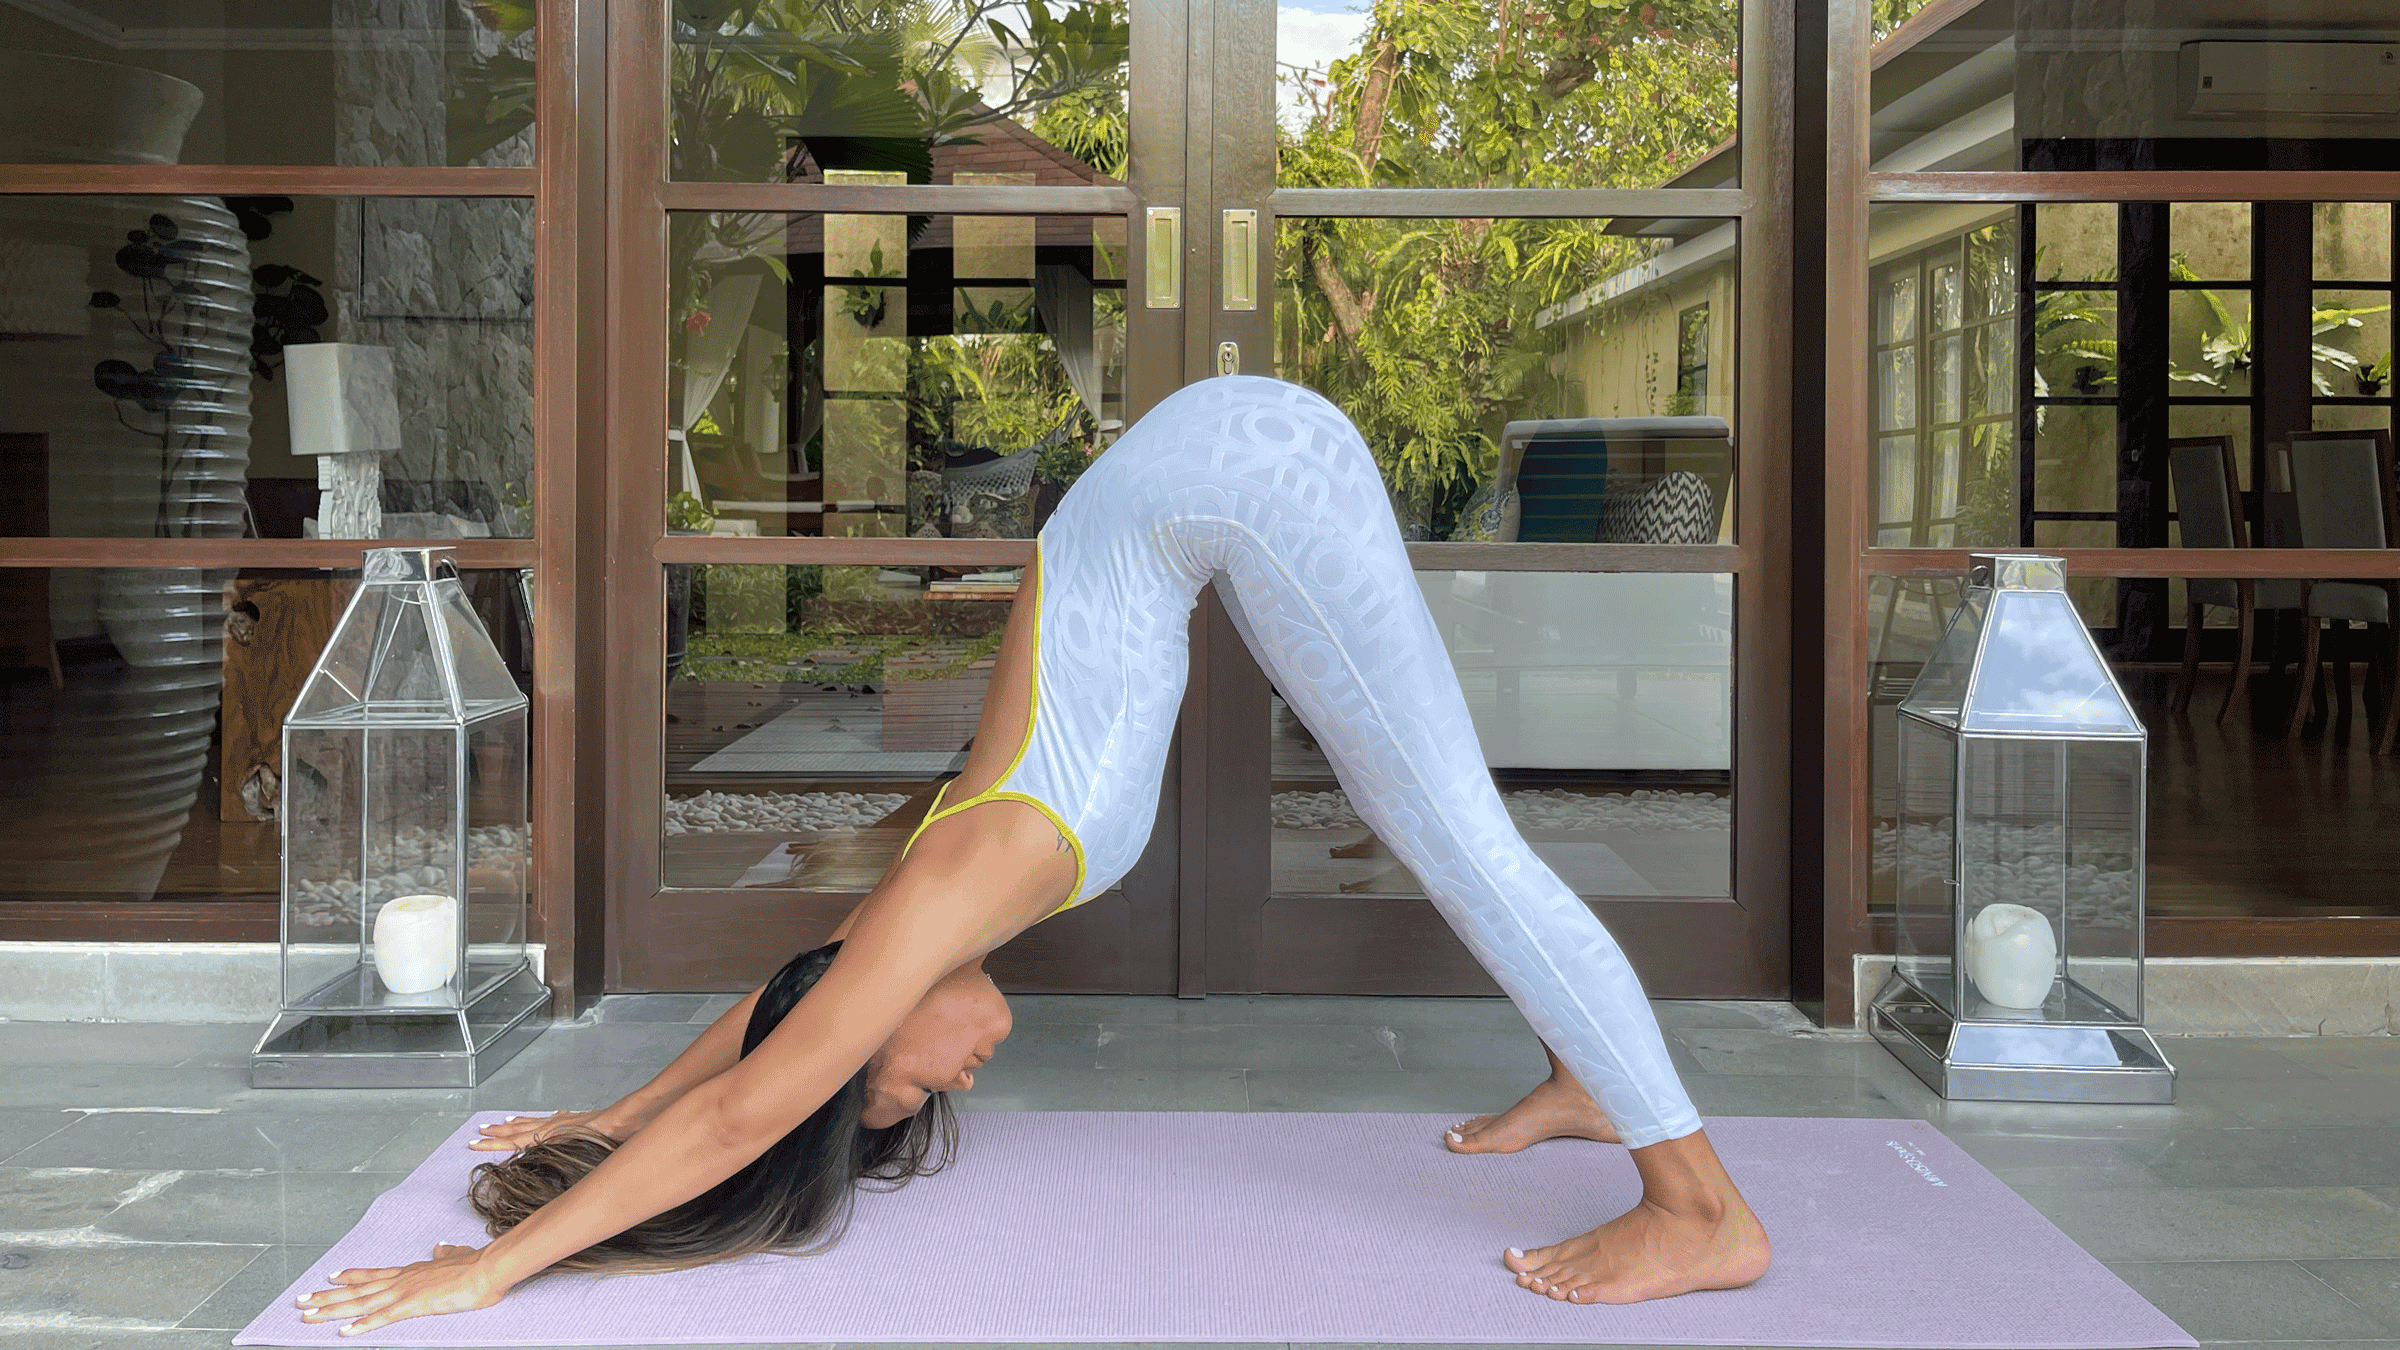
5. Downward-Facing Dog Pose (Adho Mukha Svanasana)
Once your chest feels a little more open in Puppy, transition back to Tabletop and then tuck those toes to send your hips up and back for Down Dog. Hold it here for a few rounds of breath, making sure to draw your shoulder blades away from each other. Inhale and think of your hips rising; exhale and imagine your heels sinking. If you like, sink your chest closer to your thighs.
ADVERTISEMENT
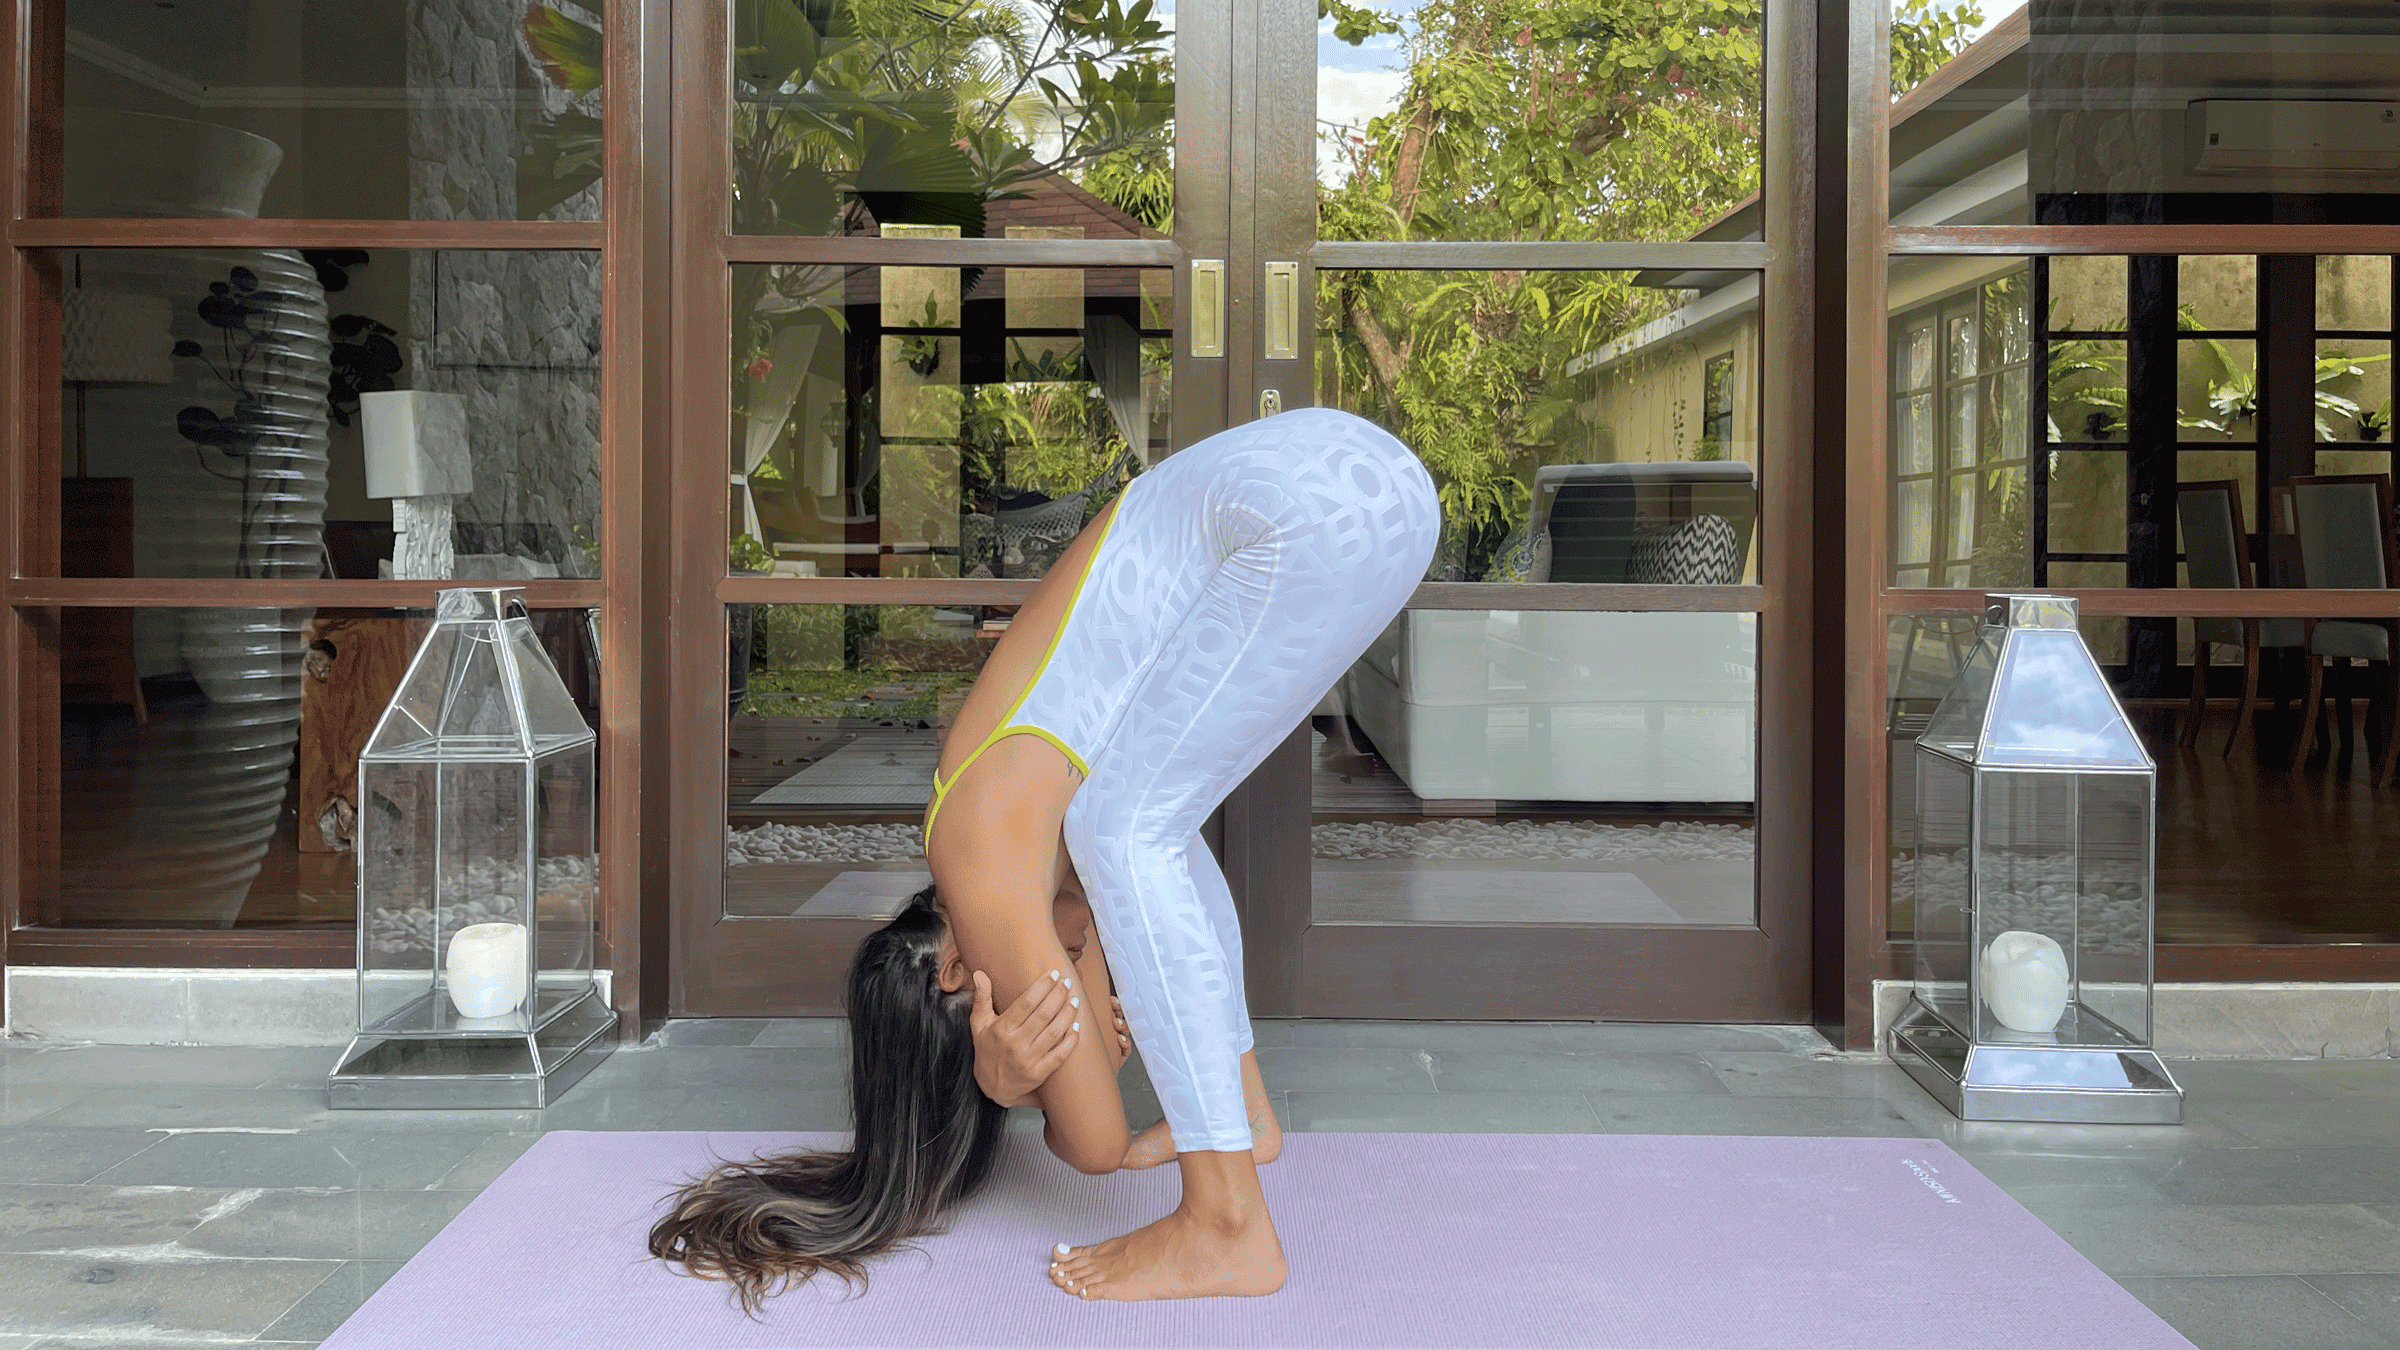
6. Rag Doll
From Down Dog tiptoe your feet forward until your toes land behind your wrists, about hip-distance apart. Bend your knees generously, hinge at your hips, and release your chest toward your thighs in Uttanasana (Standing Forward Bend aka Rag Doll). Let your head hang heavy, reaching the top of your head toward the mat. This is all about relieving the tension by decompressing the spine rather than stretching the backs of your legs, so keep that bend in your knees so you can focus on that upper back area. Feel free to grab opposite elbows and sway or shift weight side to side to add some dynamic movement.
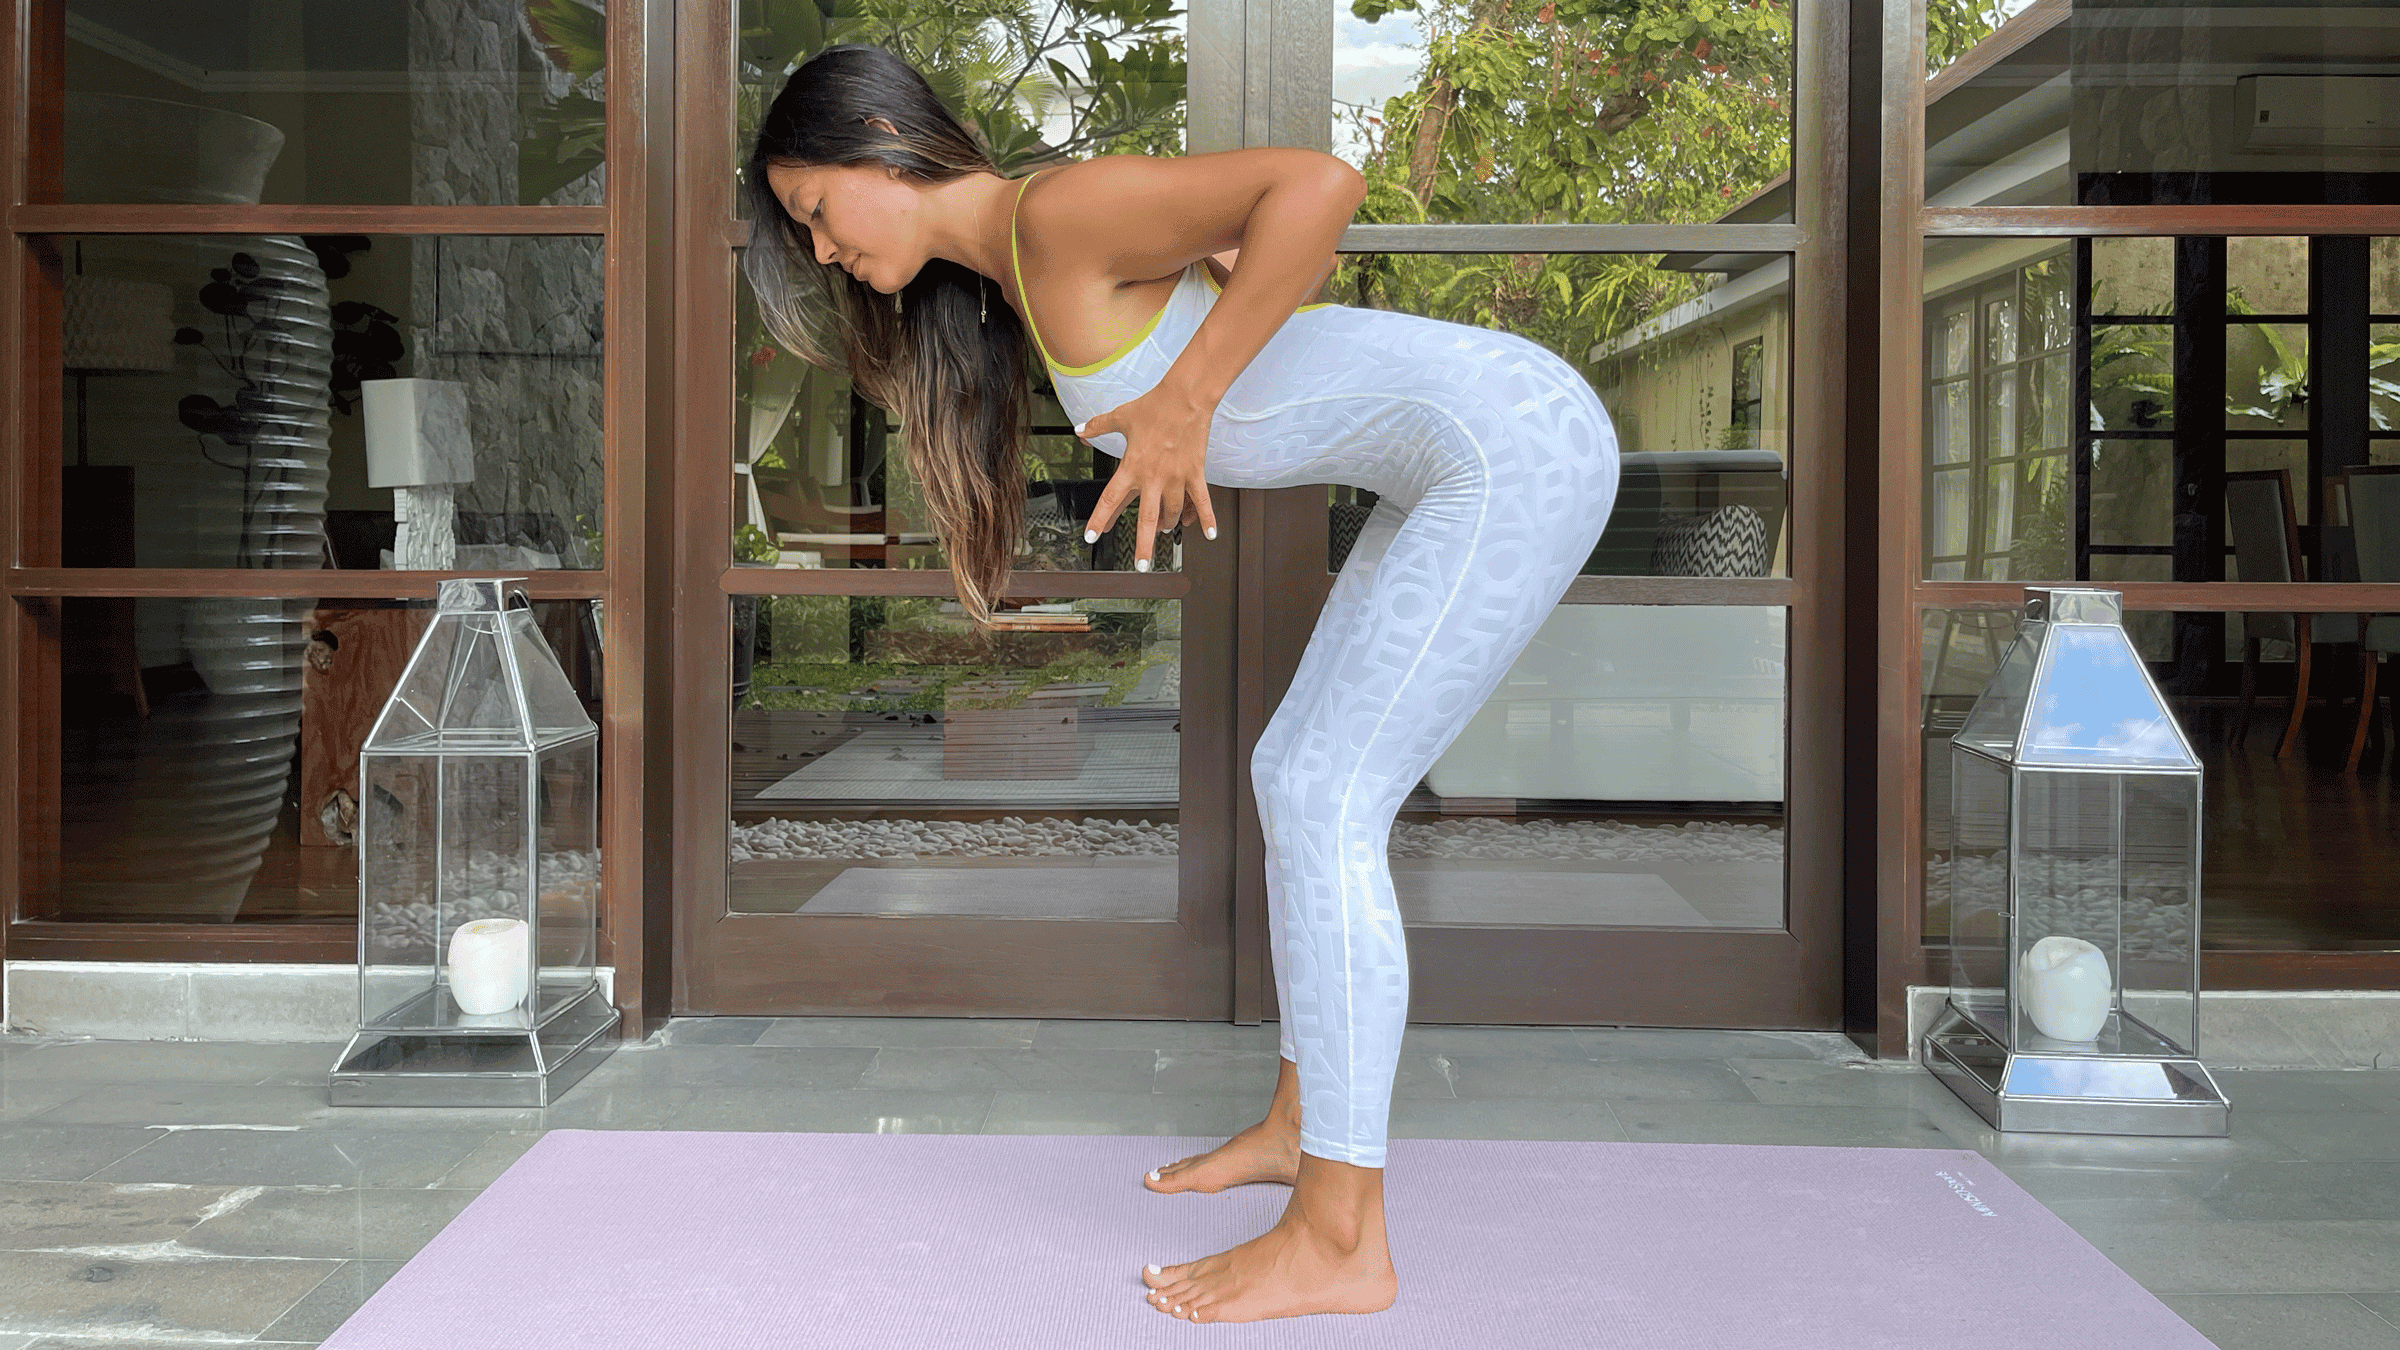
7. Rows
When you’re ready, slowly roll yourself up to standing in Mountain Pose (Tadasana). Hinge forward from your hips slightly so your chest is angled toward the mat, keeping your back flat and your spine long. Keep a slight bend in your knees. Reach your arms straight back alongside your side body. Draw your shoulder blades together and down your back. (I like to imagine I’m squeezing a pencil between my shoulder blades.) Bend your elbows until your forearms are in line with your torso, then straighten your arms and repeat. Go for as many reps as you like. I usually try for 10 or 12. Feel free to add a resistance band or some light dumb bells, although if you’re in pain, keep it to just your body weight. Return to Mountain Pose.
ADVERTISEMENT
Tip: Try to initiate the movement from your elbows, not your biceps, to really engage your back muscles.
8. Mountain Pose Shoulder Shrugs
From Mountain, shrug your shoulders up toward your ears, then take them toward the back of the mat and down your back before coming back to neutral. Repeat as many times as feels good.
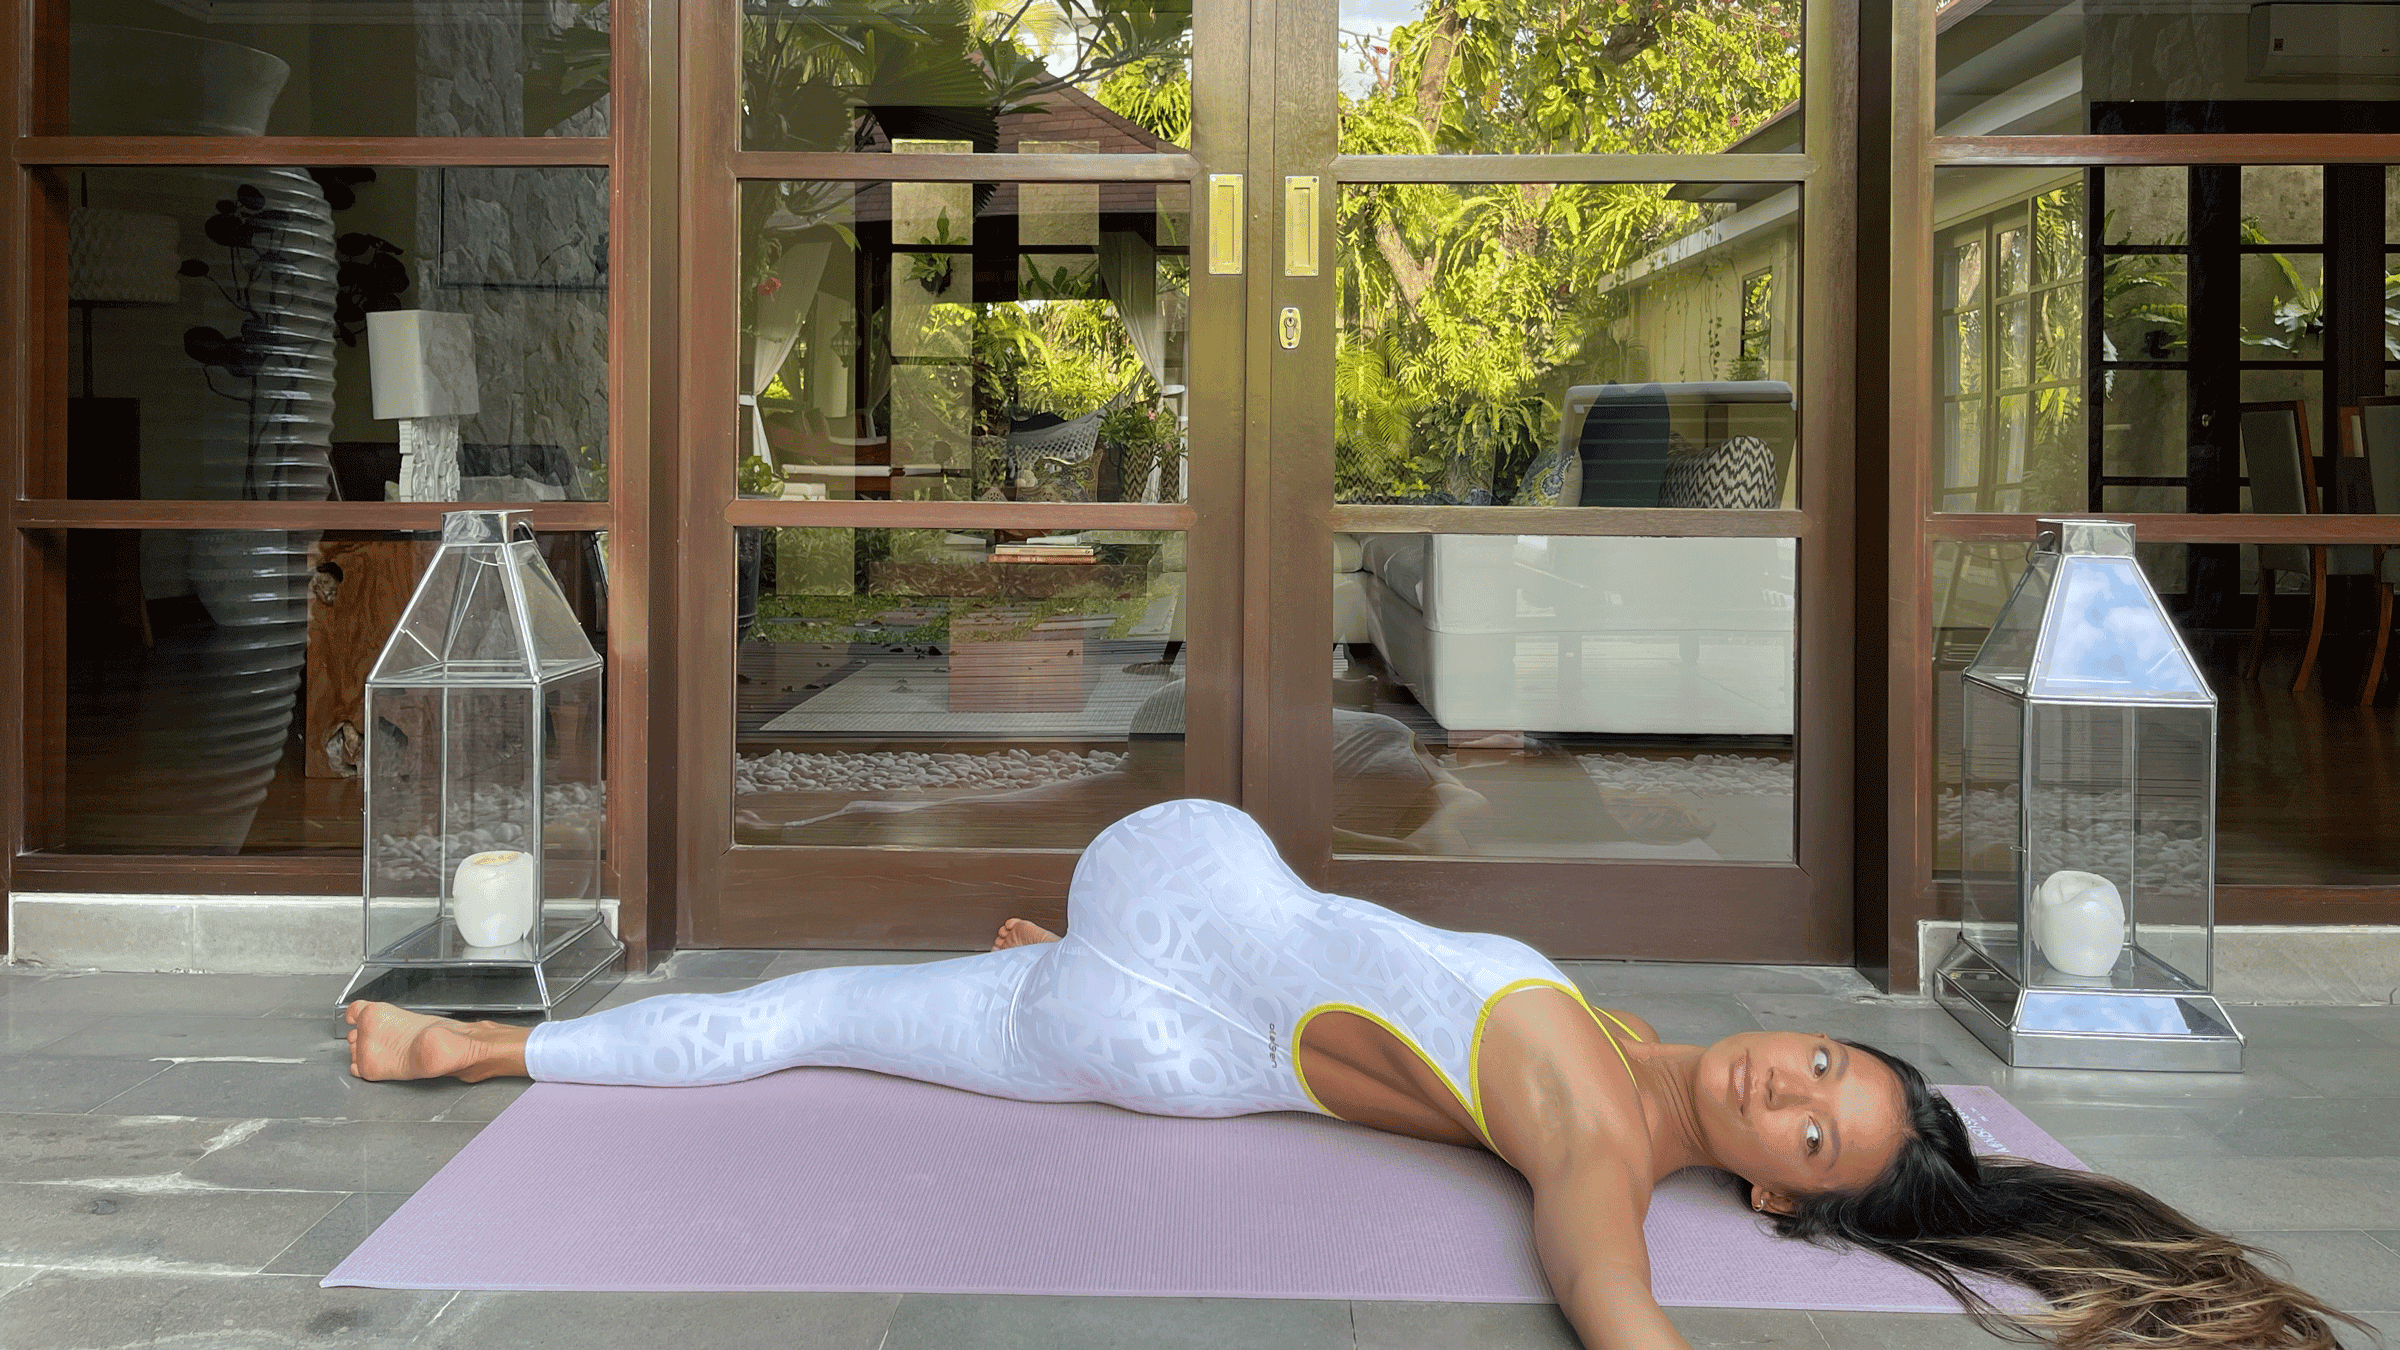
9. Reclining Twist
From standing, come back down to the mat for this final exercise. Lie down on your left side with your knees together. Bend your knees at a right angle so your thighs are parallel to the short side of the mat. Rest your arms, stacked on one another, straight in front of your chest. Keep your left arm plugging into the mat and your hips level and steady as you reach your right arm over to the right side of the mat as if you’re drawing a rainbow with your right hand, following your hand with your gaze. Stop the reaching motion where your body starts to resist. Bring your right hand back over to join your left, then repeat that twisting motion. Your hips and side body are holding steady while you reach behind you. Repeat as many times as you like.