Heading out the door? Read this article on the new Outside+ app available now on iOS devices for members! Download the app.
Relieve pain and increase mobility through self-myofascial release.
I jumped at the opportunity to attend Tiffany Cruikshank’s “Myofascial Release Revealed” workshop at Yoga Journal LIVE! in New York City. OK, to be honest, it was more like a one-legged hop followed by a labored shuffle. As a yogi, CrossFitter, and (temporarily side-lined) runner, I deal with my fair share of injuries and tightness; you can bounce a quarter off my upper back muscles, and I’ve got a bout of plantar fasciitis that just won’t quit.
See also6 Yoga Poses for CrossFit Cross-Training
Judging from the attendance for Cruikshank’s class, I’m not alone. The room was filled to capacity with achy yogis, all of whom eagerly gathered around as she began the class with a brief explanation of the purpose and role of the body’s fascia. She described it as a sort of “saran wrap” that connects the muscles in chains so that they can move together. And, like muscles, fascia can bind up, form scar tissue, restrict movement, and cause pain.
See alsoEase Lower Back + Shoulder Tension with Fascial Work

3 Guidelines to Ease Muscle Tension and Practice Self-Myofascial Release
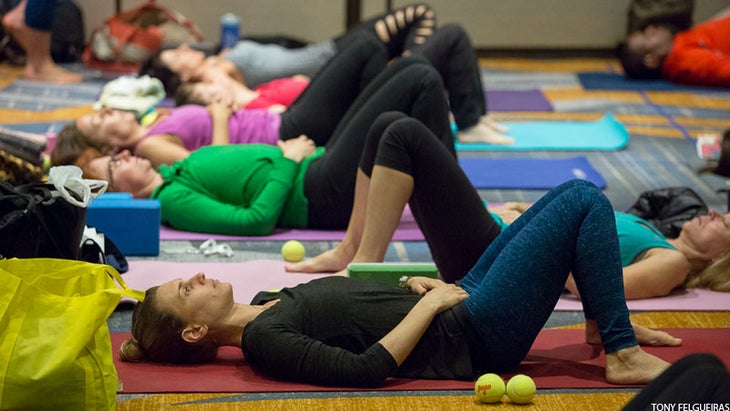
Cruikshank spent the next couple hours walking us through myofascial release techniques we could do on our own with just a yoga mat and a couple of tennis balls. Before we began, she provided us with three important guidelines for any self-myofascial release practice:
- Stay away from bone.
- Stay away from nerves or any sensations that feel sharp, shooting, or radiating.
- Avoid swollen tissue.
She also noted that less is sometimes more, as the muscles may tense up if the sensation is too strong.
4 Myofascial Release Practices to Try
With those rules in mind, here are some exercises you can do at home to relieve tightness and release any chronic tension that plagues your body. You’ll need a yoga mat and two tennis balls.
1. Relax tight calf muscles.
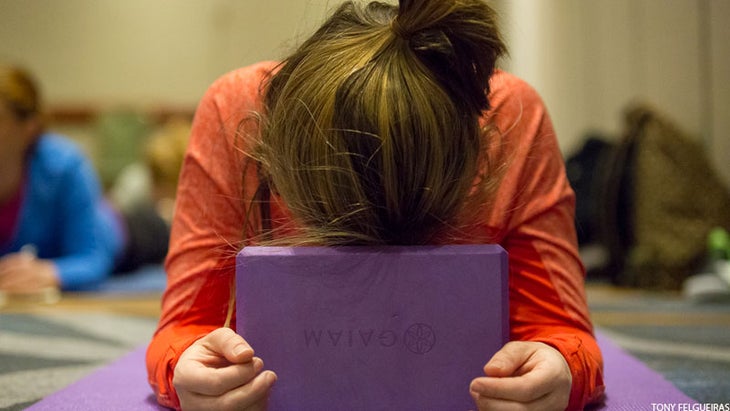
Roll up your mat to 2–3 inches in diameter. With your hands and knees on the floor, bring your forehead to the ground and tuck the rolled up mat into the crook of your knees. Gently sit up on your knees.
If you have tight calves like mine, you’ll feel this immediately. (I think I actually said “whoa” out loud.) Spend some time here before releasing the mat and moving it to a point on your calves that’s about 1/3 of the distance between your knees and ankles. Sit up again, allowing your body weight to press the mat into your calves. Repeat with the mat positioned 2/3 of the way between your knees and ankles.
Once you’ve worked your way down your calves, unroll your mat and take Savasana. Cruikshank instructed us to do this after every exercise so that we would have the opportunity to notice any new sensations in the muscles.
See also 7 Ways to Upgrade Your Next Massage
2. Loosen your hamstrings.
Sit on your mat with your legs straight out in front of you in a narrow V shape. Move the flesh from below your sitting bones so that they are resting directly on the floor.
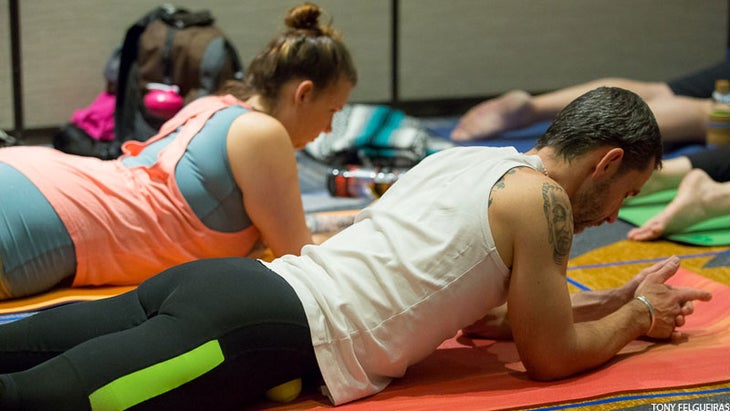
Slide a tennis ball under each thigh and position them directly under your sitting bones. Try leaning forward and back to increase or decrease the sensation as needed, but resist the urge to stretch forward, as stretching will pull on the muscle. This was another “whoa” moment for me. I didn’t need to do much more than simply sit there in order to feel a significant amount of pressure.
When you’re ready, move the tennis balls so that they’re about 1/3 of the way between your hips and knees and repeat the process. Then do the same with the tennis balls positioned about 2/3 of the way between your hips and knees.
Take Savasana.
See also How Bodywork Can Transform Your Practice
3. Release tension in your back.
With your knees bent, lie on the mat with the tennis balls positioned on either side of your spine (about an inch apart) just below the trapezius muscles.
Allow your bodyweight to press the tennis balls into the muscles on either side of your spine. When you’re ready, use your legs to roll up two inches so that the tennis balls roll down your spine. Spend some time here and then continue to roll the balls down your back two inches at a time. Once you’ve traveled the length of your spine remove the tennis balls and take Savasana.
Perhaps it was the two and half straight days of yoga I’d just done, but I actually fell asleep during this portion of the class. For me, it had the same effect as a deep tissue massage that’s both effective and relaxing.

4. Deepen your hip flexibility.
Lie down with your knees bent and the bottoms of your feet on your mat. Slide the tennis balls under your hips so that they’re positioned about 1 inch from either side of your sacrum. Rest here for as long as you like before straightening the right leg and moving the right tennis ball further away from the sacrum. Use your bent left leg to roll to the right slightly, increasing the pressure.
Continue to move the tennis ball away from the sacrum a little at a time, rolling your body to apply pressure. When you get to the outer edge of your leg just below the hip bone, roll your body so that you’re not quite all the way on your stomach and position the tennis ball so that it’s in the front “pocket zone” of your hip and apply pressure there. Judging from the symphony of collective gasps, groans and sighs in the room, we���re all carrying more than a little tension in our hips.
Take Savasana before moving on to the left side so that you can observe the differences between the right and left hips.
See alsoHip-Opening Yoga Flow Video

While all of Cruikshank’s exercises are informed by her comprehensive training and education in health and wellness, she concluded the class by assuring us that none of these exercises are an exact science. She encouraged us to explore and experiment to find what works best for our particular bodies.
SHARE IT Is self-myofascial release part of your practice? Share it with us, tag us @YogaJournal #YJ40 #YJLIVE
WANT MORE? Register now to get early bird pricing for #YJLIVE San Diego, June 25-29, 2015. Use code YOGABLISS for 15% off.