Updated March 24, 2025 06:27PM
Pyramid Pose | Intense Side Stretch Pose
Parsvottanasana encourages balance, body awareness, and inspires confidence.

(Photo: Andrew Clark)
Pyramid Pose (Parsvottanasana) is a deep forward fold that helps to stretch hip muscles and hamstrings and lengthen the spine. Its tight parameters—a narrow stance, as if on train tracks—asks you to mindfully cultivate stability, strength, and integrity in the pose.
As you enter this pose, make sure that you don’t hyperextend your knees or round your back and shoulders. Reach for length from the crown of your head to your tailbone.
“You need to find a balance between freedom and stability in Parsvottanasana,” says Natasha Rizopoulos, a yoga teacher and teacher trainer with the Down Under School of Yoga. “The freedom you can find in your upper body as you extend your spine and open your shoulders is facilitated by the stability of your base and the strength of your legs. As you explore the pose, embrace its dualities. Your physical alignment will improve, and with the liberating effects of embodying opposites, you may experience an energetic alignment as well.”
Sanskrit
Parsvottanasana (parsh-voh-tahn-AHS-anna)
ADVERTISEMENT
Pyramid Pose: Step-by-step instructions
- Begin in Tadasana (Mountain Pose) at the top of the mat.
- Place your hands on your hips, making sure your hips are squared.
- Step your right foot back 2 to 4 feet. Line up heel to heel with your back foot at approximately a 30- to 45-degree angle.
- Keep your hips facing forward and both sides of your waist elongated by pressing down with your right big toe mound at the same time as you draw your left hip back and in toward your right heel.
- On an inhalation, spread your arms out to the sides. On an exhalation, internally rotate your arms, bend your elbows, and bring your palms together behind your back. If this isn’t feasible, release your hands alongside your feet, on blocks, or on your shin.
- Inhale, lengthen your spine, and engage your quadriceps.
- Exhale, hinge at your hips, and begin to fold forward and toward your front thigh. Reach your sternum away from your navel and keep your collar bones broad to maintain openness in your front body and length in your back body. Release your forehead toward your shin.
- Draw the heads of your upper arms back and up away from the floor as you remain in the pose.
- To exit the pose, inhale and use the strength of your legs to come up. Release your arms and step your feet together, returning to Mountain Pose.
Variations
Pyramid Pose with blocks

If you can’t comfortably reach the floor without rounding your back, place blocks or other support under your hands, rather than sacrificing the integrity of the pose.
Pyramid Pose at a wall
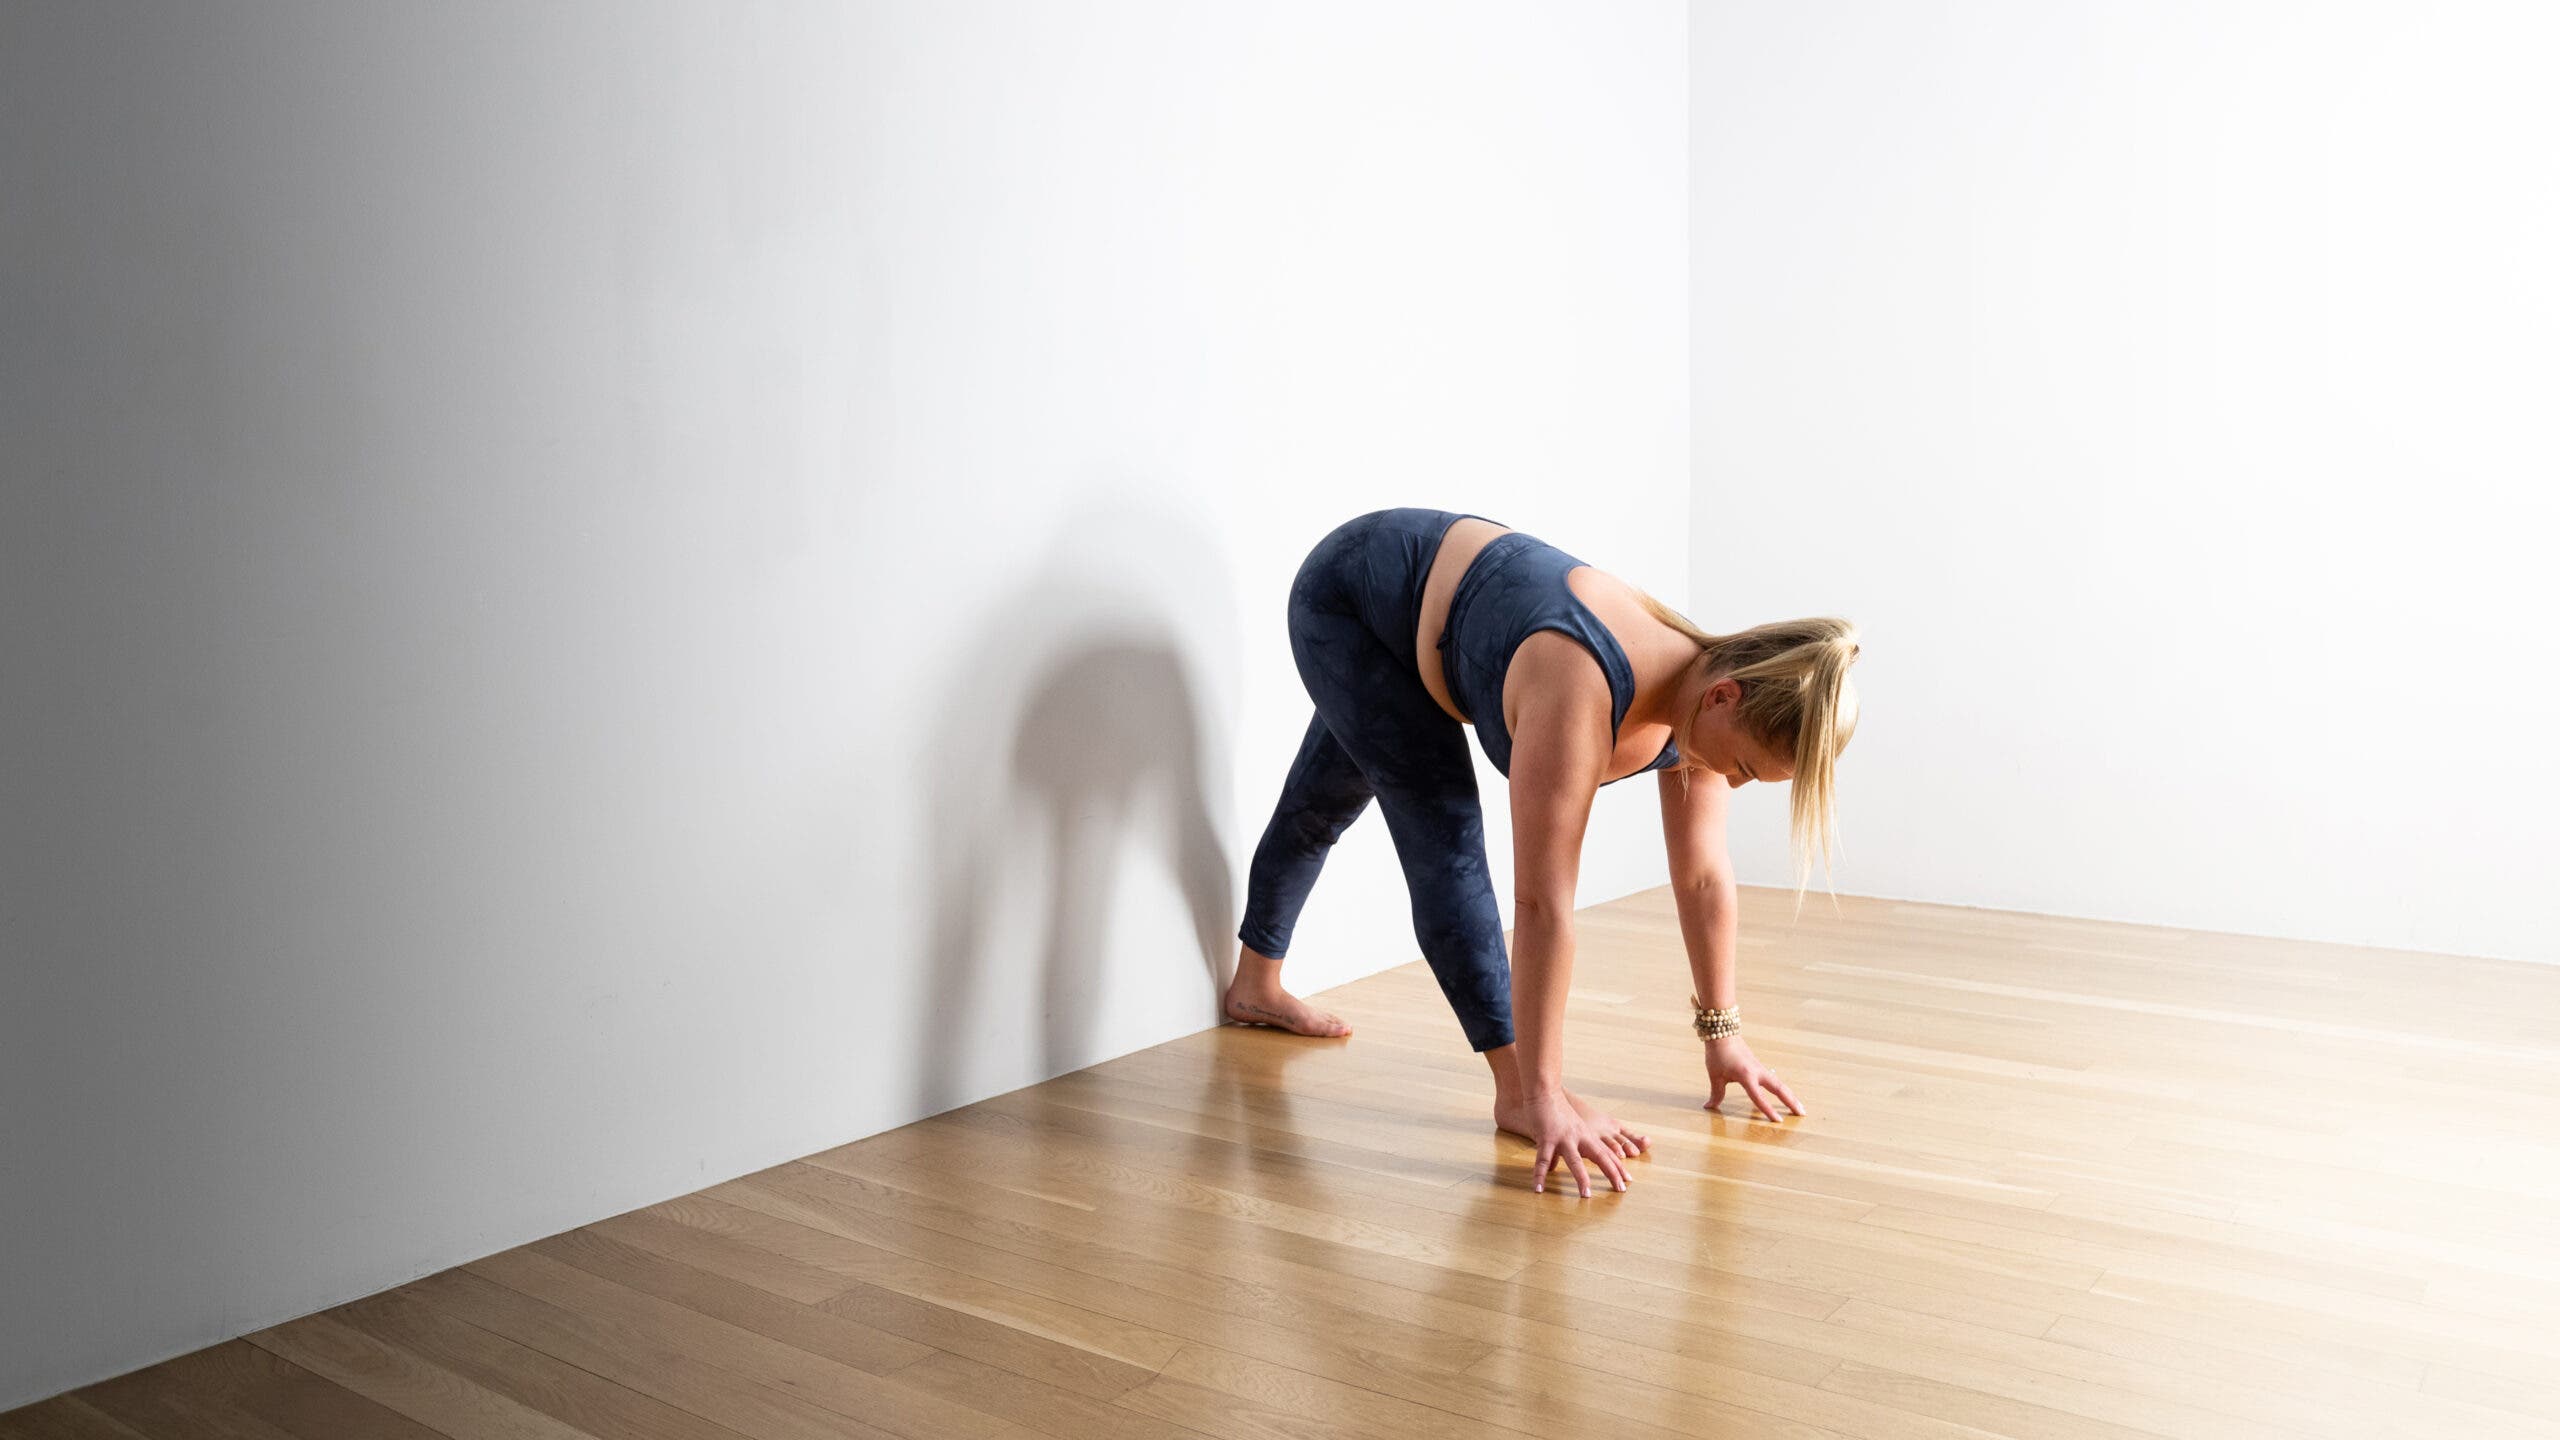
Begin standing with your back to a wall. Step forward with one foot and fold forward into the pose. Having the wall as a touch point may help you find balance.
ADVERTISEMENT
Pyramid Pose basics
Pose type: Forward Bend
Other name: Intense Side Stretch Pose
Pose benefits: Pyramid Pose stretches the spine, shoulders, wrists, hips and hamstrings. It also strengthen the legs and improves posture.
ADVERTISEMENT
Beginner’s tips
- When starting out in this pose, it’s easy to take too wide a stance. Move your feet closer together than they would be in a standing posture like Crescent Lunge, so you can hinge forward from the hips comfortably and still maintain balance.
- Your energy comes from your base. Press down into all four corners of your feet to generate stability and integrity in the rest of the pose.
Why we love it
“Pyramid Pose always brings a deeper sense of awareness to my body during my practice,” says Ellen O’Brien, Yoga Journal‘s staff writer. “By engaging (and relying) on the power of both of my feet and hands during this pose, every part of my body is fully activated. The hardest part for me during this pose is truly letting my head fall. But once I do that—and fully let go—I’m able to go deeper into my body.”
Teaching Parsvottanasana
These cues will help protect your students from injury and help them have the best experience of the pose:
- Keep a slight, soft bend in your knees rather than locking them. Activate the muscles in your hips, legs and abs to hold you up, rather than over tax the ligaments at the back of your knees.
- Keep your hips facing forward in the same direction, rather than allowing them to lift on one side or the other.
- Press your big toe and inner heel of your back foot firmly into the floor, then lift the inner groin of your front leg deep into your pelvis.
Preparatory and Counter Poses
Preparatory poses
Uttanasana (Standing Forward Bend)
Adho Mukha Svanasana (Downward-Facing Dog)
Prasarita Padottanasana (Wide-Legged Standing Forward Bend)
Baddha Konasana (Bound Angle Pose)
Gomukhasana (Cow Face Pose)
ADVERTISEMENT
Counter poses
Dandasana (Staff Pose)
Paschimottanasana (Seated Forward Bend)
Uttanasana (Standing Forward Bend)