Updated January 20, 2025 08:34PM
4 Surprising Ways to Use a Yoga Bolster
Want to challenge your stability and coordination? Grab a yoga bolster and try these four surprising moves.
It’s a common misconception that yoga props are simply work-arounds for beginning practitioners, and that they lose their helpfulness as your practice progresses. In fact, it’s quite the opposite! Yoga props offer countless ways to vary your practice and test your body and mind in new ways.
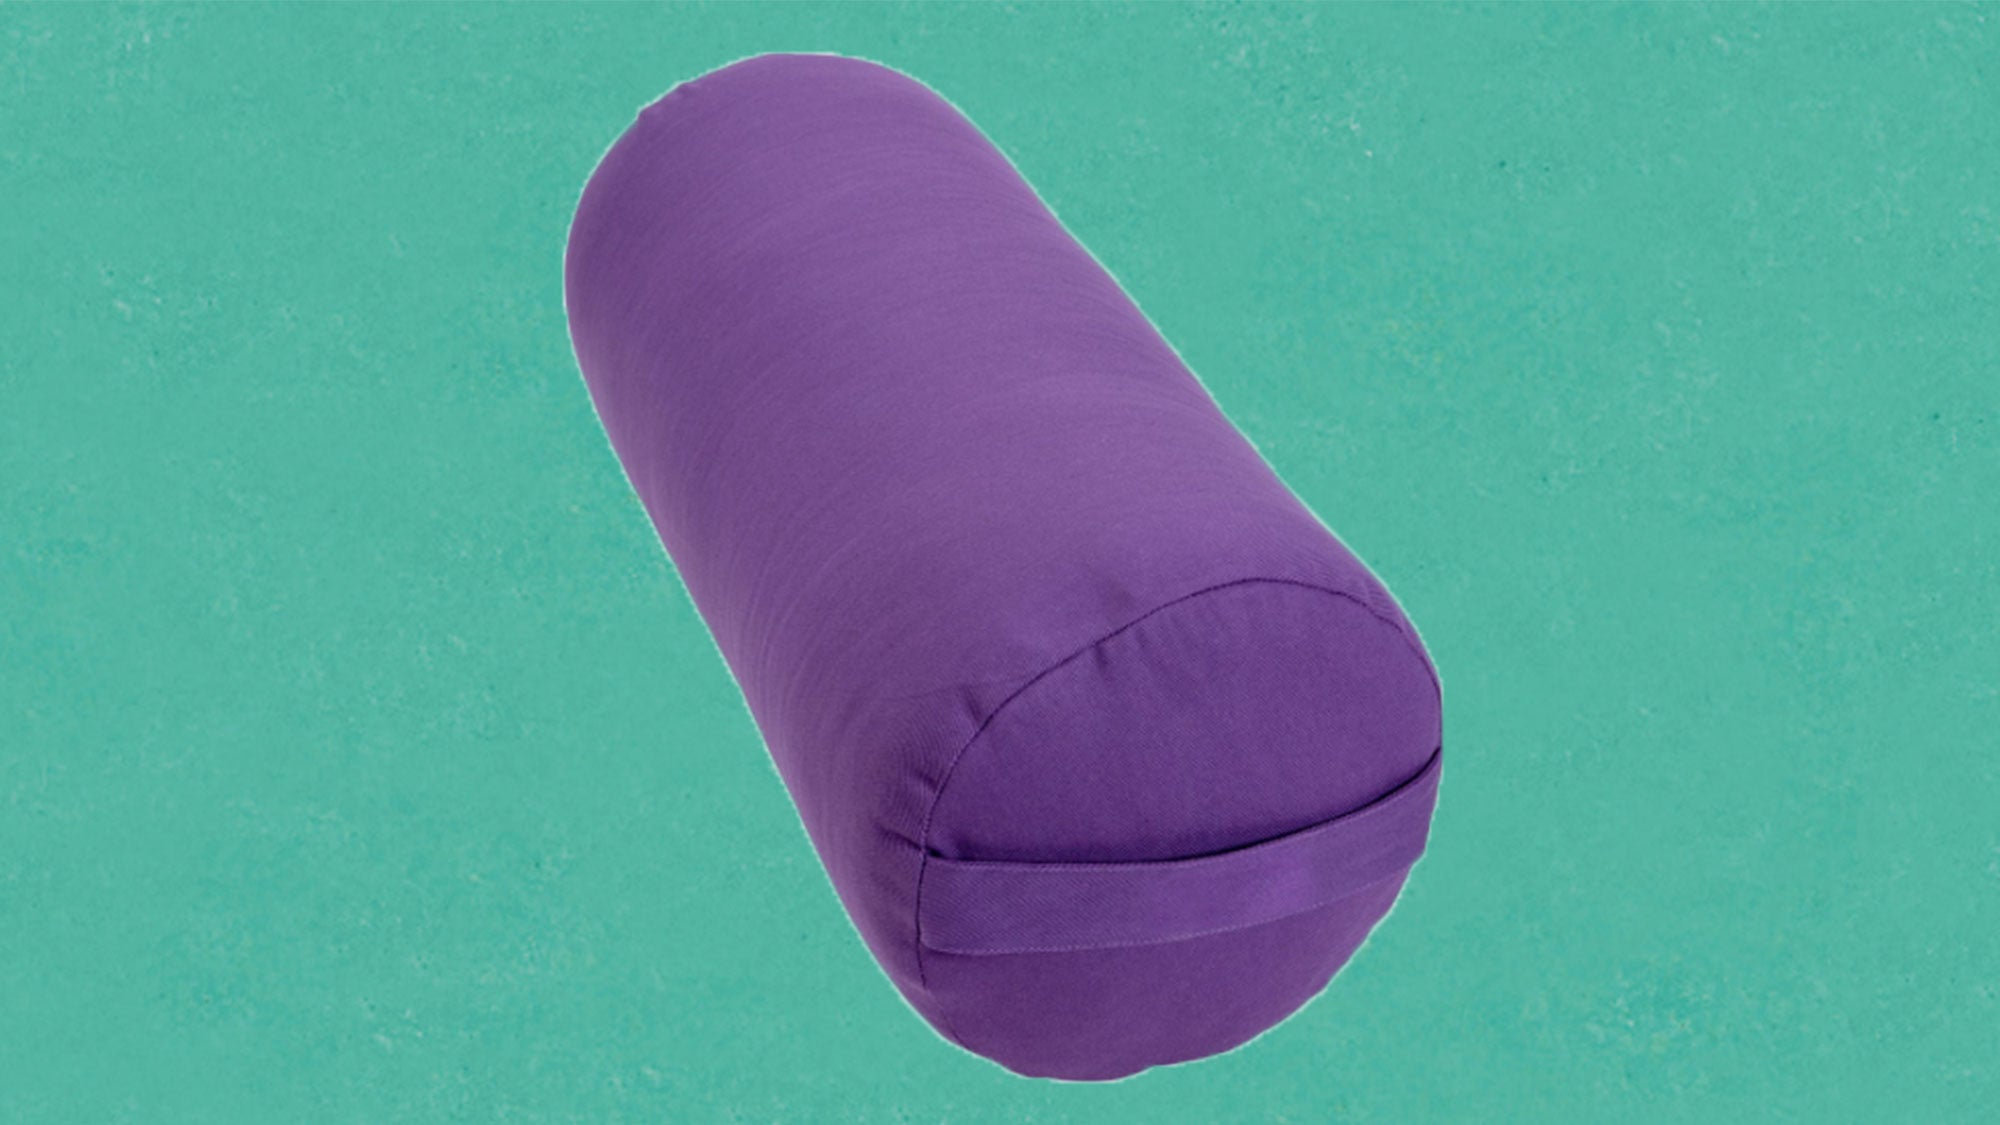
My favorite yoga prop—the bolster—isn’t just for restorative yoga. It can also be used to up the ante on core work in a few unexpected ways.
See also 7 Best Yoga Props, According to 7 Top Teachers Around the Country
These four practices use the bolster’s soft, unsteady surface to challenge both stability and coordination:
ADVERTISEMENT
1. Balancing Core Work

Set your bolster up parallel to the long edge of your yoga mat and lie down with it under your spine. Make sure you are supported from your sacrum to the back of your head; if your torso is longer than your bolster, find a yoga block or cushion to support your head.
ADVERTISEMENT
Engage the muscles around your core, visualizing movement in two directions: drawing in around your waist and lengthening from your crown to your tail. Make sure you aren’t gripping or clenching your abdominals; you should still be able to feel your breath moving freely in your ribcage.
Keep that gentle core support and float your arms above your shoulders, as if reaching for the ceiling. Then, lift one foot off the floor to stack your bent knee above your hip. Keep firming in around your waist to steady yourself on your bolster and lift your opposite foot, stacking both knees above your hips in a supine tabletop position with your knees bent and shins parallel to the floor.
Take a smooth breath in. On your exhalation, slowly extend your left leg out straight, lowering it down toward hip height, and simultaneously reach your right arm overhead, lowering it toward shoulder height. Then, use the length of your inhalation to return to supine tabletop. As you exhale, extend your right leg and and left arm, and on an inhalation, return to your starting position. Continue to move from side to side with the steady pace of your breathing, keeping your face and neck relaxed.
Notice the coordination between your upper and lower body, and between your left and right sides, feeling how that allows you to compensate for the lack of stability in your base.After 10 rounds on each side, return to supine tabletop position. Keep drawing in around your waist for support as you set your feet back down onto the floor. Slowly roll off your bolster, lying on one side for a moment or two before pressing up to stand.
ADVERTISEMENT
See also How Yoga Helps You Survive Your 20s
2. Lord of the Dance Pose (Natarajasana), variation

This pose builds on the full-body coordination you just developed. In this variation, you’ll stand on the soft, unstable surface of your bolster, adding stability work for the small muscles of your ankles and feet.
Stand your left foot in the middle of your bolster and fix your gaze on something unmoving on the wall or floor in front of you. Recreate the feeling of cinching in around your waist and lift your right foot off the floor. Take a moment to adjust to the feeling of the bolster beneath you. Notice that even though the bolster is soft and unsteady, you are still able to spread your left toes and lift through your left arch and inner ankle. Find a central point of balance between the ball off your foot and your heel, and between big and pinky toe edges.
ADVERTISEMENT
Once you have found your balance, reach your left arm out in front of you. Slowly bend your right knee to bring your heel toward your butt and reach back with your right hand to catch the inner arch of your foot. Continue to root down through your left foot and draw in around your waist as you slowly hinge into your left hip, balancing the forward reach of your hand and with the backward kick of your right foot.
Notice the similarities between this pose and your previous core work—how the cohesion between the separate parts of your body helps you trust in your stability here.
After eight or more measured breaths in this pose, slowly reverse out the way you came in. Come off your bolster and bring both feet to stand on the solidity of the floor. Take a moment to notice your awareness of the sensations in your feet before moving on to the second side.
See also A Yoga Sequence to Heal Your Bladder and Kidney
ADVERTISEMENT
3. Warrior III (Virabhadrasana III), variation

If we set aside the difficulty of balancing on one foot, the key challenge of Warrior III is the proprioception required to square your hips to the floor and create a long, straight line through your torso. So in this variation, rather than balancing on your bolster as you’ve done previously, you’ll use its tactile feedback to help you fine-tune your position.
ADVERTISEMENT
Come to stand on your mat, holding your bolster. Swing your bolster behind you so that it runs down your spine from your upper back to your sacrum. For now, hold your bolster in place with one or both hands.
Then, shift your weight into your left foot, spreading your toes, lifting your arch, and engaging your ankle as you just practiced in Lord of the Dance pose. Slide your right foot behind you and tilt your torso forward, finding a strong, straight line from your head to your right toes. Retain that plumb line as you slowly hinge from your left hip, keeping your hips level.
As your torso lowers toward parallel with your mat, you’ll find a point where you’re able to release your bolster and bring your arms down by your sides. If your hips tilt, you’ll feel your bolster start to roll away from the midline of your spine; if you lose the straight line from your crown to your sacrum, you’ll feel the bolster’s center of balance shift from one end toward the other. Maintain a balanced and centered position for the bolster, using its unfamiliar weight to heighten the sensations in your back body so that you can maintain straight lines from crown to toes, and across the back of your pelvis.
ADVERTISEMENT
Hold this pose for 8 or more breaths before reaching back to catch hold of your bolster. Then, return to your starting position to repeat on the other side.
See also 5 Poses to Practice in a Cramped Airplane Seat
4. Bird-Dog, variation

Kneeling on your bolster not only makes your balancing surface less steady, it also increases the difficulty of the pose by providing a much narrower base for your support hand and knee. This kneeling balance is more challenging than it looks; you’ll need all of the coordination you’ve gained from the previous three poses.
Set your bolster up parallel to the long edge of your mat and come to all fours on top of it. Your wrists might feel more comfortable if you turn your hands out slightly, allowing your fingers to curl toward the sloping sides of your bolster.
ADVERTISEMENT
Take a moment to accustom yourself to the soft, narrow base of the bolster, then find the now-familiar sensation of drawing in around your waist to lengthen your midline. Keep that sensation as you press down into your hands and knees, finding a corresponding lift in your torso.
Extend your left leg back behind you, reaching all the way back to your toes and keeping your hips steady as you just practiced in Warrior III. Slowly reach your right arm forward so that your bicep is by your ear. Feel yourself poised in the center of opposing energies: cinching your waist as you lengthen from your fingertips to toes, rooting down through your support hand and knee to create buoyancy in your hips and ribcage. Soften the sides of your neck and steady your breathing, using the challenge of maintaining your balance to heighten your awareness of your entire body.
After 5 or more slow and steady breaths, slowly release your right hand and left knee back down to your bolster. Pause for a breath before moving to the second side.
See also 10 Yoga Sequences for Strong Feet and Better Balance