Updated August 23, 2024 12:38PM
12 Yin Yoga Poses to Help You Feel Recharged
Who says you can’t relax and recharge at the same time?
(Photo: Daniel de la Hoz | Getty)
Yin yoga was designed to create balance in the body. In Taoism, yin is passivity and restfulness, whereas yang is energy and mobility. Just as you can’t have yin without yang, you can’t expect your body to constantly perform if you don’t balance your routine with relaxation. That’s where these yin yoga poses can be of service. Holding these stretches to a degree that’s “a comfortable discomfort” and slowly transitioning in and out of each pose can help restore your balance of doing and being so that you can feel more recharged and more like yourself again.
12 Yin Yoga Poses

1. Butterfly
Targets: Inner thighs, outer hips, and spine
How to: From a seated position, bend your knees out to the sides and draw the soles of your feet together as you slide them away from you, creating space between your pelvis and heels. Gently fold forward, hinging at your hips and allowing your spine to softly round and your head to release toward your feet. You can rest your elbows on the floor with your head in your hands, or place a cushion on your feet to rest your head on. If folding forward is challenging for your hips, hamstrings, or lower back, sit on a folded blanket. Release your shoulders and breathe here for 3-5 minutes.

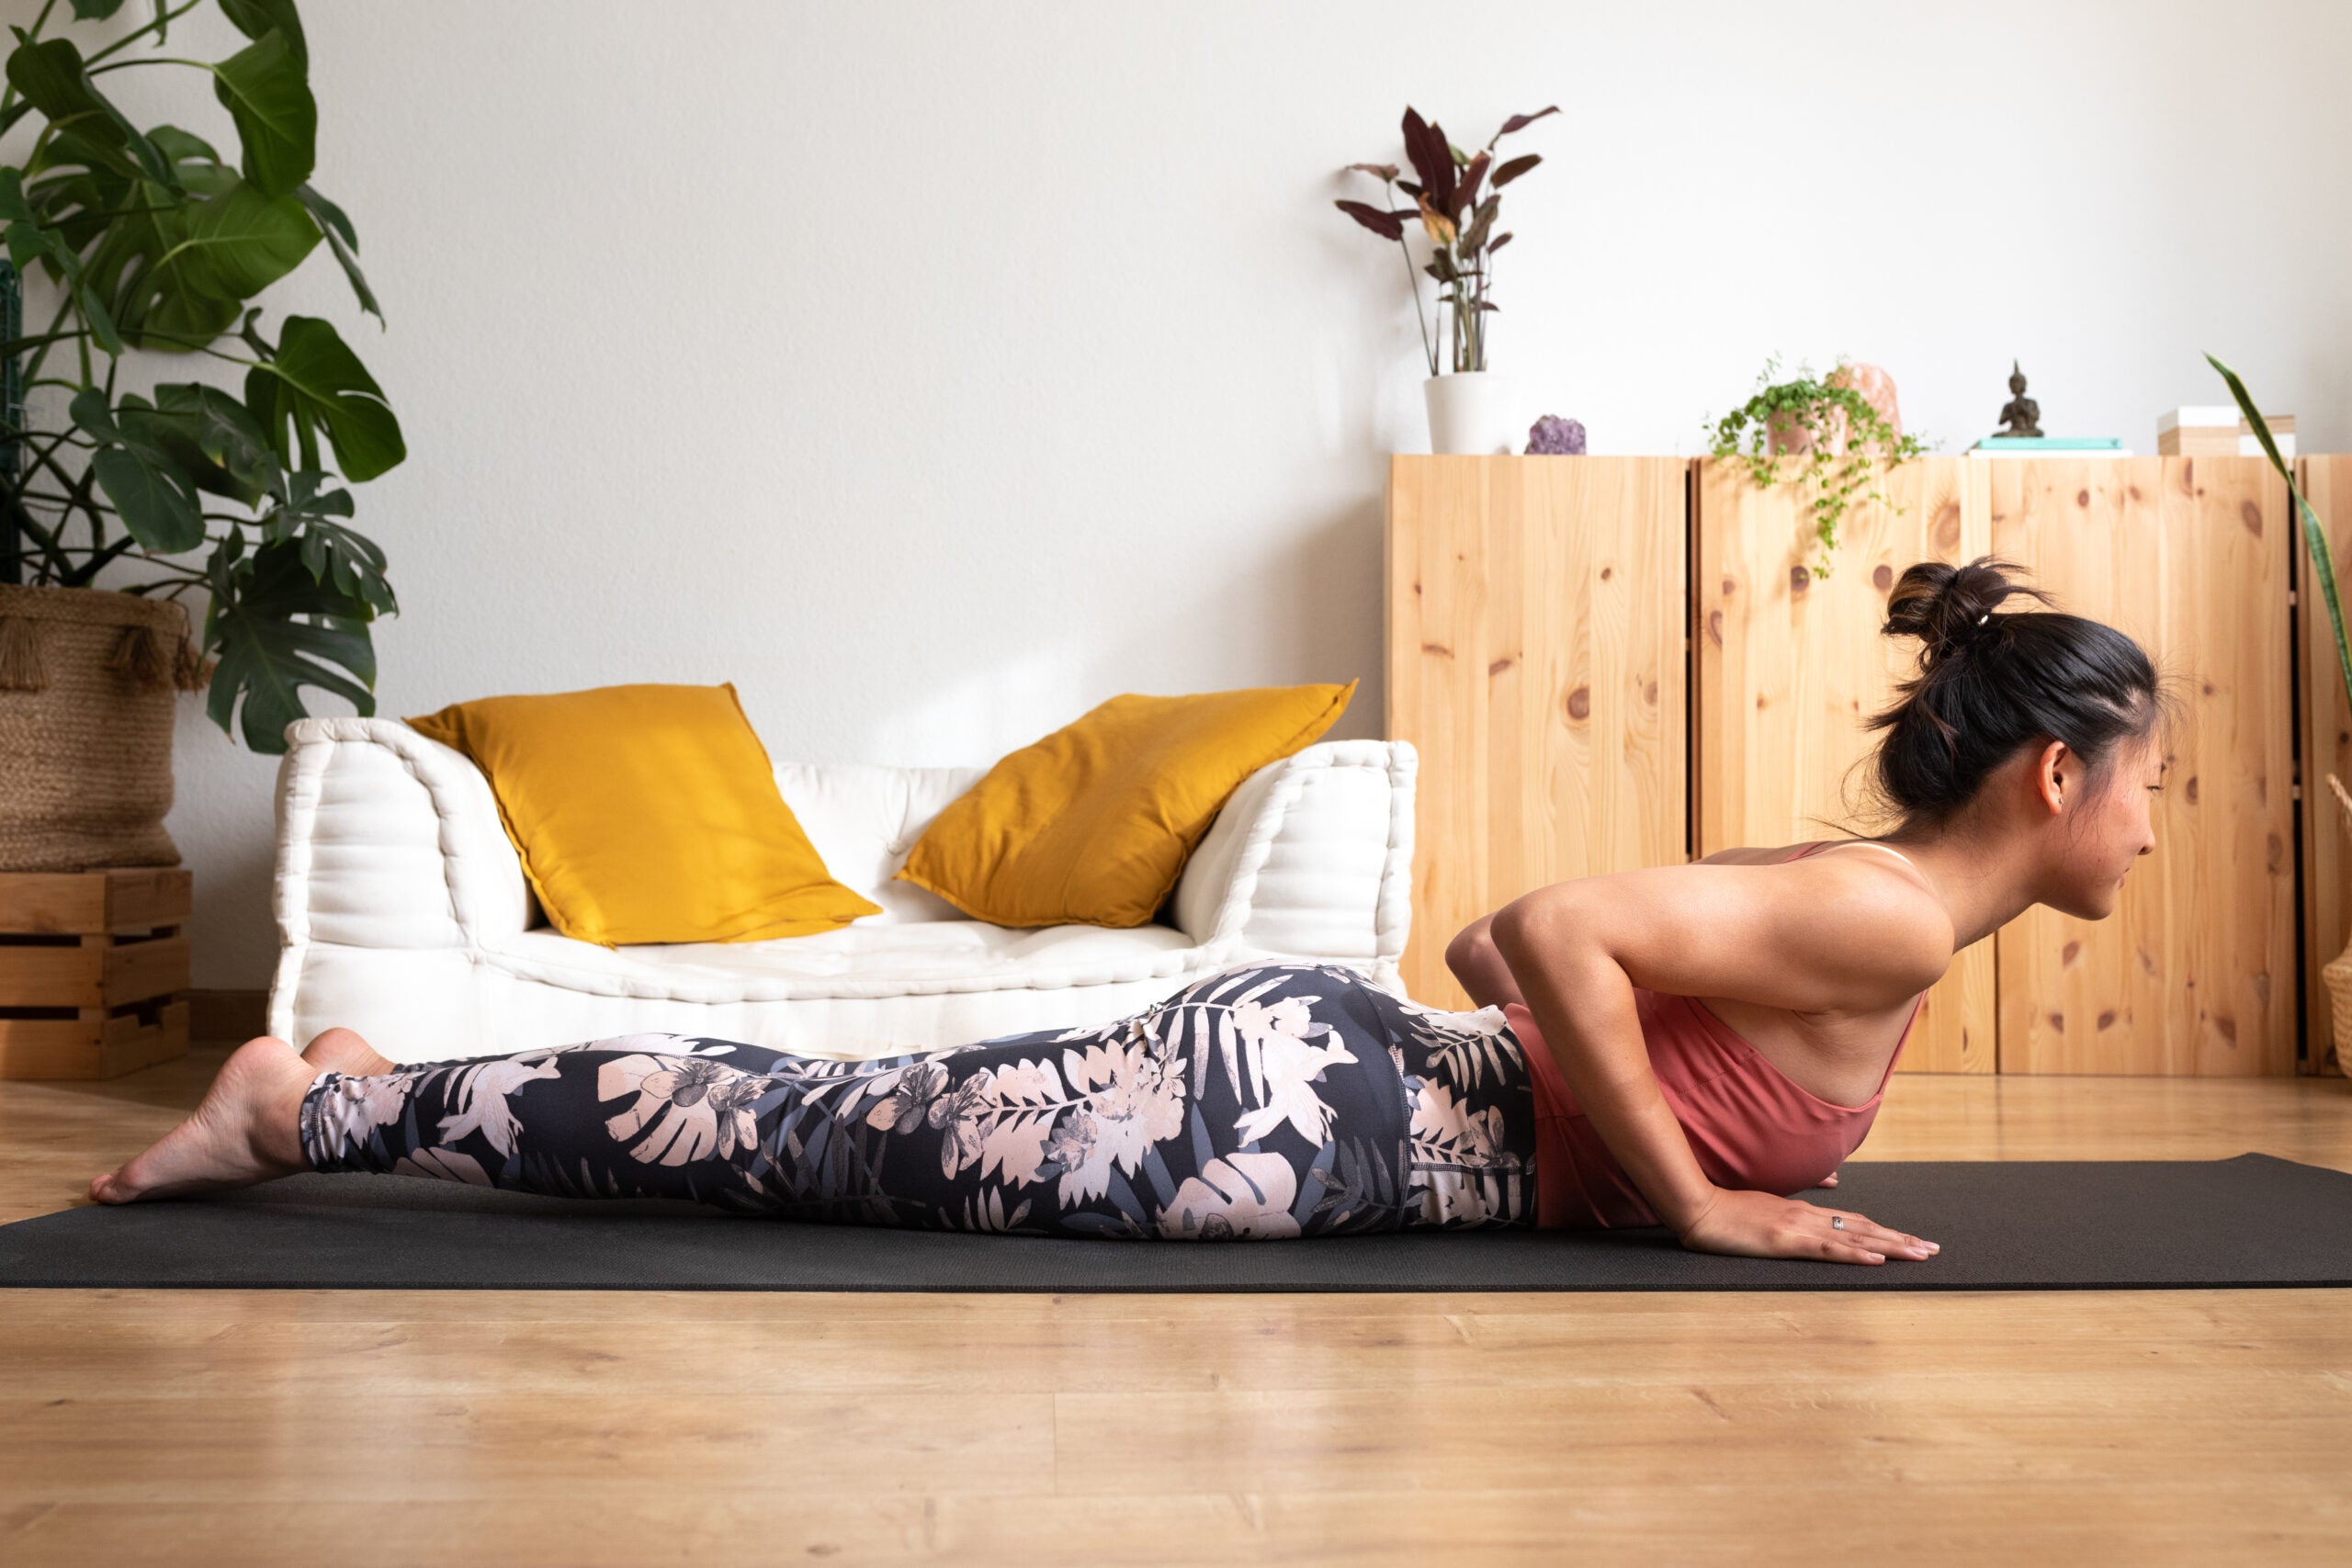
2. Sphinx Pose
Targets: Lower back
How to: Lie on your stomach, and place your elbows underneath your shoulders. Let your weight rest into your forearms in Sphinx Pose. Allow your lower back to relax, releasing your abdomen and thighs and glutes. Breathe here for 4-5 minutes.

ADVERTISEMENT
3. Open Wing
Targets: Chest, shoulders, and arms
How to: Lie on your stomach. Take your right arm straight out from your shoulder with your palm facing down. Then, press your left hand into the mat and start to roll onto the right side of your body to the point where you feel a stretch but not a strain in your right shoulder and chest. Try bending your knees and possibly opening your left leg toward the ceiling by pressing the sole of your left foot onto the mat. This last action can increase sensation in your right arm, but if it’s too much, leave your left knee and leg down. Remain here for 3-4 minutes. Then repeat on the opposite side.

4. Wide-Knee Child’s Pose
Targets: Inner legs and spine
How to: Come onto hands and knees with a folded blanket or towel underneath your knees. Take your knees wide and move your hips toward your heels. Rest your arms on the mat alongside your head or drape them alongside your thighs, palms facing up. Remain in Wide-Knee Child’s Pose for 3-4 minutes.

ADVERTISEMENT
5. Dragon A
Targets: Hip flexors, adductors, hamstrings, and outer hip
How to: From hands and knees, take your right foot between your hands. With your right knee more or less above your right heel, inch your left knee back (taking care to pad your back knee with a blanket) and allow your hips to sink down. Move your right hand to the inside of your right foot in the shape commonly known as Lizard. You can place your hands on blocks, keep your hands on the mat, or consider lowering your forearms to the floor. Your right knee and foot may move to the right as well. Then, spend 1 minute in each of the following variations on your right side, rest in Child’s Pose for 1 minute, and repeat each variation on your left side.

6. Dragon B
Targets: Hip flexors, adductors, hamstrings, and outer hip
How to: From Inside Dragon, keep your left hand on the floor, take your right hand to your right knee, and angle your right foot out to the side as you twist your chest to the right. Your right knee can drift to the right here—it doesn’t need to stay directly over your heel.

ADVERTISEMENT
7. Dragon C
Targets: Hip flexors, adductors, hamstrings, and outer hip
How to: Move back to the first Dragon variation and then walk or inch your right foot forward so your right heel is in front of your right knee as if you were starting to come into the splits. The farther forward your right foot, the more intense the stretch. You can remain on your hands or lower your forearms to the mat or blocks.

8. Swan Pose
Targets: Outer hips and hip flexors
How to: From hands and knees, slide your right knee behind your right wrist and angle your shin so your right foot is in front of your left hip similar to Pigeon Pose. Slide your left leg back—seeking sensation in your right outer hip and the front of your left thigh and avoiding sensation in your right knee. Consider supporting your right hip by taking a folded blanket or block beneath the hip. Unlike in Pigeon, though, you can let your right hip come all the way to the floor and your weight to shift to that side. Remain here for 3-5 minutes, then switch sides.

ADVERTISEMENT
9. Caterpillar Pose
Targets: Backs of the legs and spine
How to: Sit on a folded blanket or towel with your legs straight. Fold forward and allow your spine to gently round similar to Seated Forward Bend. Bring your hands to your thighs, calves, or ankles. You can also place a bolster or cushion on your legs and rest your forehead on it (as shown). Relax your legs and spine. It’s okay if your feet fall out toward the sides a little. Remain here for 4-5 minutes.

10. Bananasana
Targets: Side body, especially your waist
How to: Lie on your back and bend your knees with your feet on the mat. Lift and shift your hips a couple inches to the right. Straighten your legs on the mat and walk your feet and lower lgs toward the far left corner of the mat, crossing your right foot over your left. Try to keep your left hip down. Then scoot your upper body to the left as well, creating a banana shape. Bring your arms overhead, bending your elbows if you like. Remain in Bananasana for 4-5 minutes, then repeat on the other side.

ADVERTISEMENT
11. Twisted Root Pose
Targets: Lower spine, pelvis, and upper body
How to: Stay on your back and bend your knees, keeping your feet flat on the mat. Cross your right thigh over your left. Then, lift and shift your hips a couple inches to the right. Let your thighs lower to your left side while your shoulder blades rest on the mat. Then slowly take your right arm straight out to the right side, allowing your upper right shoulder to remain relaxed. If this is challenging, initially keep your right hand on your right hip, then gradually reach it out to the side to intensify the twist. Remain for 5 minutes, then repeat on the other side.

12. Savasana or Pentacle
Targets: Chest and arms
How to: Return to lying on your back and rest your arms alongside your body with palms facing up. Release any muscular tension, allowing your body to fully relax. Consider a wider version of Corpse Pose (called Pentacle) by taking your arms wide overhead and moving your feet beyond your hips. Remain for 10 minutes to conclude this sequence of yin yoga poses.
This article has been updated. Originally published July 22, 2018.