Published March 12, 2015 02:53PM
Guide to the Shoulder Girdle and Its Functions
Prevent injury in one of the body’s most vulnerable joints.
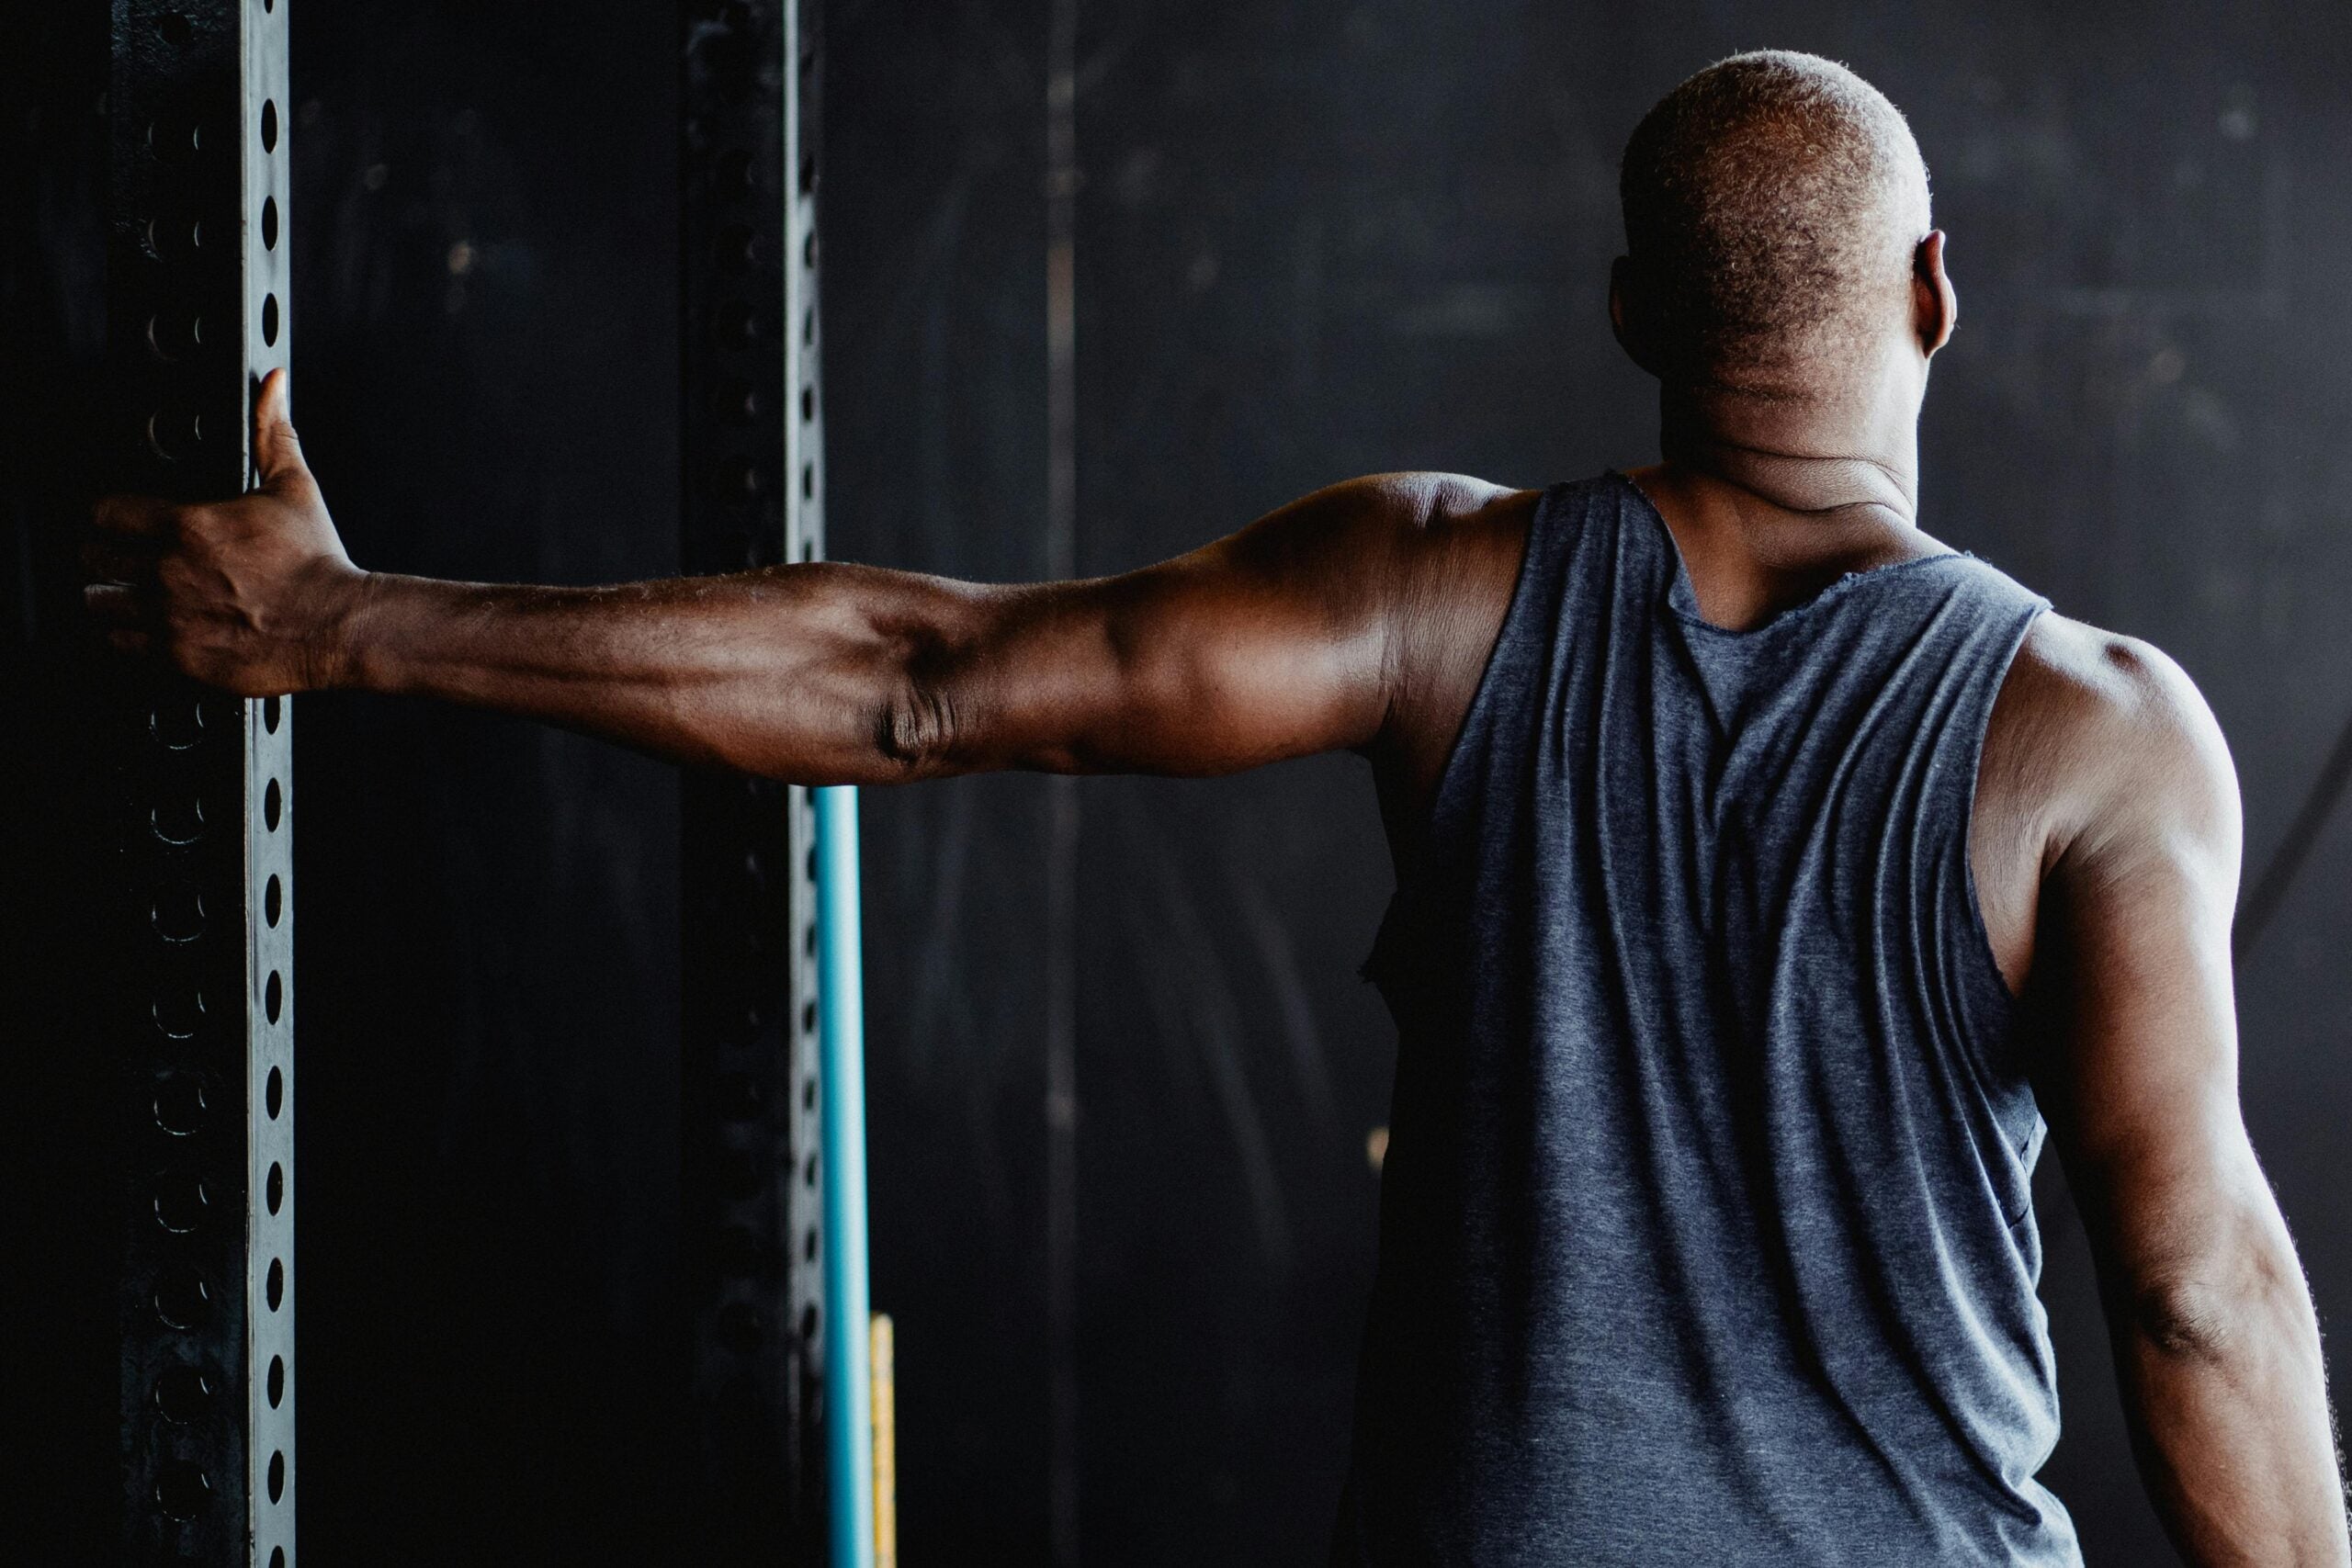
(Photo: Ketut Subiyanto)
Having once been heavily immersed in the Anusara yoga method, I spent the first six years of my practice “releasing my heart.” I took pride in my ability to soften (or rather collapse) the place between my shoulder blades—creating the deepest trench possible along my thoracic spine—when in reality I was just relying on the hypermobility of my shoulder girdle.
I experienced a profound shift in my practice when someone taught me how to protract my shoulder blades in preparation for Handstand (Adho Mukha Vrksasana). (Protraction of the shoulder is essentially the opposite action of releasing your heart.) By pushing into my hands and lengthening my back, I was able to find a lot more stability in my shoulder girdle and make Handstand much more accessible.
More importantly, I began to recognize that my shoulders’ hypermobility on the mat was the culprit behind a lot of the discomfort and injuries I was encountering off the mat. Today, my yoga practice is mostly about finding stability, not only in my shoulders but in all of the hypermobile areas of my body.
Anatomy of the Shoulder Girdle
The shoulder is the body’s most mobile joint. This is partly because the shoulders are two joints: the glenohumeral joint, where the arm bone fits into the socket of the shoulder blade creating a very shallow ball-and-socket joint, and the acromioclavicular (AC) joint where the shoulder blade attaches to the collarbone creating a gliding joint. Together the two joints allow us to raise, lower, and rotate our arm bones as well as to move the shoulder blades on and off the back.

The rotator cuff is a group of muscles and tendons that create a continuous cuff around the shoulder joint, to help keep the humeral head in the shoulder socket. Together, the four muscles on the front, back, and top of the joint negotiate the position of the head of the arm bone in the shoulder socket. That means all three sides of the rotator cuff need to work as a community to stabilize the shoulders. If one muscle of the four is tight or weak, the others have to compensate—creating an imbalance, which can lead to strains and tears in the rotator cuff and compromise the stability of the shoulder joint.
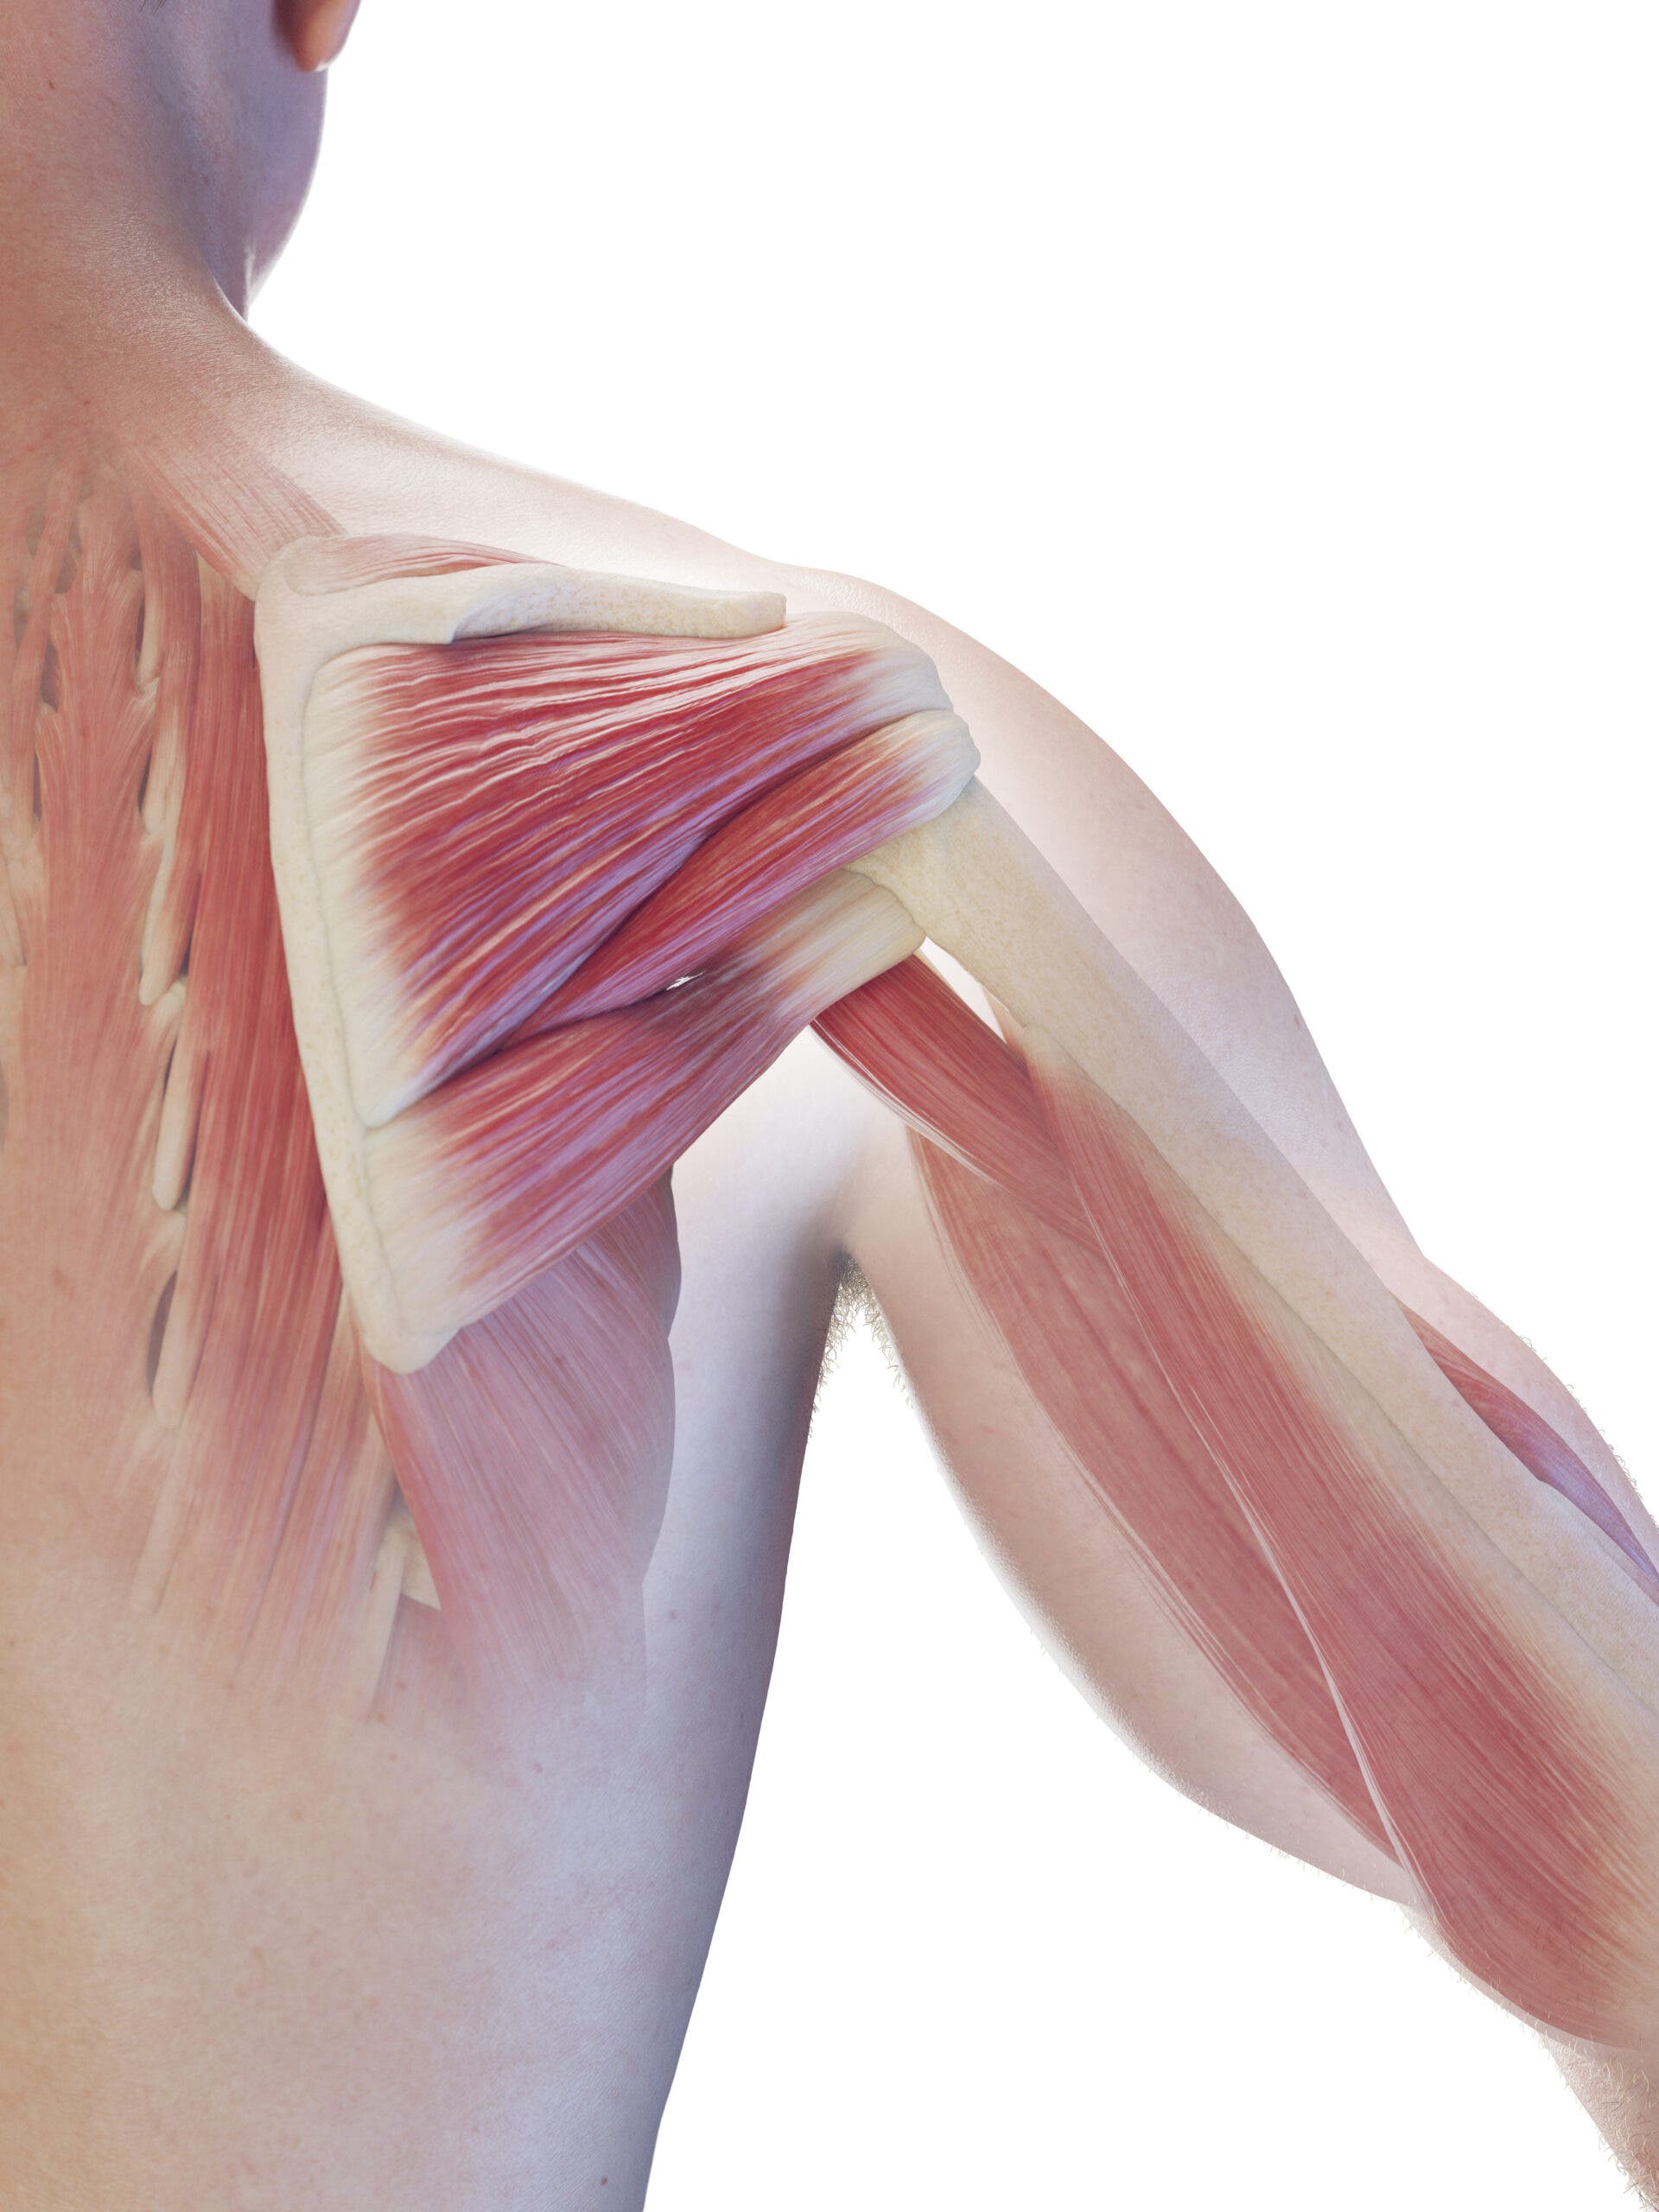
Although considerably less mobile, the shoulder blades, or scapulas, also must be actively stabilized in weight-bearing exercises. The two muscles that negotiate the placement of each scapula on the back are the serratus anterior and the rhomboid. Both muscles insert on the inner edge (or medial border) of the shoulder blade and have opposing actions. When these muscles are equally turned on, they work together to stabilize the shoulder blade on the back.
ADVERTISEMENT
Why Are Shoulder Girdles at High Risk of Injury?
Given its instability, the shoulder is also the most commonly dislocated joint in the body (which is one of the reasons creating stability there in weight-bearing exercises is so important). However, it’s more often the general wear and tear on the various layers of soft tissue within the joint that lead to injury—including strains, tears, chronic inflammation, and impingements—in a regular (i.e., repetitive) yoga practice.
Wear-and-tear injuries are generally the result of dysfunction somewhere within the shoulder girdle. Something is too tight, too weak, or out of alignment, affecting the optimal joint position and placing unnecessary tension elsewhere. When the shoulder joint isn’t positioned properly, and then asked to perform repetitive, weight-bearing exercises, a number of injuries can occur. Labrum tear, bursitis, and rotator cuff strains or tears are a few of the injuries yoga teachers hear about most often.
How to Move the Shoulder Girdle on Your Yoga Mat
The risk of injury to the shoulder girdle means it’s important to learn how to actively stabilize both moving parts—the head of the arm bone (or humeral head) and the shoulder blade (or scapula). The following yoga poses help you with retraction and protraction of the shoulder and other movements that tap into these joints’ full range of motion.
ADVERTISEMENT
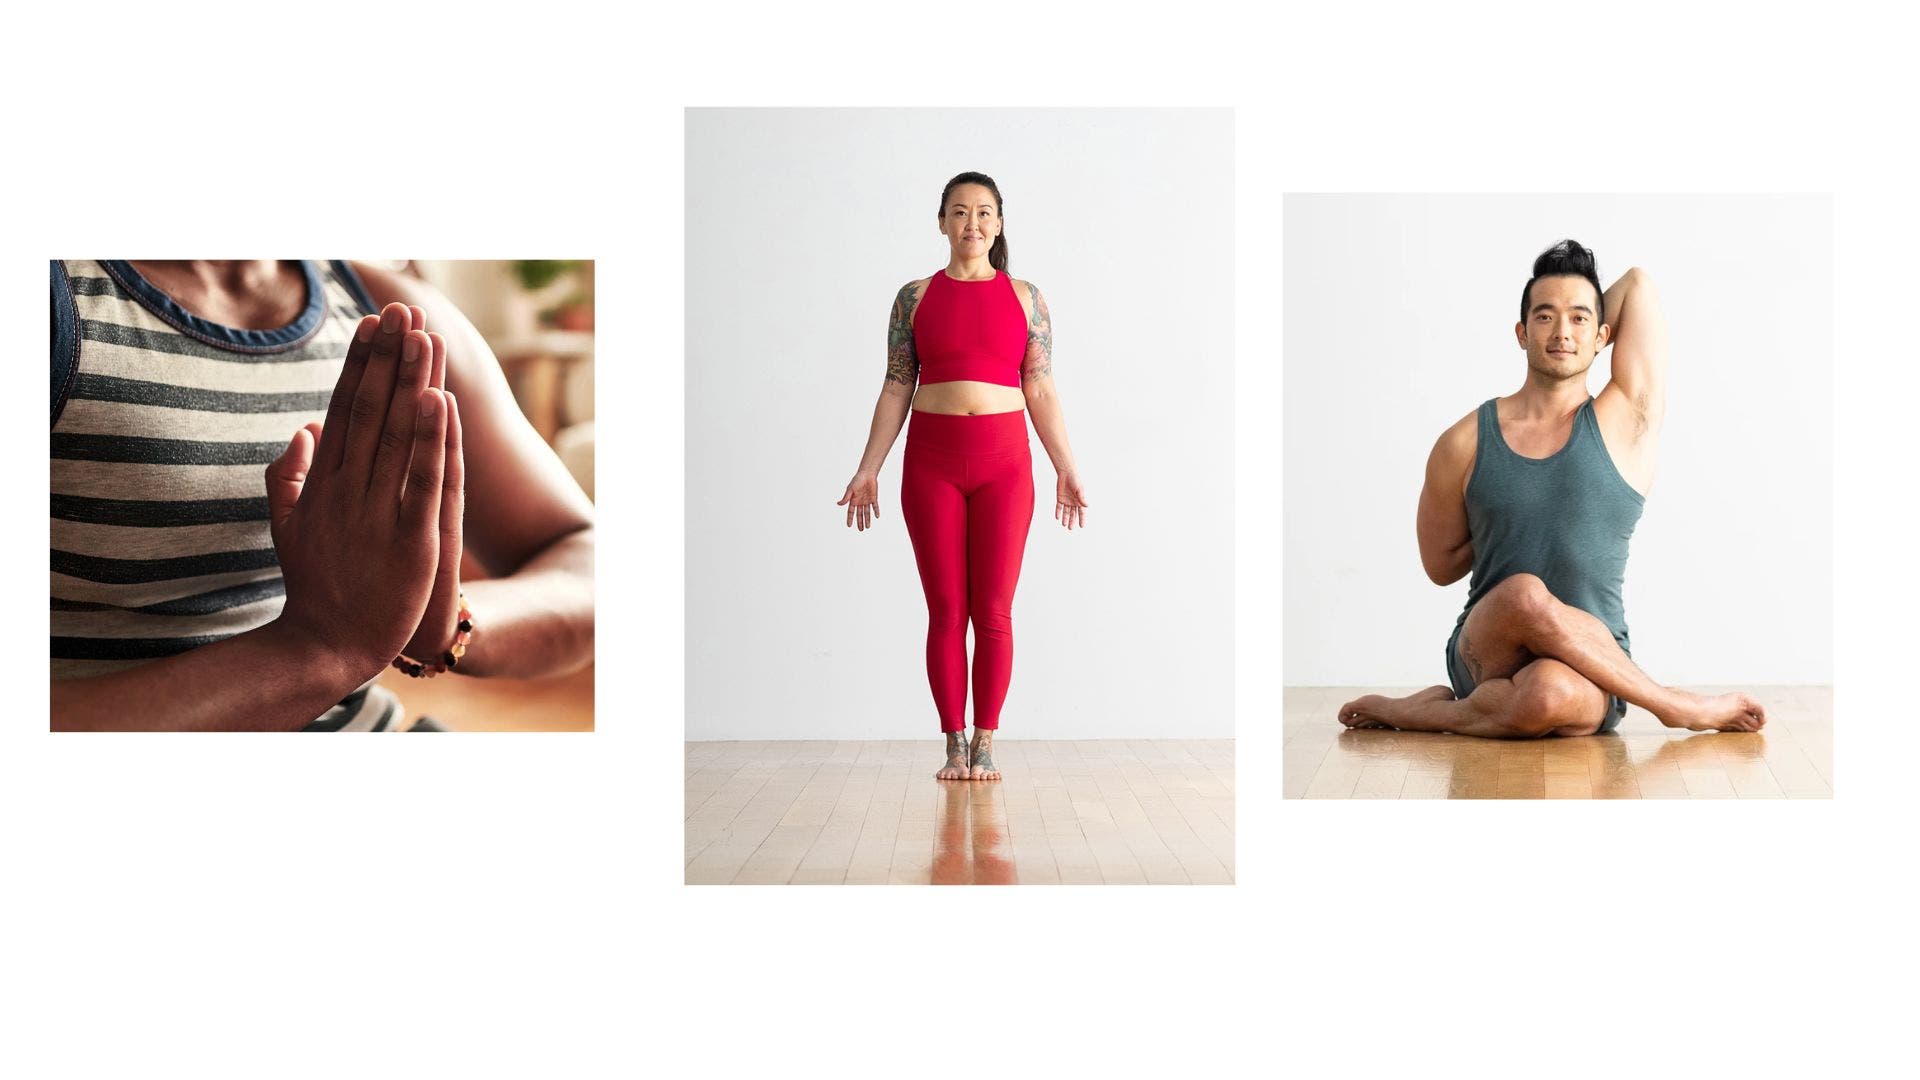
1. Internal Arm Rotation
The subscapularis is the muscle on the front side of the shoulder blade. Internal rotation of the arm bone means turning the arm in. It can be felt as a contraction very deep in the armpit. You might hear these muscles referred to as your “armpit muscles.”
Certain arm variations, such as prayer (anjali mudra) behind the back and the bottom arm in Cow Face Pose (Gomukhasana), require internal rotation of the head of arm bones.
How to: Stand in Mountain Pose (Tadasana) with your arms down at your sides and palms facing forward. Spread your fingers to activate your hands and arms. Now turn your arms in so your palms first face your sides and then turn backward, bringing your outer arms forward.
ADVERTISEMENT
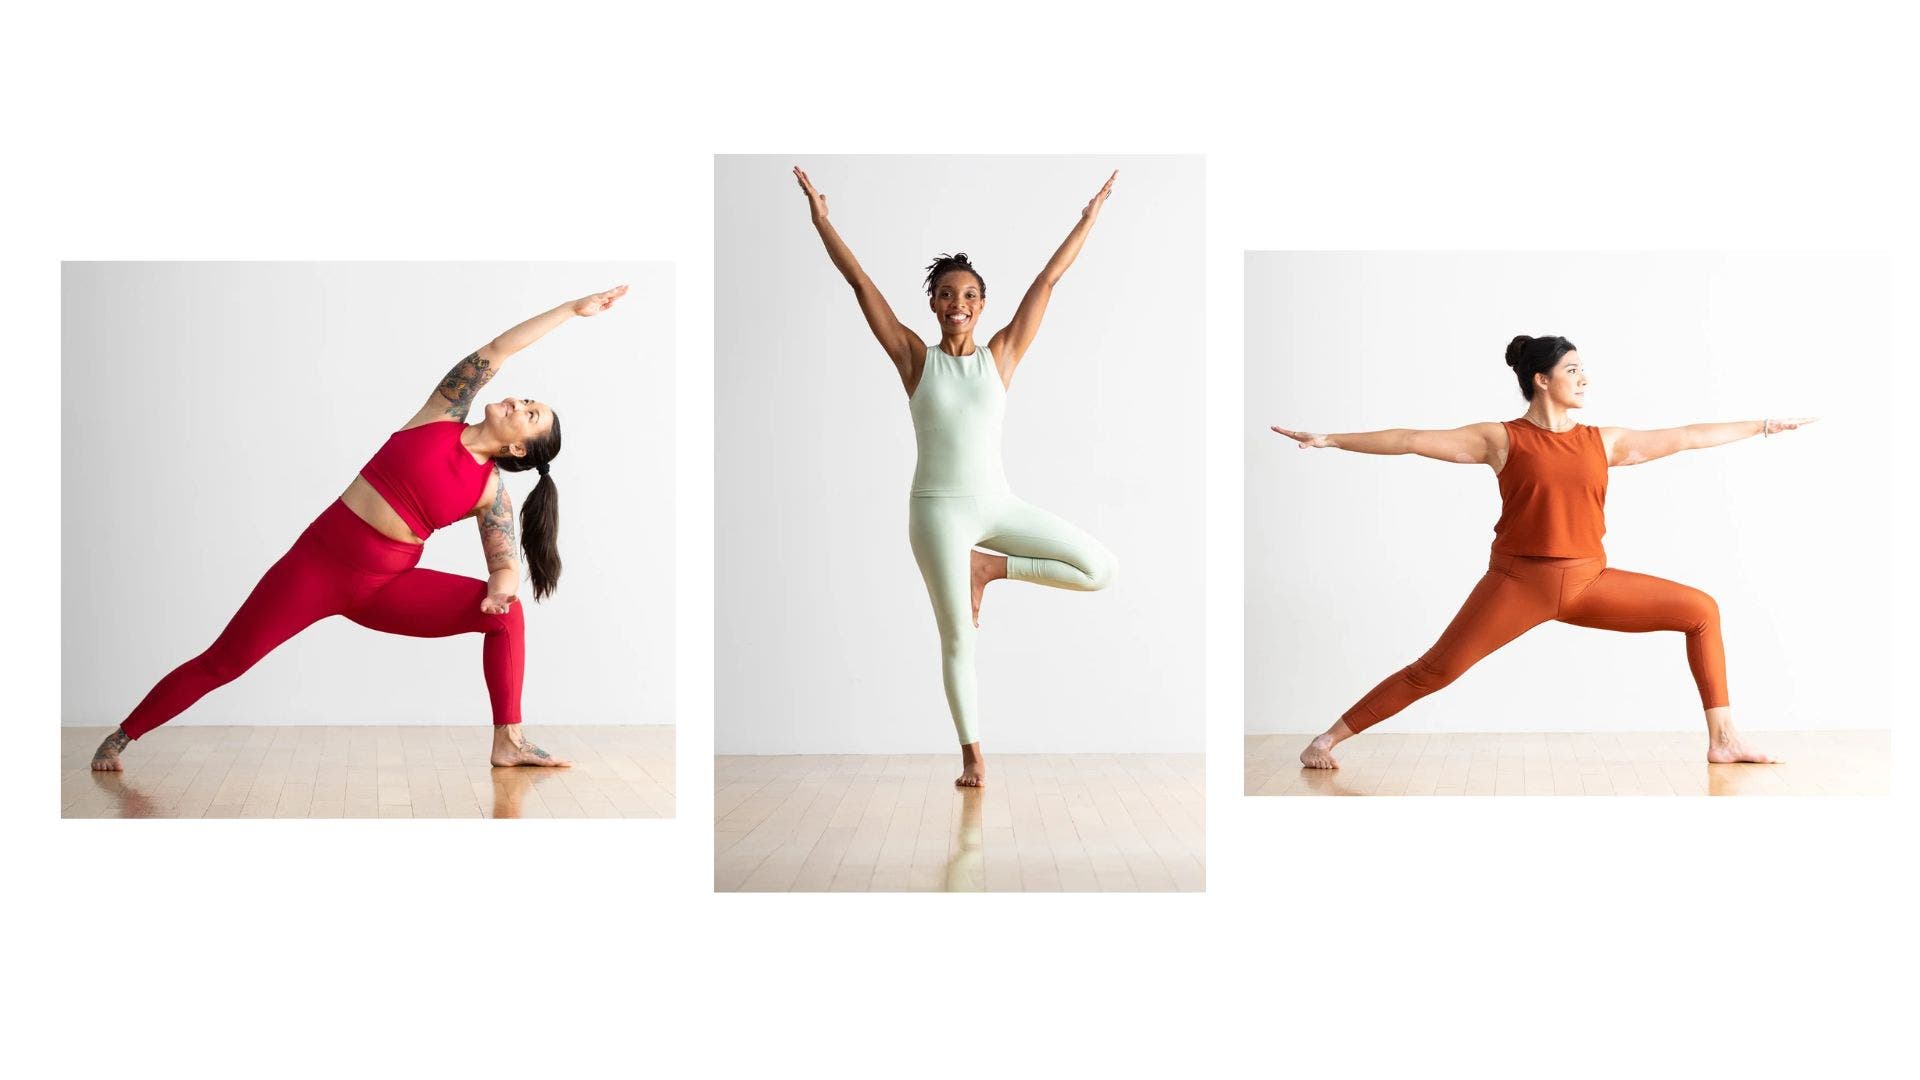
2. External Rotation
The infraspinatus and teres minor are the muscles on the backside of the shoulder blade. They work together as a team. The infraspinatus, with the help of the teres minor, is responsible for external rotation of the arm bone (turning the arm out), which can be felt as a slight contraction on the backside of the shoulder blade.
When you raise your arms overhead in poses such as Warrior 1 (Virabhadrasana I) and Tree Pose (Vrksasana), you externally rotate the heads of the arm bones, bringing the triceps forward, to make space along the sides of the neck and release unnecessary tension in the traps. Extended Side Angle Pose (Utthita Parsvakonasana) requires a strong external rotation of the top arm bone to turn the pinky side of the arm down and thumb side up. It’s also important to maintain external rotation of the head of the arm bone in weight-bearing poses like Downward-Facing Dog (Adho Mukha Svanasana), Handstand, and Upward Bow Pose (Urdhva Dhanurasana) to maintain proper alignment and support.
How to: Stand with your arms at your sides. Bend your left elbow 90 degrees, pointing your fingers forward. Make a fist with your left hand, keep your elbow at your side, and open your fist and forearm out to the left by externally rotating the head of the arm bone.
ADVERTISEMENT
3. Arm Lifting
The supraspinatus sits on the topside of the shoulder blade and attaches directly to the head of the arm bone. Holding the head of the arm bone into the shoulder socket, against the downward pull of gravity, it assists the deltoids in lifting the arms overhead.
Whenever you raise your arms out and up, your supraspinatus initiates the lift before the deltoids take over, whether that’s in Warrior 1 or 2, or any number of poses that require a lift of your arms.
ADVERTISEMENT
How to: Stand with your arms down at your sides and lift your arms out to a T shape.
4. Protraction of the Shoulder
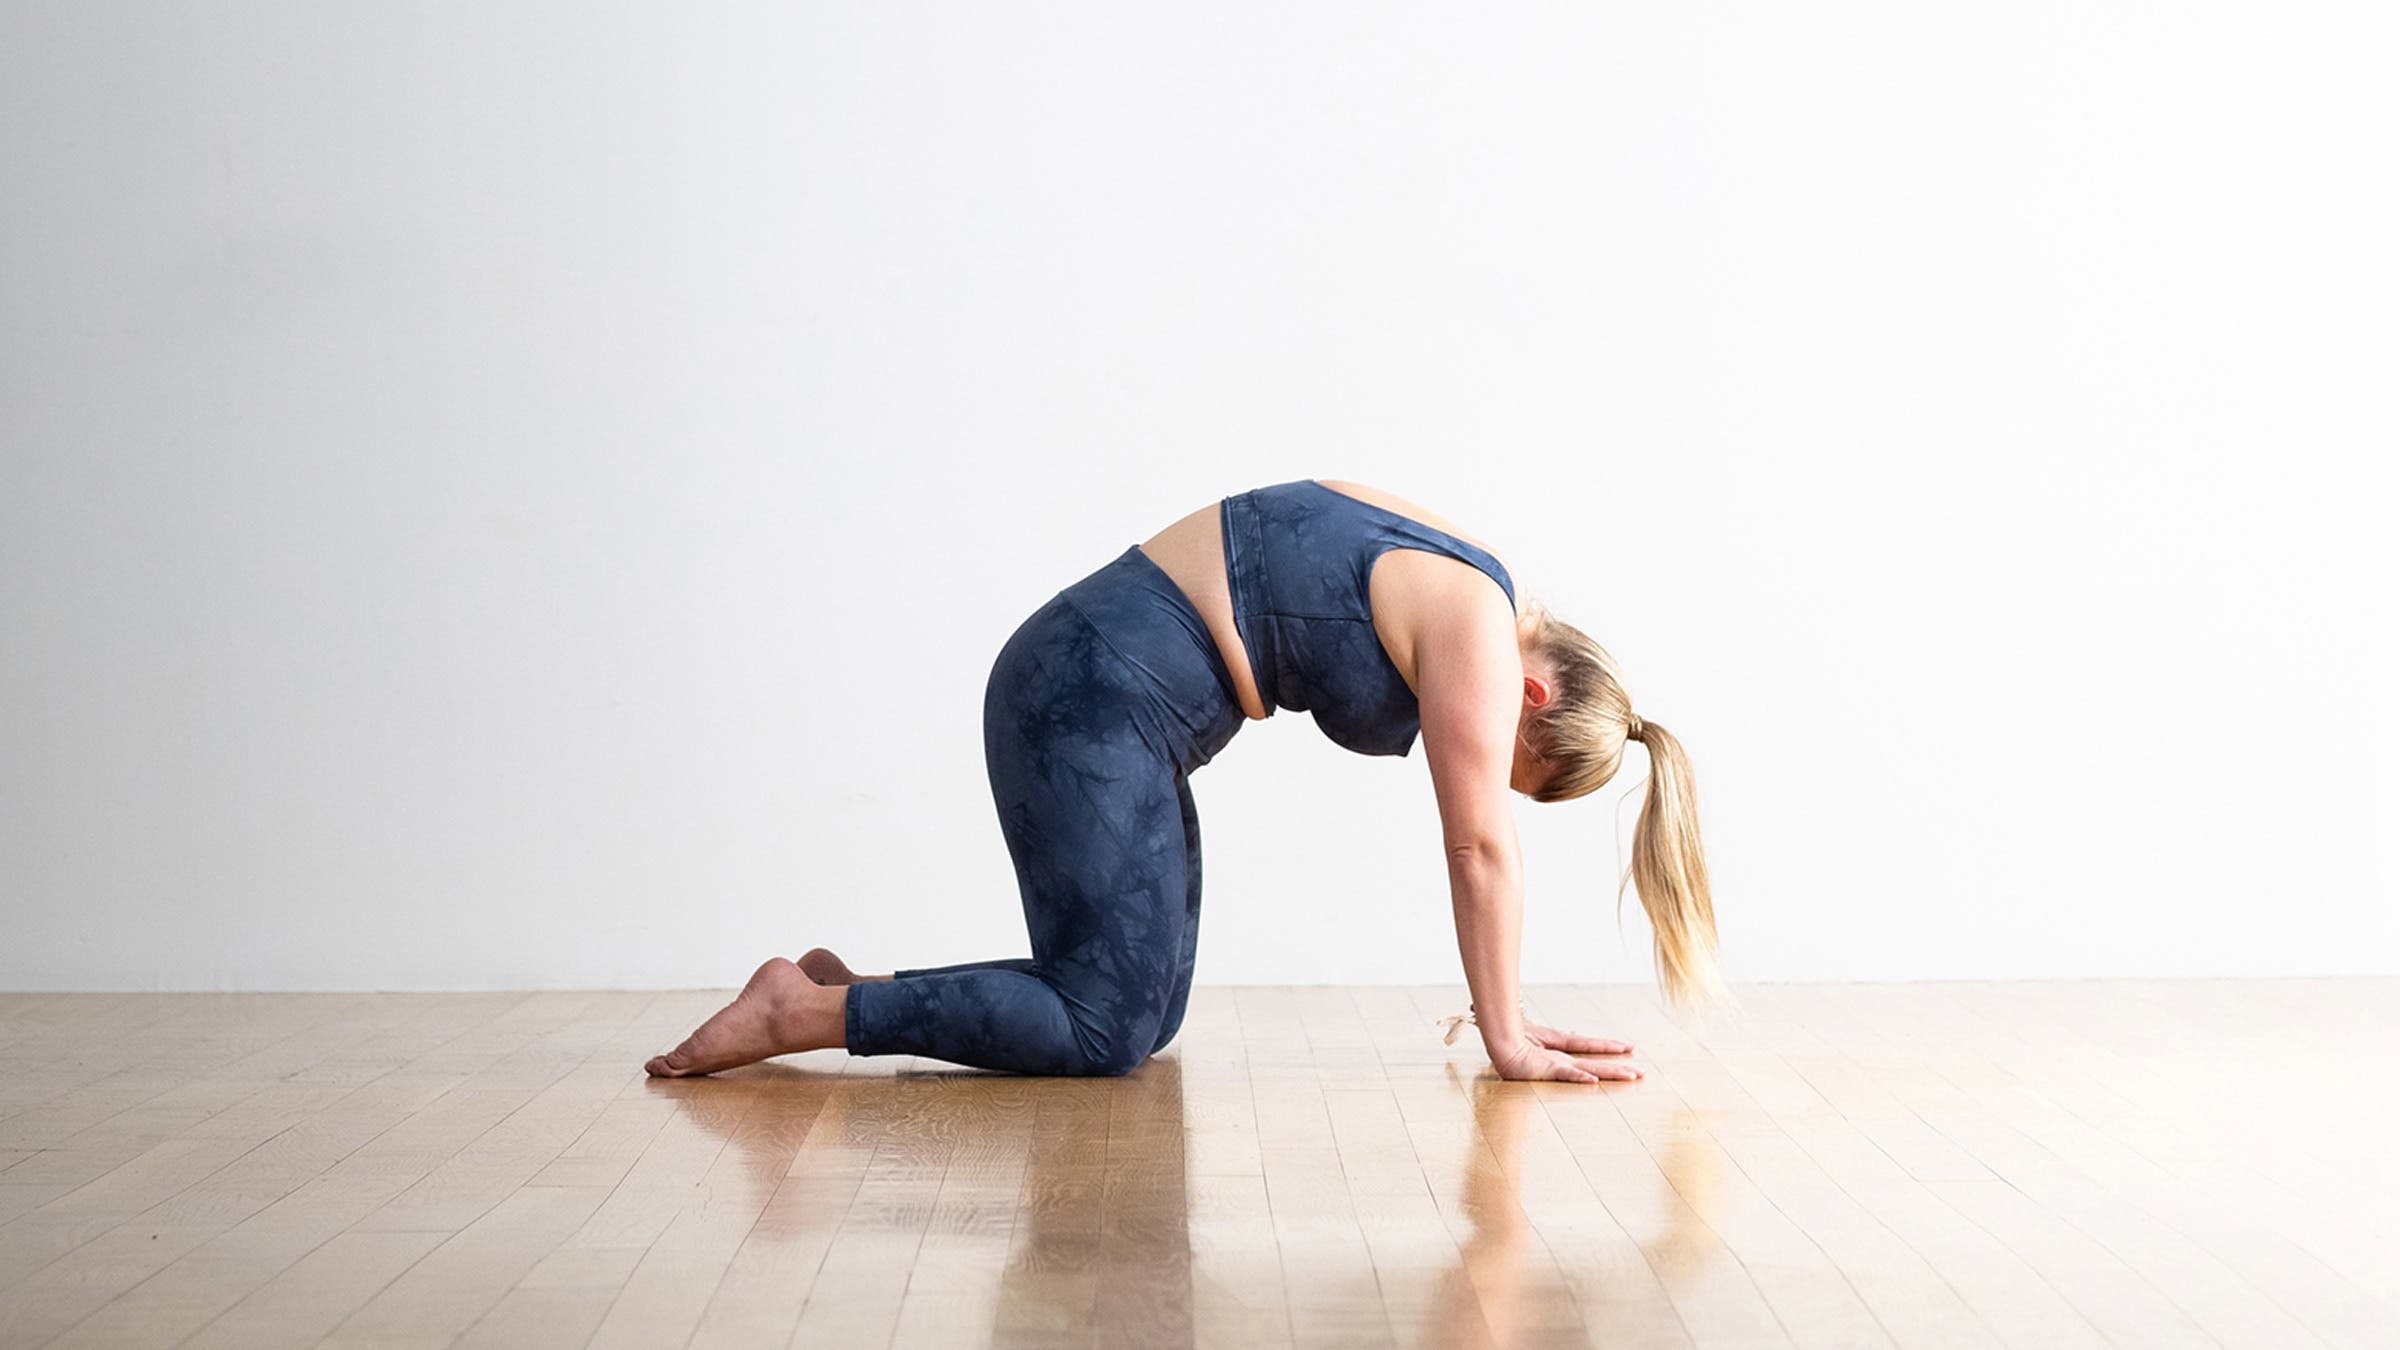
Protraction of the shoulder means pulling them back toward the ribs, away from the spine. Think of what happens to the shoulder blades when you round the upper back like in Cat Pose (Marjaryasana).
How to: Begin on all fours, with your wrists underneath your shoulders and your knees underneath your hips. Press your palms into the mat, rounding your spine toward the ceiling and lowering your gaze. Notice how your shoulder blades pull away from your back, and the strong engagement in the sides of your ribs where the serratus anterior (which is now activated) attaches.
5. Retraction of the Shoulder
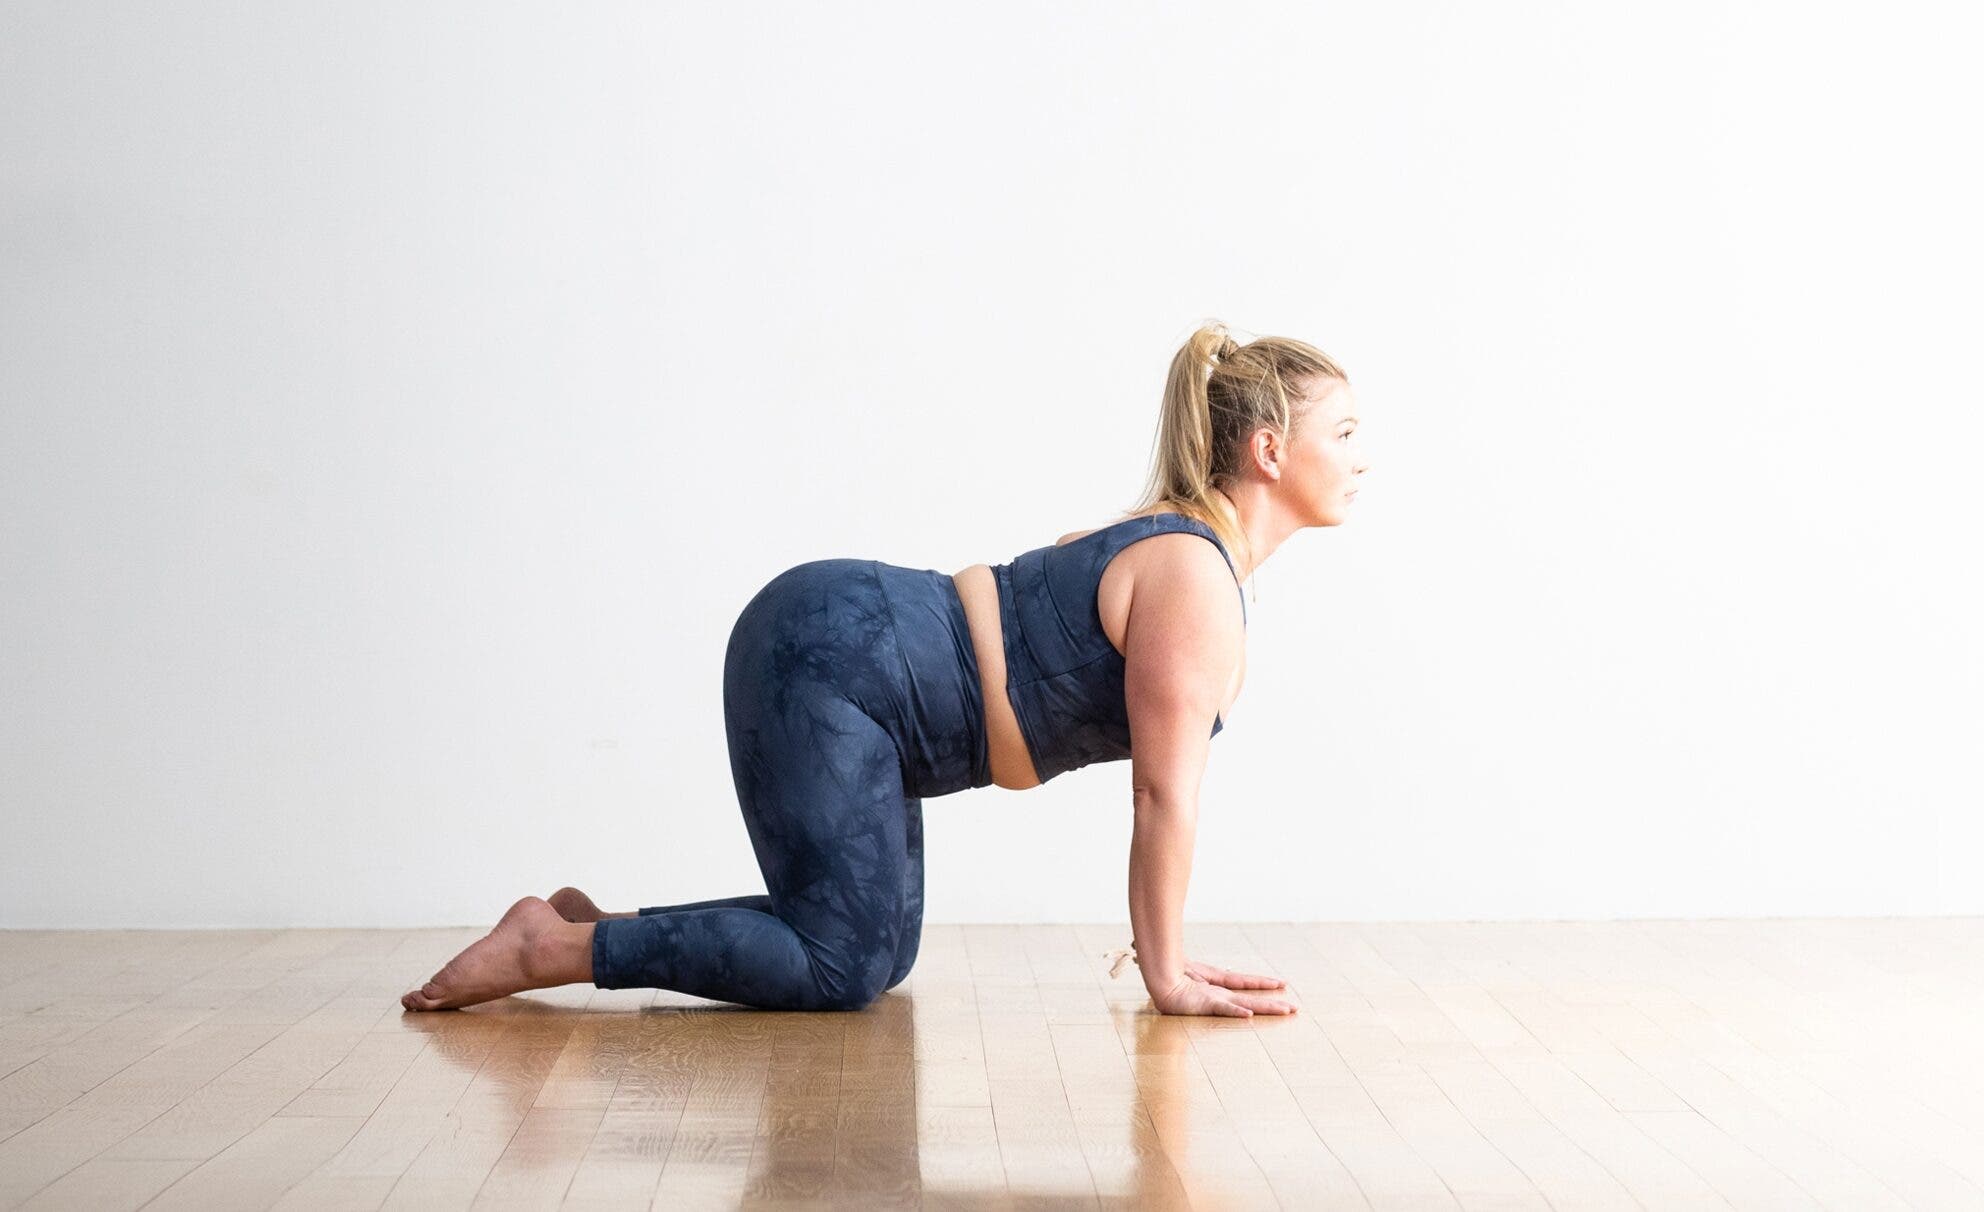
Retraction pulls the scapulas onto the back toward the spine. Think of what happens when you arch your back in Cow Pose (Bitilasana).
How to: From Cat Pose, reach your chest forward and up as you lift your gaze, letting your belly and chest lower toward the mat. Notice how your shoulder blades are coming together toward the spine. This is retraction. Play with protraction and retraction in Cat-Cow Pose until you are familiar with the actions. When you’re ready to find a neutral spine, fully protract and retract and then find a position in between in which neither action dominates.
This article has been updated. Originally published March 12, 2015.